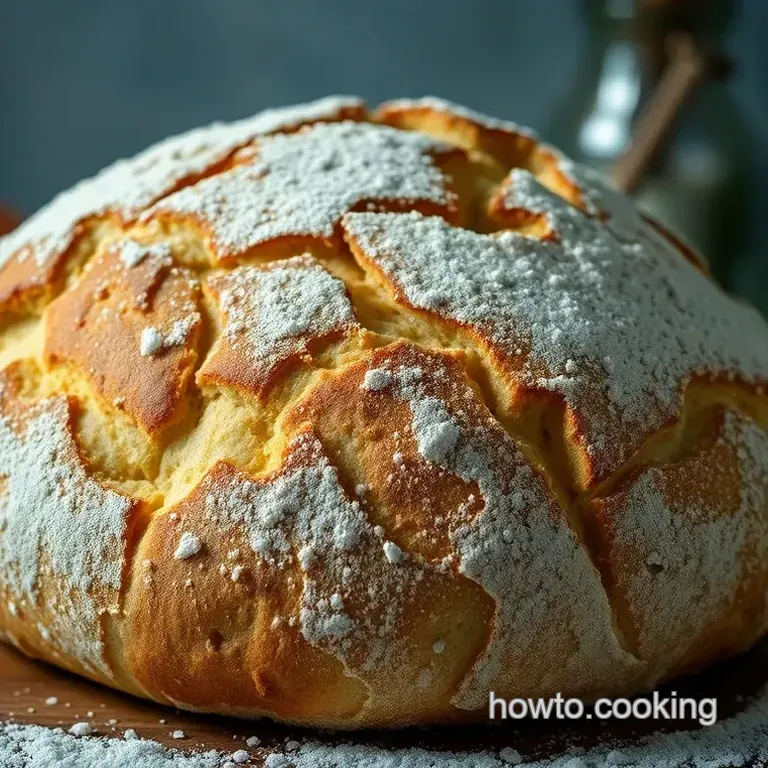
Rustic Artisan Italian Bread
- Welcome to the World of Artisan Italian Bread!
- Your Essential Ingredients Guide to Artisan Italian Bread
- The Professional Cooking Method: Unleashing Your Inner Baker
- Pro Tips & Secrets
- Perfect Presentation
- Storage & Make-Ahead
- Creative Variations
- Complete Nutrition Guide
- Frequently Asked Questions
- 📝 Recipe Card
Welcome to the World of Artisan Italian Bread!
Okay, friends. let me take you back to my very first attempt at making artisan italian bread . spoiler alert: it was a disaster! i was convinced i could whip up some crusty, golden loaves just like they do in italy.
Well, i ended up with something more akin to a rock than a loaf of bread. but you know what? that experience lit a fire under me! i became obsessed with understanding every little detail about the bread making process .
So, buckle up because i’m about to take you on a delicious journey that ends with crispy crusts and airy, soft interiors!
A Little History About Our Artisan Delight
Italian baking traditions run deep, and the roots of this rustic bread can be traced back centuries. people have been passionately creating bread in italy since ancient times, using simple ingredients like flour, water, and salt.
Today, this artisan italian bread is still cherished. it’s loved not just in italy but all around the world! everyone's craving that perfect crust and crumb that we all associate with good homemade bread.
Plus, who can resist the smell wafting through the house when baking bread? it’s like a warm hug!
Now, i’m not gonna lie; making this bread takes time and a bit of patience. total time for baking is around 5 to 6 hours when you factor in resting and fermentation.
But hey, the results are totally worth it! you'll end up with two gorgeous loaves all it takes is some dough fermentation and some simple college level science (don’t worry, you won’t need a degree!).
Why You Need This Recipe in Your Life
First off, in today’s health conscious world, there’s something utterly appealing about making your own homemade bread . you know exactly what’s going into it, plus you can adapt this recipe to be as healthy as you want! want to kick it up a notch? try adding some herbs or flavor infused oils.
It’s like a tasty flavor explosion!
Also, this artisan loaf is super versatile. you can pair it with soups, serve it with dinner, or just gobble it up with some good ol’ butter.
It’s perfect for holiday baking recipes and any kind of get-together. you’ll be amazed at how many compliments you’ll get, and let’s be real who doesn’t love a good bread brag?
And if you’re worried about other bread recipes out there, trust me, this one offers a unique experience. with its crunchy crust and delightful chewy interior, it stands tall against even the fanciest artisan sourdough .
Just imagine breaking apart a piece and munching away it’s comfort food at its finest.
So, if you're excited to step out of your comfort zone and embrace some old-school european baking , let’s get you prepped.
Gather your kitchen baking tools , and i promise you’ll end up with a delicious bread that’s bursting with flavor!
Let’s Talk Ingredients!
Alright, friends, now that we're all hyped about this artisan italian bread , let’s dive into what you'll need to get this party started.
First up, high-quality bread flour is key don’t skimp here! and if you're wondering about bread flour vs all-purpose flour , the bread flour packs more protein, which means a better chew and texture.
So, ready? Grab the ingredients, and let’s break bread together (well, in just a bit). This is going to be a journey full of kneads and love!
Your Essential Ingredients Guide to Artisan Italian Bread
So, you're ready to dive into artisan italian bread ? oh my gosh, you're in for such a treat! this isn't just any bread; this is a fragrant journey through the heart of italian baking right in your own kitchen.
Don't worry, i've got your back with this essential ingredients guide to nail this delightfully rustic bread.
Premium Core Components
First things first - let's talk about those premium core components that’ll give your bread that authentic touch.
Lukewarm water (1 ¾ cups / 420ml): this is where the magic begins! make sure it's not too hot, or it’ll zap the yeast.
You're looking for a cozy temperature, around 110° f ( 43° c).
Bread flour (4 cups / 500g): ah, the backbone of your artisan bread recipe ! bread flour has a higher protein content than all-purpose flour, which helps get that perfect crust and soft bread interior.
If you need a gluten-free alternative, look for a blend particularly for no-knead bread .
Sea Salt (1 ½ teaspoons / 8g): This doesn't just season your bread; it controls the fermentation process. Elegant yet essential.
Active dry yeast (1 ½ teaspoons / 7g): freshness is key here. make sure to check the expiration date. to test it, dissolve the yeast in lukewarm water and let it froth up before mixing.
If nothing happens, toss it out and grab a fresher packet.
Storage Guidelines and Freshness Tips
Most bread ingredients will last well if stored properly. keep flour in a cool, dry place in an airtight container.
Your yeast should also be stored in a cool spot, preferably in the fridge after opening. if you've got some leftover, here’s a fun tip just toss it in a jar, and it'll be good to go for a while!
Signature Seasoning Blend
Now, let's sprinkle in some flavor with your signature seasoning blend . While this Italian bread is stunning on its own, there's plenty of room for personality.
You can add herbs like rosemary or thyme to elevate the flavor. olive oil also does wonders if you’re thinking of that mediterranean diet bread vibe.
Pair it with some fresh garlic for that extra aromatic kick.
Smart Substitutions
What if you’re missing an ingredient? No worries! Here are some smart substitutions to keep in your back pocket.
Bread Flour vs All-Purpose Flour: You can use all-purpose if that's what you have. Just know that it might yield a slightly different texture.
Yeast Alternatives: If you’re caught without active dry yeast, you can use instant yeast at the same measurement. No need for extra maths here!
Dietary Modifications: If you're keeping it gluten-free, seek out some gluten-free flour mix and follow package instructions for ratios.
Kitchen Equipment Essentials
Alright, moving onto the kitchen equipment essentials . Here’s what you should have in your arsenal for baking success.
Large Mixing Bowl: You’ll need it for the initial mixing.
Baking Stone or Sheet: If you want that crusty bread that sings of artisan methods, a baking stone is wise investment.
Dough Whisk or Wooden Spoon: Good ol’ fashioned tools for getting that delicious dough mixed up.
Plastic Wrap or Damp Kitchen Towel: Cover your bowl to prevent drying. Trust me, you don’t want a crust to form on your dough while it’s fermenting.
Now you’ve got all your ducks in a row, and we’re ready to leap into the exciting world of baking! there’s something absolutely magical about waiting for that dough to rise, anticipating how your rustic bread is going to turn out.
It’s a whole vibe!
So get your bowl, roll up those sleeves, and let’s whip up something amazing together! trust me, nothing quite compares to the satisfaction of pulling a perfectly baked loaf out of the oven.
Ready for the detailed instructions? let’s make this artisan italian bread a reality in your kitchen!
The Professional Cooking Method: Unleashing Your Inner Baker
Hey there, foodie friends! so, you’re ready to dig into the heart of baking? let’s talk about the professional cooking method, especially as it relates to crafting that perfect artisan italian bread .
You know, the kind with a crusty exterior that whispers comfort every time you slice it. let’s get prepped!
Essential Preparation Steps
First things first, mise en place is your best buddy here. it’s the fancy culinary term for “get your stuff together!” lay out all your ingredients before you start trust me, it saves time.
Bread baking isn’t just a science; it’s an art, and you want all your paints ready.
Time management is key, my friends. set a timer on your phone for those rising stages and keep a close eye on your dough.
Remember, patience is crucial, like waiting for your favorite netflix show to drop a new season.
Next, think organization. store your baking tools within reach. you’ll need a mixing bowl, wooden spoon, and perhaps a baking stone.
And hey, don’t forget about safety! hot ovens and boiling water can be like that wild uncle at thanksgiving unexpected and sometimes messy.
Always handle tools and hot stuff with care.
step-by-step Process
Now, let’s break this down into easy, numbered steps so you don’t end up in a doughy disaster.
Prepare the dough: combine 4 cups of bread flour with 1 ½ teaspoons sea salt in a bowl. in another bowl, dissolve 1 ½ teaspoons active dry yeast in 1 ¾ cups lukewarm water (aim for about 100° f , a cozy bath for those yeast critters).
Mix Ingredients: Pour the yeast mix into the flour. You’ll stir this until you have a shaggy dough. Don’t overthink it!
First rise: cover that bad boy with plastic wrap and let it rise for 4 hours . don’t skip the folding every 30 minutes for the first two hours; it’s how you get those glorious air pockets in your rustic bread.
Shape the Loaves: After rising, turn the dough out and divide it. Shape it into two round loaves think of it like giving them a little hug.
Second Rise: Let them sit for another 1- 2 hours , doubling up on their size. Give them room; they need to breathe.
Preheat Oven: Hit that oven to 450° F . Pop in your baking stone to preheat because we’re going to achieve that perfect bread crust.
Score the Loaves: Use a sharp knife to make some slashes on top. This isn’t just for looks; it helps with even baking.
Bake: Get those loaves into the oven for 30- 35 minutes until they’re golden brown and your home smells like heaven.
Cool: For the love of all things good, let the bread cool for 30 minutes before you slice it. This step is where the magic happens!
Expert Techniques
Okay, so let’s talk about some pro tips . here’s where the bread baking techniques shine bright. quality flour is crucial stick with bread flour for texture.
If you're feeling adventurous, toss in some herbs or even olives to switch it up.
Troubleshooting is also part of the game. if your bread isn’t rising, check your yeast! make sure it’s still active.
A good quality loaf should have a soft bread interior and a chewy texture . if you ever achieve those gorgeous air pockets, celebrate like you scored a touchdown!
Success Strategies
Now, listen closely. the common mistakes most people make include rushing the fermentation process or skipping the scoring. take your time! and if you’re making bread ahead of time, you can freeze it after baking.
Just wrap it well and you’ll have that homemade loaf at the ready.
Remember this: the bread making process may seem daunting, but every loaf you bake is a step towards mastering it. soon, you'll find your niche in the world of artisan sourdough and no-knead bread .
Additional Information
Baking bread at home isn’t just a recipe; it's about joining a tradition that’s as rich as italian food culture itself.
Try pairing that artisan italian bread with some nice infused olive oil or a hot bowl of minestrone. i promise you've got the foundation for a meal that’s both comforting and delectable.
So grab your ingredients, roll up your sleeves, and let’s make some bread!
Pro Tips & Secrets
Oh my gosh, if you’re diving into this rustic artisan italian bread adventure, you’re in for a treat! let’s talk secrets, shall we? firstly, patience is key in the bread making process.
That dough fermentation is what gives our bread that killer flavor. so when the recipe says to let it rise for four hours, don't rush it.
Trust the process!
Time saving techniques? sure! mix your dough the night before and let it rise overnight in the fridge. you’ll wake up to a beautifully risen dough that’s ready for shaping.
It’s like waking up to christmas morning, but with bread!
Now, let’s make it pop with flavor! think about adding some fresh herbs or even a bit of zesty garlic.
A dash of olive oil can elevate the dough to new heights. trust me, your taste buds will thank you!
And here’s a fun tip about presentation. when scoring your loaves, don’t just make any old cut go for a nice pattern! you’ll impress everyone when they see those beautiful lines on your crusty bread .
It’s all about that pretty artisan bread texture !
Perfect Presentation
You might be thinking, okay, but how do i make it look as good as it tastes ? here’s the scoop! when it comes to plating techniques , think simplicity.
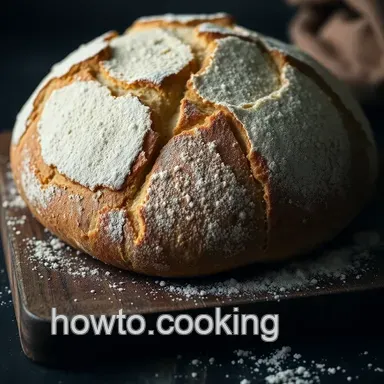
A rustic bread loaf doesn’t need much just a good slice served on a wooden board. feel free to use colorful cloth napkins for a pop!
Garnishing? yeah, it’s a thing! drizzle some infused olive oil over your slices before serving. tossing on a sprinkle of coarse sea salt makes it look gourmet, too.
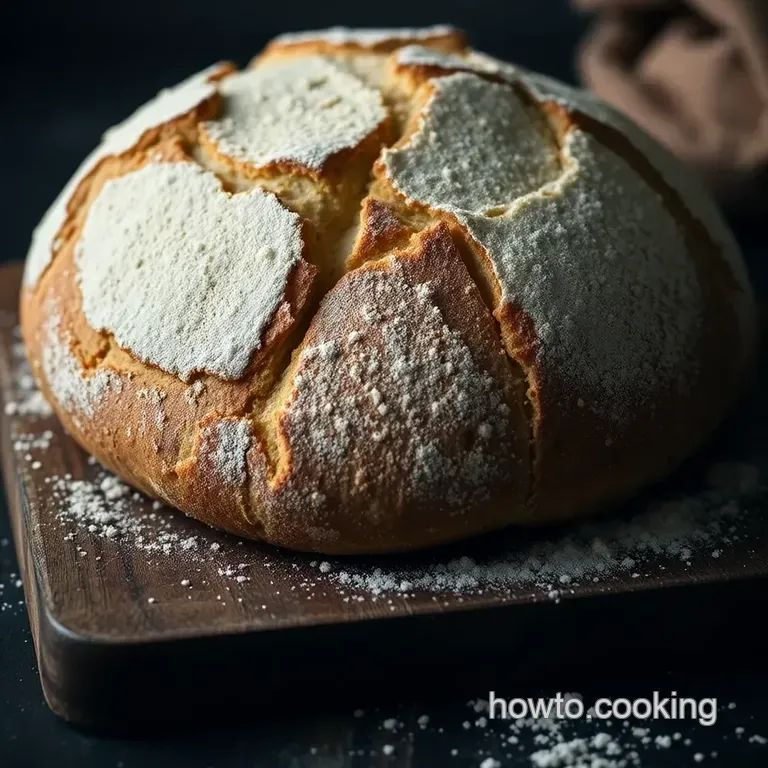
The contrast of the golden crust and the soft bread interior is just screaming for a photo op!
Play with color combinations on your table. pair the bread with bright tomatoes or fresh greens. this adds a vibrant touch, making everything visually appealing.
People eat with their eyes first, you know?
Storage & make-ahead
So, you’ve baked your amazing italian bread, and now what?! here’s how to keep that magic alive. first off, if you’re not eating it right away, store your loaves in a paper bag at room temperature for up to 3 days .
Plastic bags are a no-go; they’ll make your crust sad and soggy.
Thinking about making it ahead? freeze those beauties! wrap tightly in plastic wrap, then toss them in a bag. they’ll keep for about a month.
Just remember to thaw it at room temperature before popping it in a hot oven for a quick reheating. that way, you’ll regain that perfect bread crust !
Creative Variations
Now, let’s shake things up a bit! everyone loves a good italian bread variation . how about tossing in some olive oil or herbed butter for a mediterranean flair? you could even throw in sun-dried tomatoes and cheese for a crazy good twist.
Dietary modifications are super easy too. gluten-free? Use a gluten-free flour blend and adjust accordingly. It’ll still be a rustic treat!
And don’t forget about seasonal ingredients. In the fall, think pumpkin spice! In winter, some rosemary and roasted garlic could be divine. The world of bread baking techniques is your oyster!
Complete Nutrition Guide
Alright, let’s get down to brass tacks: what’s this mean for your body? this bread is packed with whole grains , making it a good source of fiber.
Each slice is around 180 calories , which isn’t bad, right?
All that dough has its perks too! it’s got protein , great for energy, and can fit well into a balanced diet.
Just be mindful of your portions. if you’re pairing it with hearty soups, it can sneak up on you real fast.
But with healthy bread options , like whole grain, you can feel great about indulging!
So there you have it your ultimate guide to making the best artisan italian bread ever. now it’s your turn! get those kitchen tools out, roll up your sleeves, and create something magnificent.
Happy baking! you’ll be a bread making whiz in no time, and i promise your friends will be begging for your secrets.
Frequently Asked Questions
What is artisan Italian bread, and how does it differ from regular bread?
Artisan Italian bread is characterized by its rustic appearance, chewy texture, and deliciously complex flavor resulting from a long fermentation process. Unlike regular bread, it often features an irregular crumb structure with large air bubbles, created through proper dough handling and hydration.
This style emphasizes traditional methods, high-quality ingredients, and craftsmanship.
Can I use all-purpose flour instead of bread flour for artisan Italian bread?
Yes, you can use all-purpose flour, but the texture and structure of your artisan Italian bread may differ slightly. Bread flour has a higher protein content, which helps create a better rise and chewiness.
If using all-purpose flour, consider incorporating a bit of vital wheat gluten to help mimic the qualities of bread flour.
How should I store my artisan Italian bread to keep it fresh?
To keep your artisan Italian bread fresh, store it at room temperature in a paper bag, which allows it to breathe. Avoid plastic bags, which can make the crust soft and soggy. If you want to preserve it longer, wrap it tightly in foil or plastic wrap and freeze it; it can be thawed at room temperature when you’re ready to enjoy it.
What are some serving suggestions for artisan Italian bread?
Artisan Italian bread is versatile and pairs wonderfully with various dishes. Enjoy it with infused olive oil and balsamic vinegar for dipping, or serve it alongside soups and salads. You can also create delicious sandwiches or toast slices for breakfast topped with avocado, tomatoes, or poached eggs.
Can I add flavor variations to my artisan Italian bread?
Absolutely! You can experiment with various ingredients to enhance the flavor of your artisan Italian bread. Consider adding herbs like rosemary or thyme, or incorporating ingredients like olives, garlic, or sun-dried tomatoes into the dough for an exciting twist.
Just ensure these additions do not significantly alter the dough’s hydration level.
What is the ideal temperature to bake artisan Italian bread?
The ideal temperature to bake artisan Italian bread is around 450°F (230°C). This high heat helps achieve a perfectly crispy crust and a well cooked interior. For best results, preheat your oven with a baking stone or sheet inside to ensure even baking and good heat retention.
Rustic Artisan Italian Bread
Ingredients:
Instructions:
Nutrition Facts:
| Calories | 180 |
|---|---|
| Protein | 6g |
| Fat | 1g |
| Carbs | 37g |
| Fiber | 2g |
| Sodium | 200mg |
