Jalapeno Poppers: Crispy, Cheesy, and Baked
- Time: Active 15 minutes, Passive 20 minutes, Total 35 minutes
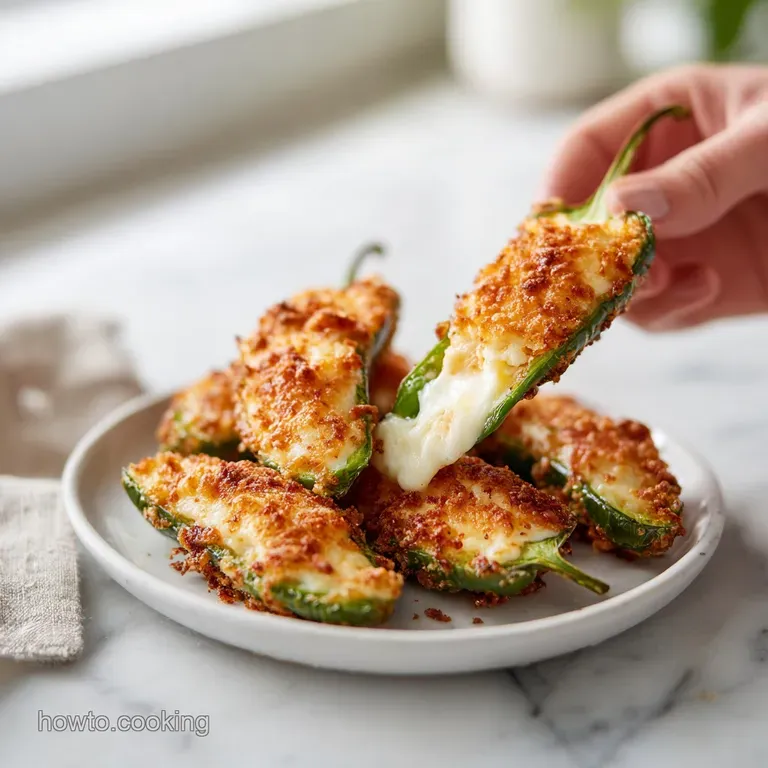
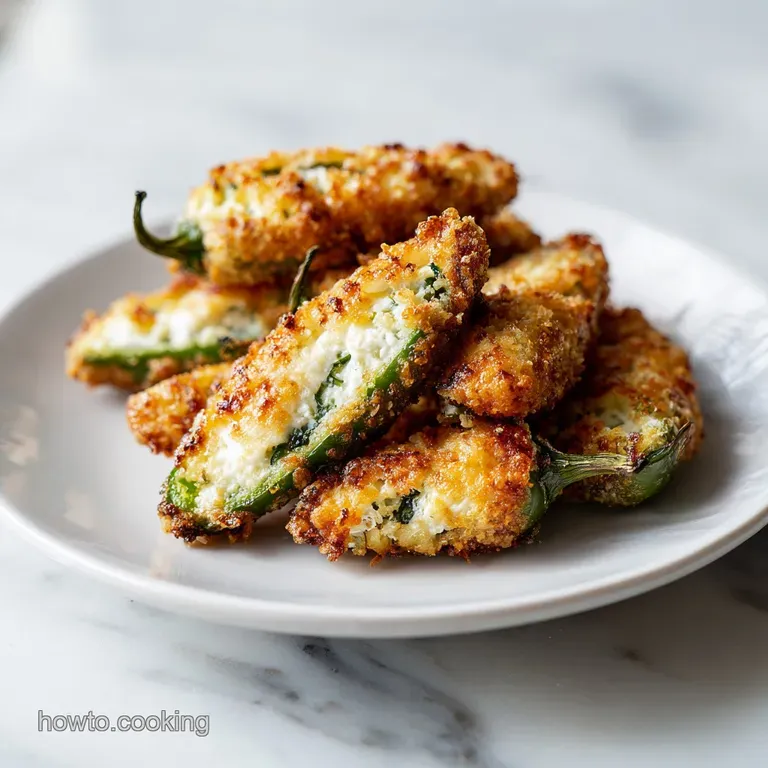
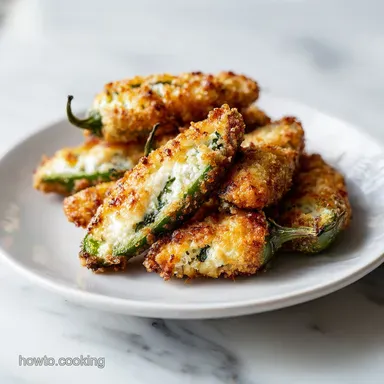
- Flavor/Texture Hook: Smoky, velvety filling inside a crisp, salty bacon shell.
- Perfect for: Game day snacks, budget-friendly potlucks, or family appetizer nights.
Best Techniques for Jalapeno Poppers
Forget everything you have been told about deep frying these snacks to get them "authentic." The biggest myth in the appetizer world is that you need a heavy batter and a vat of oil to get a satisfying crunch. In reality, the oven is your best friend if you know how to use airflow to your advantage.
I remember the first time I tried making these for a housewarming party, I just tossed them on a flat tray and ended up with "soggy bottom" syndrome, where the bacon on the bottom was limp and the cheese was a watery mess.
It was a total disaster, but it taught me the most important lesson in my kitchen, which is that air must circulate. By lifting the peppers up off the tray, you allow the heat to hit the bacon from every angle.
This renders the fat perfectly, turning that thin strip into a shatter crisp casing that holds the whole thing together. You get all that smoky, salty goodness without the heavy, greasy feeling of a fried snack.
The aroma that fills the house while these are baking is something else entirely. It is that specific mix of roasting green peppers and sizzling pork fat that lets everyone know the party has actually started.
We are going for a texture that is firm enough to pick up with your fingers but soft enough that the pepper yields immediately when you take a bite.
Convection Effect: Placing poppers on a wire rack allows hot air to swirl under the pepper, which renders the bacon fat evenly and prevents the bottom from becoming greasy.
Fat Saturation: Mixing sharp cheddar with cream cheese creates a structural web of proteins that keeps the filling thick and prevents it from liquifying and leaking out during the 20 minutes of bake time.
Moisture Control: Removing the white pith and seeds not only controls the heat but also removes the highest moisture part of the pepper, ensuring the shell stays firm.
Protein Denaturation: Using thin cut bacon ensures the pork reaches a crispy state at the exact same time the pepper reaches a tender crisp texture, avoiding the rubbery texture of thick cut varieties.
| Method | Time | Texture | Best For |
|---|---|---|---|
| Conventional Oven | 20 minutes | Evenly crisp, juicy | Large batches/parties |
| Air Fryer | 12 minutes | Maximum bacon crunch | Quick snacks for two |
| Outdoor Grill | 15 minutes | Charred and smoky | Summer BBQs/Cookouts |
Choosing the right method depends on how many people you are feeding. If you are doing a massive spread for a dozen people, the oven is the only way to go. But if it is just you and a friend on a Tuesday night, that air fryer will give you a simple crispy popper in record time with very little cleanup.
Critical Recipe Specifications
When we talk about the game plan for this dish, precision is what keeps us from making a mess. We are aiming for a specific balance of heat and creaminess that doesn't overwhelm the palate. The prep is the most labor intensive part, mostly because handling peppers requires a bit of care.
| Component | Science Role | Pro Secret |
|---|---|---|
| Cream Cheese (225g) | Emulsion base | Use full fat for better melting stability |
| Sharp Cheddar (125g) | Flavor/Structure | Grate your own to avoid anti clumping starches |
| Jalapeños (12) | Structural vessel | Choose peppers with "stretch marks" for more heat |
| Thin Bacon (12 strips) | Moisture barrier | Half strips wrap tighter and cook faster |
Using a sharp cheddar that you grate yourself is a total move. Those pre shredded bags are coated in potato starch or cellulose to keep them from sticking together in the bag. That's fine for a taco, but in a popper filling, it can make the texture feel grainy or prevent the cheese from melting into that velvety ribbons we want.
Essential Wholesome Ingredients
For this recipe, we are using 12 large jalapeños. Look for ones that feel heavy for their size and have smooth, shiny skin. If you see small brown lines that look like stretch marks, those are called "corking," and it usually means the pepper is a bit older and likely a lot spicier.
You will also need 225g (8 oz) of cream cheese. Please, I am begging you, make sure it is softened to room temperature before you start. If it is cold, you will end up with lumps of white cheese and pockets of spice rather than a smooth, unified filling. We mix that with 125g (1 cup) of sharp cheddar cheese.
I like the sharp variety because it stands up to the heat of the pepper and the salt of the bacon.
For the seasoning, we keep it simple but effective: 2.5g (0.5 tsp) of garlic powder and 1.25g (0.25 tsp) of smoked paprika. The smoked paprika is my secret weapon here. It adds a deep, ruby color to the filling and echoes the smokiness of the bacon without needing a grill.
Finally, we wrap each one in 12 strips of thin cut bacon, halved, and finish with 15g (0.25 cup) of freshly minced chives for a pop of color and oniony bite.
| Original Ingredient | Substitute | Why It Works |
|---|---|---|
| Sharp Cheddar | Pepper Jack | Adds extra spice and a softer melt. |
| Smoked Paprika | Liquid Smoke (1 drop) | Provides the same campfire aroma in a pinch. |
| Thin Cut Bacon | Turkey Bacon | Lower fat, but Note: will be less crispy. |
| Garlic Powder | Onion Powder | Keeps the savory profile but changes the base note. |
The chives are not just for looks. They add a fresh, grassy note that cuts through the richness of the fats. If you don't have chives, green onion tops work just as well, but make sure you slice them very thin so they don't overpower the delicate filling.
Necessary Kitchen Equipment
You don't need a professional kitchen to pull this off, but there are two pieces of gear that make a world of difference. The first is a rimmed baking sheet paired with a wire cooling rack. This setup is the gold standard for anything bacon wrapped.
It lets the heat circulate around the bottom, as we discussed, but it also keeps the peppers from sitting in their own rendered fat.
The second "must have" is a pair of disposable gloves. I learned this the hard way years ago. I spent an afternoon prepping forty peppers for a big party, didn't wear gloves, and then accidentally rubbed my eye later that evening. It was a level of pain I wouldn't wish on my worst enemy.
Capsaicin, the oil that makes peppers hot, is incredibly stubborn and doesn't just wash off with soap and water.
- Disposable Gloves: Essential for preventing "jalapeño hand" and accidental burns.
- Small Spoon: A grapefruit spoon or a simple teaspoon is the best tool for scraping out seeds.
- Wire Cooling Rack: Must be oven safe to allow for 360 degree air circulation.
- Rimmed Baking Sheet: To catch the bacon drippings and prevent oven fires.
If you don't have a wire rack, you can crumple up some aluminum foil into long "snakes" and rest the peppers on top of those. It isn't as efficient as a rack, but it still gets the peppers off the flat surface of the pan.
step-by-step Baking Guide
- Put on disposable gloves to prevent capsaicin burns. Slice each of the 12 jalapeños in half lengthwise. Note: Cutting through the stem helps keep the cheese from leaking out the top.
- Using a small spoon, scoop out the seeds and the white membranes until the interior is smooth. Set the hollowed halves aside on a wire rack.
- In a medium bowl, combine the 225g of softened cream cheese, 125g of grated cheddar, 2.5g of garlic powder, and 1.25g of smoked paprika.
- Fold the mixture with a spatula until it forms a uniform, thick paste.
- Fill each jalapeño half with the cheese mixture using the back of your spoon to press it into the corners.
- Wrap each filled half with a half strip of the 12 thin cut bacon strips, ensuring the ends of the bacon are tucked underneath the pepper.
- Place the poppers on a wire cooling rack set over a rimmed baking sheet.
- Bake at 190°C (375°F) until the peppers are tender and the cheese is melted and golden. This usually takes about 20 minutes.
- Remove from the oven and let them sit for 5 minutes. Wait until the sizzling stops before garnishing with 15g of minced chives and serving.
The 5 minute rest period is the hardest part, but it is the most critical. The cheese filling is basically molten lava when it first comes out. Letting it sit allows the proteins to firm up slightly so the filling doesn't go running down your chin when you take that first glorious bite.
Common Mistakes and Fixes
The most common issue people run into is the "Filling Blowout." This happens when the cheese gets too hot too fast and expands, pushing itself out of the pepper shell. This is usually caused by overstuffing. You want the cheese to be flush with the edges of the pepper, not mounded up like a scoop of ice cream.
Why Your Bacon Is Limp
If your bacon isn't getting crispy, it is almost always an airflow issue. If the peppers are crowded together on the rack, they will steam each other instead of roasting. Make sure there is at least a centimeter of space between each pepper.
Also, if you used thick cut bacon, it simply needs more time to render than the pepper can handle without turning into mush.
Handling the Pepper Heat
Sometimes you get a batch of peppers that are absolute fire, and other times they are as mild as a bell pepper. If you want to ensure a milder experience, soak the hollowed out pepper halves in cold water for 10 minutes before filling them. This leaches out some of the capsaicin.
| Problem | Root Cause | Solution |
|---|---|---|
| Leaking Cheese | Overfilling the cavity | Fill only to the rim of the pepper. |
| Soggy Bacon | No air circulation | Use a wire rack to lift peppers off the tray. |
| Burned Bottoms | Sugar in the bacon | Use plain, salt cured bacon rather than maple cured. |
Common Mistakes Checklist
- ✓ Always wear gloves; capsaicin oil stays on skin for hours.
- ✓ Soften the cream cheese fully to avoid a lumpy, unappealing texture.
- ✓ Don't use thick cut bacon; it won't crisp up in the 20 minute window.
- ✓ Remove every single seed if you are serving a crowd with low heat tolerance.
- ✓ Use a rimmed tray to prevent bacon grease from dripping onto the oven floor.
Wholesome Dietary Adaptations
If you are cooking for a crowd with different needs, this recipe is surprisingly flexible. For a keto friendly version, you are already mostly there! This snack is naturally low in carbs, making it a favorite for the low carb community. Just ensure your bacon isn't cured with sugar or maple syrup.
For those looking to save a bit of money, you can swap the bacon for a simple panko topping mixed with a little melted butter. You still get that "shatter" texture but at a fraction of the cost. If you go this route, bake them at the same temperature and time, but watch for the crumbs to turn golden brown.
- To scale down (6 servings): Use 6 peppers, 115g cream cheese, and half quantities of spices. Reduce bake time by 3 minutes as the oven will be less crowded.
- To scale up (48 servings): Work in two batches or use two racks. Keep spices at 1.5x the original amount rather than doubling to avoid overwhelming the cheese flavor.
- Baking Large Batches: If using two racks in one oven, rotate the pans halfway through the 20 minutes to ensure even browning.
If you are looking for a different way to use these flavors, my jalapeno popper deviled eggs are a fantastic budget friendly alternative that uses eggs as the vessel instead of peppers. It is a great way to stretch your ingredients if peppers are expensive in your area.
| Servings | Jalapenos | Cream Cheese | Bacon Strips |
|---|---|---|---|
| 12 Pieces | 6 | 115g | 6 |
| 24 Pieces | 12 | 225g | 12 |
| 48 Pieces | 24 | 450g | 24 |
Storage and Waste Management
These poppers are best eaten fresh, but if you have leftovers, they keep surprisingly well. Store them in an airtight container in the fridge for up to 3 days. When you want to eat them again, don't use the microwave! It will make the bacon rubbery and the pepper soggy.
Instead, pop them back into a 180°C (350°F) oven for 5 to 8 minutes until they sizzle again.
Freezing Strategy: You can freeze these BEFORE baking. Assemble them completely, wrap them in bacon, and then flash freeze them on a tray for an hour before transferring to a freezer bag. They will stay good for 2 months.
To cook from frozen, just add about 10 minutes to the baking time.
Zero Waste Tip: Don't throw away those jalapeño stems and seeds! If you like spicy food, you can toss the seeds into a jar of vinegar to make a quick "hot vinegar" for greens or beans.
The stems can be tossed into a freezer bag for making veggie stock later they add a subtle, earthy depth without too much heat.
Serving and Pairing Ideas
When it comes to serving, these are the kings of the party platter. I love to serve them on a large wooden board surrounded by fresh veggies to balance the richness. If you want to go the "sweet and heat" route, a small bowl of honey or raspberry jam on the side for dipping is a total game changer.
The sugar in the jam plays perfectly against the salt of the bacon and the heat of the pepper.
- The Picnic Spread: Pair these with cold fried chicken and a crisp coleslaw.
- The Game Day Duo: Serve alongside high protein snacks like wings or sliders.
- If you want more crunch, add panko: Dip the cheese filled side in breadcrumbs before wrapping in bacon.
- If you want it spicier, keep the seeds: Finely chop two of the removed seeds and mix them back into the cream cheese filling.
- If you want a smoky kick, use chorizo: Mix cooked, crumbled chorizo into the filling for a meatier bite.
These poppers are a testament to the fact that you don't need fancy ingredients or complex techniques to make something truly memorable. It's just about managing the heat, the air, and the fat.
Once you see that first batch come out of the oven, golden and bubbling, you'll never go back to the frozen or deep fried versions again. Trust me, your friends will be asking for the recipe before the tray is even empty.
The combination of the velvety center and the crisp bacon shell is a classic for a reason it just works. Enjoy the process, and don't forget those gloves!

Recipe FAQs
How to prevent skin irritation when prepping jalapeños?
Wear disposable gloves while handling the peppers. Capsaicin oils are potent and can cause significant skin burning if you touch your face or eyes after cutting.
Why is my cheese filling leaking out during baking?
Avoid overstuffing the pepper halves. Keep the cheese mixture flush with the pepper edges; mounding it too high causes the filling to expand and spill out as it heats.
Is it necessary to use a wire rack for baking?
How to reheat leftovers without making them soggy?
Reheat in a 350°F oven for 5 to 8 minutes. Avoid the microwave entirely, as it will ruin the texture of the bacon and soften the pepper shell.
How to store these for later?
Flash freeze assembled, unbaked poppers on a tray for one hour. Once firm, transfer them to a freezer bag to prevent them from sticking together until you are ready to bake.
Is it true I should boil the peppers before filling them?
No, this is a common misconception. Raw jalapeños soften perfectly during the 20-minute bake time, and boiling them beforehand can lead to a mushy final texture.
How to ensure a smooth, uniform cheese filling?
Fold the cream cheese and spices with a spatula until completely combined. If you enjoyed mastering the velvety texture here, you can apply similar blending techniques when preparing various creamy dips and spreads.
Bacon Wrapped Jalapeno Poppers
Ingredients:
Instructions:
Nutrition Facts:
| Calories | 78 kcal |
|---|---|
| Protein | 3.7 g |
| Fat | 6.4 g |
| Carbs | 1.5 g |
| Fiber | 0.3 g |
| Sugar | 0.6 g |
| Sodium | 128 mg |
