Classic Cookie Cutter Cookies: a Sweet Canvas for Creativity
- The Sweet Kiss of Cookie Cutter Cookies
- Essential Ingredients Guide: Your Key to Perfect Cookies
- Elevating Your Baking Game: The Professional Cooking Method
- Pro Tips & Secrets to Rock Your Cookie Cutter Cookies
- Perfect Presentation for Those Sweet Treats
- Storage & Make-Ahead Magic
- Creative Variations to Spice Things Up
- Complete Nutrition Guide (Because Who Doesn’t Love Mindful Eating?)
- Wrapping It All Up
- Frequently Asked Questions
- 📝 Recipe Card
The Sweet Kiss of Cookie Cutter Cookies
Ever had one of those moments that instantly takes you back? picture this: i’m a kid, slicing through thick clouds of flour in my grandma's kitchen while the smell of vanilla wafts through the air.
That’s the charm of cookie cutter cookies . they’re not just treats; they’re a sweet dive into nostalgia. honestly, whether it’s a festive gathering or a cozy evening treat, these cookies have a way of warming the heart and brightening up any occasion.
A Cookie with a Story
Cookie cutter cookies have a history as rich as the butter that goes into them. they trace back to the early 19th century, where bakers used simple, handmade molds.
Fast forward to today, and they still reign supreme, especially during the holidays. you know those classic butter cookie recipe christmas gatherings? these cookies make an appearance every time! it’s like they’ve become a universal sign of celebration.
Not too shabby for a little dough, right?
Now, if you're wondering about effort and time, this recipe is easy peasy ! you’re looking at just around one hour , including a chill out session for the dough.
And the yield? a cozy batch of 24 delightful cookies. so, whether you’re baking with your kids or trying to impress someone special, it’s a breeze!
The Sweet Perks of Baking
You might be thinking, “but what’s so special about cookies?” well, let me break it down. first up, these cookies offer some real health benefits.
Using quality ingredients like homemade butter can ensure you’re steering clear of all those additives. plus, these cookies can be tweaked to suit almost any occasion birthdays, school events, or a saturday movie night!
And the real kicker? unlike other recipes that require elaborate skills, this butter cookies recipe lets even the most novice bakers shine.
It calls for basic ingredients that most of us already have sitting around. friends might think you’ve been slaving away for hours when really, it’s all about combining a few humble components.
But here’s the real magic: there’s something therapeutic about the process. rolling out dough, cutting it into shapes, and decorating for fun it just gives that happy place vibe.
You get to decide how creative you want to be. sprinkles, icing, or even some wild cookies and candy combinations there are no limits here! and who doesn’t love a cookie that’s not only tasty but is also a piece of art?
A Sweet Transition into Ingredients
Alright, folks, before we dive right into the ingredients and assembly of these beauties, let’s chat about keeping the process smooth.
You’ll want to keep things chilled literally! chilling the dough not only helps with rolling but also prevents those cookies from spreading like they’ve had too much sugar.
Trust me, once you see how easy it is to whip these up, you’re going to want to join me for another cookie adventure .
Ready to roll up those sleeves and bake some magic? let’s go gather our ingredients!
Essential Ingredients Guide: Your Key to Perfect Cookies
When it comes to baking, nailing down your ingredients is half the battle. imagine whipping up a batch of those delightful cookie cutter cookies and everyone asking for the recipe! well, buckle up, buttercup, because i’ve got your back!
let’s break down the essentials that’ll make your cookies not just good, but outrageously tasty.
Premium Core Components
First off, let’s talk measurements, folks. For this winning butter cookie recipe , you're going to need:
- 2 ½ cups all-purpose flour (that’s about 315g ).
- 1 cup unsalted butter (or roughly 226g , which is a whole stick plus a smidge).
- 1 cup granulated sugar (which equals about 200g ).
- Don’t forget the baking powder, salt, an egg, and some good ol’ vanilla extract!
Now, quality matters. Look for unsalted butter that’s real, not margarine (please, let’s not go there!). Fresh baking powder is your friend, and make sure those eggs don’t scrunch their noses at you check the expiration date!
Storage guidelines? keep those ingredients cool and dry. eggs can chill in the fridge, but don’t forget to bring them to room temperature before using.
As for the butter, it should hang out on the counter for about 30 minutes before you start mixing. this just makes your dough mix miles easier.
Signature Seasoning Blend
Next up are those spices and flavors the secret sauce, if you will. for your cookie recipe christmas , think about adding some pizzazz with a touch of cinnamon or nutmeg! just 1 tsp can transform your cookies from “meh” to “wow.
”
Herbs aren’t on the cookie list, but don’t sleep on flavor enhancers ! this is where you can really play.
Maybe you want to sprinkle in some lemon zest or drop in some chocolate chips. go wild! each bite should scream your unique flavor.
Smart Substitutions
Did i hear you say you’re fresh out of sugar? don’t sweat it! there are plenty of alternatives. you can use brown sugar for a deeper flavor profile or even maple syrup in a pinch.
If you’re keeping it healthy, try some coconut sugar.
Oh, and if you're in dire need of an egg mix 1 tbsp ground flaxseed with 2.5 tbsp water and let that sit! it’s an excellent vegan swap so no one feels left out during your butter cookies easy adventure.
Kitchen Equipment Essentials
Now, let’s break down your must have tools. you’ll need a mixing bowl, a whisk (or an electric mixer), and cookie cutters this is where the fun unfolds! you can get fancy or keep it simple; it all depends on how creative you feel.
A rolling pin is another must. Oh, and parchment paper? Life saver. It’ll save you from sticking disasters and make cleanup a breeze.
Final Thoughts
So, now you're fully equipped to embark on your cookie making journey! if there’s one tip to remember, it’s that baking is as much about the joy of creating as it is about the end result.
Whether you’re whipping these up for the holidays or just because it’s tuesday, have fun! use the cookie cutter cookies recipe to spark your creativity, decorate with sprinkles or icing, and watch your loved ones devour those buttery bites!
Are you ready to dive right into the instructions? Let’s make some magic happen in the kitchen!
Elevating Your Baking Game: The Professional Cooking Method
Let’s chat about professional cooking methods. even if you’re just whipping up a cookie cutter cookies recipe , a little structure can elevate your baking to a whole new level.
Seriously, a sprinkling of organization goes a long way!
Essential Preparation Steps
First up, let’s dive into mise en place . it’s a fancy french term meaning “everything in its place.” before you even think about the mixing bowl, gather all your ingredients.
For our cookie recipe, that means your 2 ½ cups of flour and 1 cup of softened butter are ready to go.
This prevents scrambling around looking for stuff mid-bake. trust me, i’ve learned that the hard way!
Time management is key. set a timer on your phone for every step, especially baking. remember, 10- 12 minutes in a preheated oven at 350° f ( 175° c) and you'll have perfect cookies.
Plus, i always keep a notebook handy to jot down cooking times for future reference. it’s like my little baking diary.
Super cute, i know!
Organization helps too. create a clean space. clear the clutter off your counters, so you won’t accidentally grab the garlic powder instead of the baking powder.
Talk about disaster in a bowl, right?
Safety first! Don’t forget to wash your hands and keep raw ingredients separate. And let’s be real, if you burn yourself, it’s not pretty just keep it safe, friends!
step-by-step Process
Let’s break it down into simple steps:
- In a mixing bowl, whisk together your 2 ½ cups of all-purpose flour , 1 tsp baking powder , and ½ tsp salt .
- In another bowl, cream together 1 cup unsalted butter with 1 cup granulated sugar until fluffy think clouds, people!
- Beat in 1 egg and 1 tsp vanilla . Can you smell that vanilla wafting through your kitchen?
- Gradually mix the dry ingredients into the wet ones until a dough forms.
- Chill that dough for 30 minutes . Trust me, this is crucial to avoid flat cookies!
- Preheat that oven while you roll your dough out to ¼ inch thick .
- Cut and place cookies on a lined baking sheet.
- Bake for 10- 12 minutes , or until the edges are golden. Grab a spatula; you'll need it!
Expert Techniques
Now let’s talk techniques. pro bakers often have little tricks up their sleeves. one key step? chilling the dough well before rolling it out.
This helps keep your cookies thick and soft. if they spread too much, you could wind up with sad little cookie puddles instead of shapes.
Quality checkpoints like checking for that golden brown edge are also crucial. make it a habit to open the oven just a minute before the timer goes off; this isn’t just baking, it’s a baking art.
And when you’re done, troubleshoot common issues. cookies too hard? maybe you overbaked them. too soft? perhaps try chilling the dough longer next time.
Little moments like these? they help you become a better baker over time!
Success Strategies
Learning to bake is a journey, and there are pitfalls. one common mistake? not chilling your dough! you really want nice, thick cookies.
Also, ensure you’re measuring accurately! those 1 cup or 1 tsp measures? they matter.
Quality assurance is necessary. After baking, if a few cookies look sad, give them a quick taste test. If they’re out of this world, that’s bound to boost your confidence.
Guess what? if you’ve got leftover dough, make-ahead options rock! you can freeze cookie dough and bake later. just cover it tightly in plastic wrap and pop it in the freezer.
Next time you have unexpected guests, you're dessert ready!
So whether you’re using this method for a rich butter cookie recipe or a fun butter cookies easy treat for Christmas, having a plan helps you crush it every time.
As we wrap this up, if you’re ready to dive deeper into the world of cookies, check out our section on additional information .
.. because trust me, there’s always more to learn if you want to perfect that cookie skills arsenal!
Pro Tips & Secrets to Rock Your Cookie Cutter Cookies
Cooking can feel a bit like an adventure sometimes, right? It’s all about learning as you go. So, let's dive into some pro tips to make your cookie cutter cookies recipe shine brighter than your grandma's Christmas lights!
First off, chill your dough like it's a winter day. seriously! it's key for keeping those shapes intact. you’ll want to pop the dough in the fridge for about 30 minutes .
Trust me, it's well worth the wait.
Another biggie is beating your butter and sugar until they’re as fluffy as a cloud. i can't stress this enough this will give you that melt-in-your mouth texture we all crave.
A solid creaming technique is vital for that light and airy cookie.
And if you wanna kick the flavor up a notch, a little pinch of cinnamon or vanilla extract can work wonders.
You can even sneak in some zest from a lemon or an orange . it’s like giving your cookies a mini vacation in the tropics!
Perfect Presentation for Those Sweet Treats

Let’s face it, the first thing that grabs our attention is a killer presentation. So, how can we make those cookies look as fabulous as they taste?
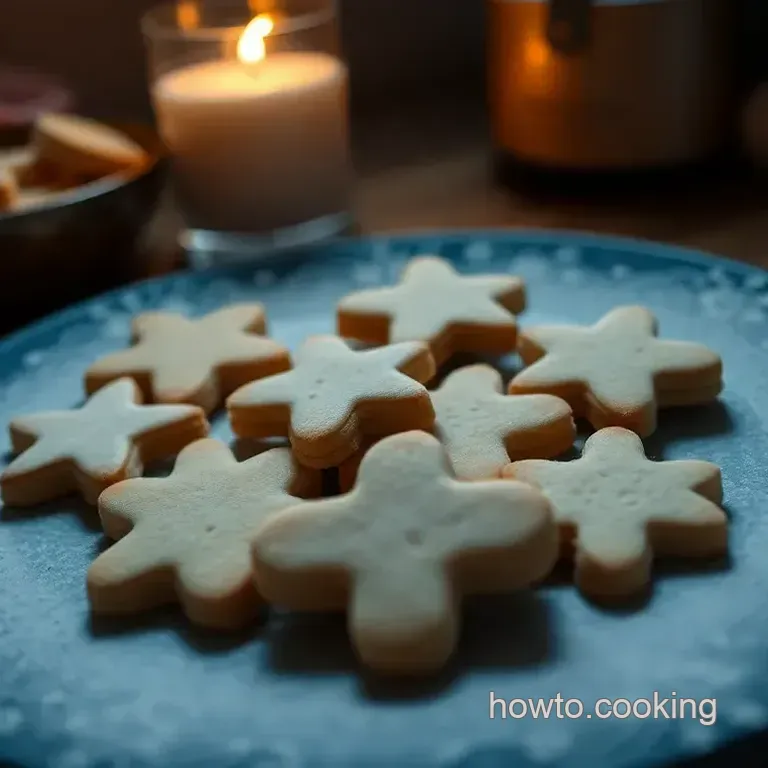
Start with plating. a simple white plate can make the colors of your cookies pop like fireworks. stack them with a sprinkle of powdered sugar on top for that wow factor.
It’s all about making it look inviting!
When it comes to garnishing , think edible glitter or colorful sprinkles. kids (and adults, let's be real) love them! and don’t forget about contrasting colors.
A royal blue icing on a yellow cookie? that’s a vibe!
Visual appeal is key. well placed cookies with a mug of hot cocoa or tea can turn snack time into an instagram worthy moment.
It’s all about creating the perfect backdrop for those perfect bites!
Storage & make-ahead Magic
Now, let’s chat about storage. you don’t wanna be that person who has stale cookies sitting around. after they cool down, you should store them in an airtight container.
For best freshness, keep them at room temperature, and they should last about a week. if you want to keep them longer, toss ‘em in the freezer for even up to three months!
And if you’re all about make-ahead goodness , you can whip up the dough a day or two in advance.
Just wrap it good in plastic and store it in the fridge. oh, and don’t forget to let it sit at room temp for a bit before rolling it out; it’ll make everything so much easier!
Creative Variations to Spice Things Up
Bored of the classic cookie? Don’t worry, I’ve got you covered! With this cookie cutter cookies recipe , you can get as creative as your heart desires.
Try adding chocolate chips for a fun twist. or spice things up with some pumpkin puree in the fall! it’s like a little celebration in your mouth, and it pairs perfectly with a cup of warm cider.
And because i’m all about fun surprises, consider making some dough with different flavors. for example, you can swap some of the flour for cocoa powder to turn them into chocolate cuties.
Talk about a treat for your taste buds!
Complete Nutrition Guide (Because Who Doesn’t Love Mindful Eating?)
Alright, let’s hit the health notes. Now, before you dive in, each cookie has about 120 calories. They have a decent balance of fat and sugar, but hey, it’s a cookie! We’re not aiming for kale here, folks!
If you wanna add some health benefits, consider swapping half of the all-purpose flour for whole wheat flour. it adds some fiber and nutrients.
And let’s not forget the sweet moment of enjoying those buttery goodness while you’re perhaps watching your favorite show.
Wrapping It All Up
In the end, whether it's for a cozy family night or a festive party, your cookie cutter cookies will definitely be a hit.
The beauty of this recipe is in its versatility. you can dress it up or down, and that’s what makes it so exciting!
So, go ahead and experiment with your flavors and decorations ! have fun with it! and never forget, making cookies is all about the joy of sharing.
So grab a friend or family member, bake together, and create sweet memories . happy baking!
Frequently Asked Questions
What are cookie cutter cookies, and how do I make them using your cookie cutter cookies recipe?
Cookie cutter cookies are delightful biscuits shaped with various cookie cutters, making them perfect for any occasion! To make them using the cookie cutter cookies recipe, you'll mix flour, butter, and sugar, chill the dough, roll it out, cut the shapes, and then bake them to golden perfection simple as that!
How can I ensure my cookie cutter cookies don't lose their shape while baking?
To keep your cookies from losing their shape, it’s vital to chill the dough thoroughly before rolling it out. This helps the fats solidify, preventing the cookies from spreading. Also, bake them on a preheated baking sheet lined with parchment paper to limit movement while baking.
Can I make cookie cutter cookies in advance and how should I store them?
Yes, you can absolutely make cookie cutter cookies in advance! Store them in an airtight container at room temperature for up to a week. If you want them fresher longer, freeze the undecorated cookies individually wrapped in plastic wrap, then in a zip-top bag, for up to three months.
What are some fun decorating ideas for cookie cutter cookies?
Let your creativity shine! Use royal icing for detailed designs, food coloring for vibrant decor, and don’t forget sprinkles or edible glitter for that extra sparkle. You could even have a decorating party just like the Bake Off but without the tent and the prize for Star Baker!
Are there any healthier alternatives I can use in this cookie cutter cookies recipe?
Absolutely! You can substitute part of the all-purpose flour with whole wheat flour for more fiber or use coconut oil instead of butter for a lighter option. For a delightful twist, try using brown sugar, which adds moisture and a bit of caramel flavor to your cookies!
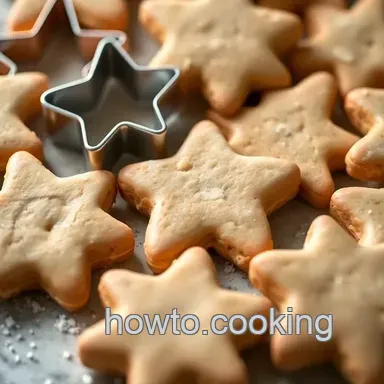
What types of cookie cutters work best for this cookie cutter cookies recipe?
Any cookie cutter shape can work for this recipe! Classic shapes like stars, hearts, and holiday themed designs are always a hit, but getting creative with quirky shapes can be just as fun think dinosaurs, unicorns, or even your favourite tea time items!
Just make sure they’re not too intricate to begin with, especially if you're a beginner.
Classic Cookie Cutter Cookies A Sweet Canvas For
Ingredients:
Instructions:
Nutrition Facts:
| Calories | 120 |
|---|---|
| Fat | 6g |
| Fiber | 0g |
