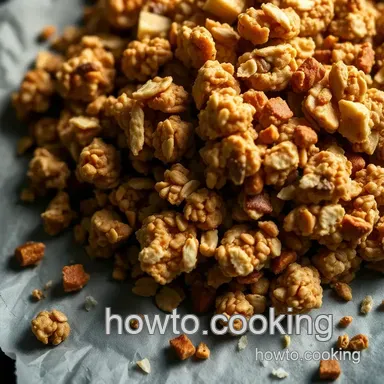
Crunchy Homemade Granola Clusters
Crunchy Homemade Granola Clusters: A Breakfast Game Changer!
Oh my gosh, have you ever looked into your pantry and thought, “i need something crunchy, sweet, but also kinda healthy?” that's how i ended up on a granola spree! seriously, one day i just threw everything together, and bam! my quest for the perfect breakfast snack turned into an adventure.
That’s when i learned how to make granola clusters. trust me, these babies have become a go-to in my kitchen, and they are a game changer!
Granola has been around for ages, and it feels like it’s always been a part of american breakfasts think campers around a fire, munching on cereals ripe with oats and nuts.
It’s not just breakfast anymore; granola has woven itself into our snack time and post workout routines. and why shouldn't it? crunchy and sweet, it fits perfectly into modern life.
Plus, whipping up a batch of these crunchy homemade granola clusters takes just about 40 minutes from start to finish!
A Quick Peek into the Crunchy World
You might be thinking, "is it really that easy to make granola?" honestly, yes! this recipe is not just easy; it's downright beginner friendly! with just a handful of ingredients like oats, nuts, and that sticky sweetener (hello honey or maple syrup!), you’re in for a treat.
The yield? about 12 servings , perfect for sharing or hoarding (no judgment here!). and don’t worry about breaking the bank: this granola recipe is relatively inexpensive so you can enjoy all those flavors without guilt.
What’s in It for You?
Now, let’s talk about the key benefits . first off, these granola clusters are packed with nutrients hello healthy fats from the nuts and fiber from the oats! with about 250 calories per serving, they’re a great way to kickstart your day without weighing yourself down.
Plus, you can make them gluten-free by simply switching to gluten-free oats.
These clusters are great for any special occasion whether it’s prepping meals for a busy week ahead or serving them at brunch with friends.
You can mix and match flavors to suit your taste buds, which sets them apart from store-bought granola bars that can be packed with added sugars and preservatives.
You know, when you really think about it, it’s all about being in control of what goes in your food.
This recipe stands out not just for its taste but also for the ability to tailor it to your diet or cravings! you can jazz it up with chocolate chips, or keep it simple with just nuts and a sprinkle of cinnamon.
I'm telling you the possibilities are endless!
Let’s Get Cooking!
Now that we’ve got the warm and fuzzy feelings sorted, let’s dive into the tasty stuff! ready to make your own batch of crunchy homemade granola clusters ? before we get into the nitty gritty of ingredients, remember that this recipe calls for just one thing: a little creativity.
Head over to the ingredients section to grab everything you’ll need to satisfy your morning (or snacking!) cravings. Whether you're whipping this up for yourself or impressing someone special, trust me, homemade granola is totally the way to go!
Your Go-To Guide for Essential Ingredients
Hey, friend! let’s dive into the essential ingredients guide the holy grail for anyone looking to whip up some tasty treats in the kitchen.
From the classics like vanilla granola to the trendy gluten-free granola we see everywhere, knowing your ingredients makes all the difference!
Premium Core Components
When you're cooking up a storm, you want to make sure you're using the best ingredients available, right? first up, detailed measurements are key whether you're following a granola recipe or something fancier.
Here’s a quick cheat sheet:
-
Measurements:
- 3 cups rolled oats (about 240g)
- 1 cup mixed nuts (around 150g)
- 240ml sticky sweetener (honey or maple syrup)
Also, keep an eye on those quality indicators. fresh oils should be clear; nuts shouldn’t smell rancid. and storage guidelines can save your life! most nuts can hang out in the cupboard for a few months, but if you want those granola clusters to keep their crunch store ’em in a sealed container in a cool place.
Signature Seasoning Blend
Now, let’s jazz things up with some signature seasoning blends . you can’t go wrong with a dash of cinnamon in your granola! it just screams homemade snacks ! also, think about herbs and spices that pair well with oats.
Try some nutmeg or maybe a pinch of ginger. the right blend can take your homemade granola from basic to absolutely phenomenal .
And guess what? there are regional variations, too. if you’re feeling adventurous, try adding a bit of chili powder for a kick or some cocoa powder for a chocolatey treat particularly in your granola bars or clusters .
Smart Substitutions
Alright, life happens, and sometimes you run out of certain ingredients. Don’t sweat it! There are always smart substitutions . If your pantry is lacking, here’s what to do:
- Honey can easily be swapped for maple syrup or even agave nectar .
- No nut butter? Try sunflower seed butter instead.
- Seasonal options? Use dried fruits like cranberries in the fall or cherries in the summer.
This kind of flexibility is what makes cooking fun and creative.
Kitchen Equipment Essentials
Let’s talk kitchen gear . You don’t need a fancy setup to create healthy snacks , but a few must have tools can make your life easier. Here’s your list:
- A large mixing bowl for combining your stuff.
- A reliable baking sheet —preferably one that doesn’t stick.
- Some parchment paper . Oh man, it’s a lifesaver for clean-up!
Funny story time once, I forgot the parchment paper, and let me tell you, scraping baked granola off the sheet is NOT a good time! Trust me, just use the paper.
Wrapping It Up
So there you have it! a solid breakdown of essential ingredients and tips for dashing up your next kitchen experience.
If you’re all set to start cooking, i suggest you check out the steps on how to make granola clusters that will blow your breakfast out of the water.
This recipe is not just simple; it can become a canvas for your culinary creativity.
Next up, let’s dive into those step-by-step instructions so you can get crunching on that delicious homemade granola. You won’t believe how good it tastes with a splash of yogurt or even as a snack right out of the jar! Happy cooking!
Professional Cooking Method for Making Crunchy Homemade Granola Clusters
Dreaming of a breakfast that packs a punch? look no further! crunchy homemade granola clusters are here to save your morning! these beauties are not just tasty but also super easy to whip up.
Ever find yourself wanting a snack that’s both healthy and indulgent? trust me, this recipe is your go-to.
Let’s dive into some essential preparation steps first. You know how they say, “Start strong, finish strong.” That couldn't be more true in cooking!
Essential Preparation Steps
Mise en place: first things first get everything ready. measure out 3 cups of rolled oats and 1 cup of mixed nuts .
Having all your ingredients prepped not only makes the cooking process smoother, but it also boosts your confidence in the kitchen.
Time management: this granola recipe is pretty forgiving. you only need about 15 minutes to prep and 25 minutes to bake .
Trust me when i say you’ll be munching on those crunchy clusters in no time!
Organization Strategies: Keep your workspace tidy. Put all your tools within arm’s reach. You’ll need a large mixing bowl, a baking sheet, and some parchment paper. Easy peasy!
Safety considerations: remember to keep an eye on your oven temperature. we’ll be preheating it to 350° f ( 175° c) .
Baking is a bit like dating; you want to keep things warm but not too hot, if you know what i mean!
Step-by-step Process
Now, let's break it down step by step. Don’t worry; you got this!
Preheat Oven: Start by preheating your oven to 350° F ( 175° C) . This is super important for achieving that golden crunch.
Combine the dry ingredients: grab that big bowl, and toss in the 3 cups of rolled oats , 1 cup of nuts , 1/2 cup shredded coconut , and a pinch of salt and maybe a sprinkle of cinnamon if you want to groove it up.
Mix the wet ingredients: in another bowl, whisk together your sticky sweetener be it honey or maple syrup and 1/2 cup nut butter .
Stir in 1 teaspoon of vanilla extract , and you will sniff the magic.
Combine Mixtures: Pour the wet ingredients over the dry mix. Swirl it around till everything is covered in sticky goodness!
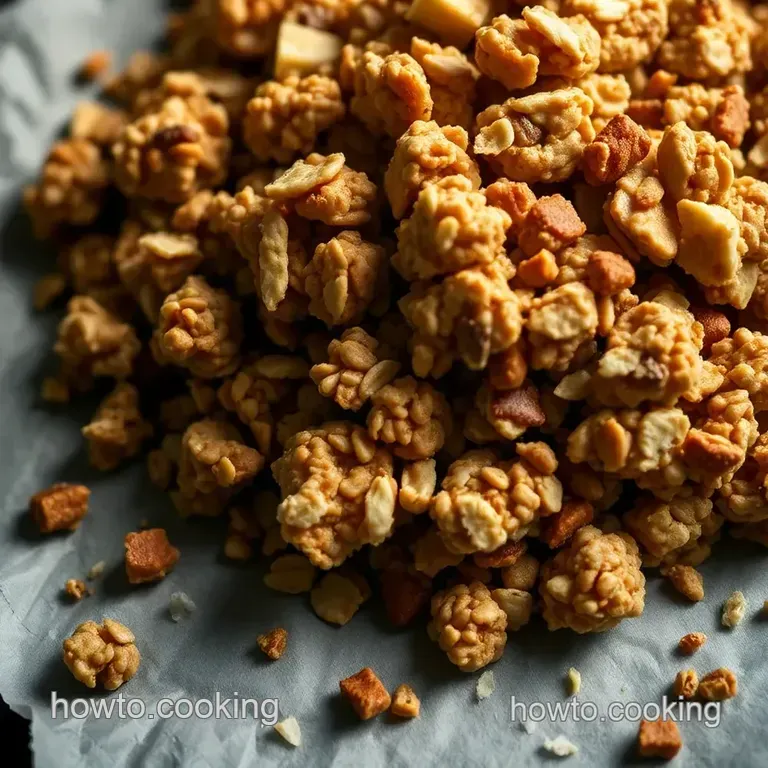
Bake it: spread that mixture evenly on your baking sheet. bake for about 20- 25 minutes , but don't forget to stir halfway through! you'll know it’s done when it turns a lovely golden brown.
Cool Down: Once out of the oven, let it cool completely. This step lets those clusters form, so resist the urge to munch right away!
Store: When it’s all nice and cool, break it into clusters and store in an airtight container. Trust me, these won’t last long!
Expert Techniques
Here’s where we turn you into a pro! For tasty granola clusters , it's all about the method.
Critical Steps: Don’t overmix when combining wet and dry ingredients. This helps keep those big, crunchy clusters intact.
Quality Checkpoints: Keep an eye on the golden color while baking. If you see it just turning, that’s your cue to stir keeping things even!
Troubleshooting Tips: If your clusters break apart too much, try using a little more nut butter next time. It'll help stick things together better.
Success Strategies
Who wants to flub the recipe? Not you! Here are tips to ace it.
Common Mistakes to Avoid: Overbaking is a bummer. Keep checking!
Quality Assurance Tips: Taste it! If it seems a bit "meh," feel free to add a dash more salt or cinnamon next time.
Perfect Results Guide: Follow those temperatures and times. It’s all about consistency!
make-ahead Options: You can prep this vanilla granola ahead of time. It lasts up to two weeks when stored properly.
So there you have it! Now knowing how to make granola clusters feels like a breeze. Mix, bake, and breathe in that heavenly aroma.
Stay tuned for our next section on Additional Information where we wrap everything up and unveil quick serving ideas and variations! Trust me, your breakfast routine is about to get a whole lot tastier!
Unraveling the Secrets of Crunchy Homemade Granola Clusters
Oh my gosh, if you’re here wanting to know how to make granola clusters , you’re in for a tasty adventure! these little gems are not just your average breakfast; they’re like a hug in a bowl.
Trust me, once you pop one in your mouth, you’ll be hooked. so, let’s dive into some additional recipe information to ensure these crunchy homemade granola clusters come out just right every time.
Pro Tips & Secrets
First off, let me share a few nuggets of wisdom i’ve gathered over the years. don’t overmix! yep, you heard me! just gently combine your wet and dry ingredients.
If you want those big, beautiful chunks, overmixing will give you tiny bits instead. also, if you’re racing against time, try prepping a double batch.
Tossing a few extra clusters in the oven means more right at your fingertips during the busy mornings ahead.
For a flavor boost, consider adding vanilla extract and a sprinkle of cinnamon totally brings out that Vanilla Granola vibe. And, presentation matters! A neat pile in a cute bowl with some berries on the side? Instant Instagram worthy dish!
Perfect Presentation
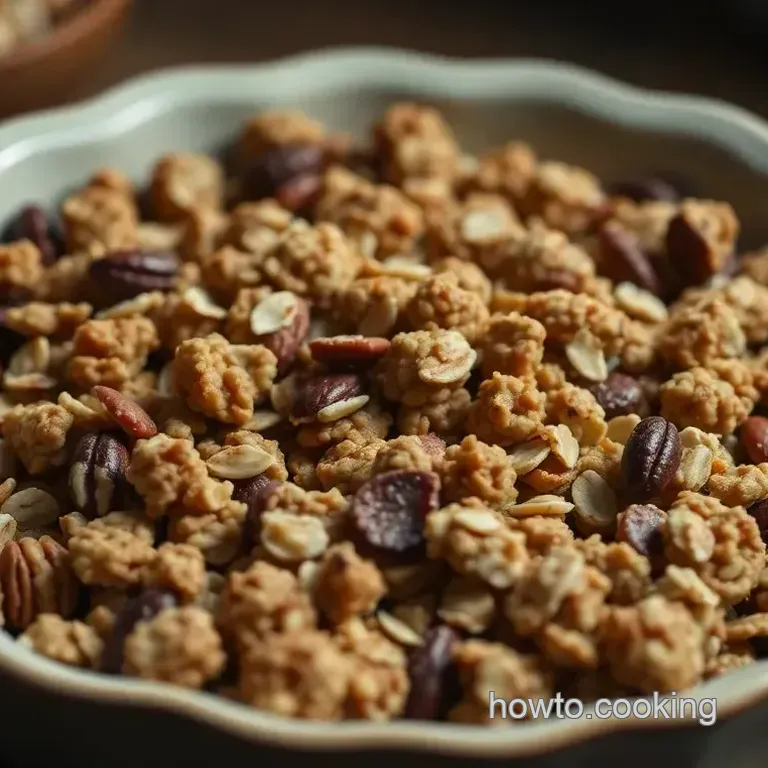
Now, about presentation because it’s all about enjoying your food visually too, right? try plating it up in a glass jar for that rustic charm.
Toss in a few dried fruits or chocolate chips on top. i love to add some fresh fruit right before i dig in makes everything pop with color!
Ever heard of the “rule of thirds”? break up the color of your granola with contrasting toppings. a sprinkle of nuts here, a pop of berry there, and voila! your morning bowl looks like a million bucks without spending hours in the kitchen.
Storage & make-ahead
Who doesn’t love homemade snacks that keep? here’s the scoop on storage. once your clusters are cool, stash them in an airtight container .
They’ll hold up for about a week if you can resist them that long! if you really want to make-ahead, you can freeze them in a ziplock bag for up to three months .
Just pop them in the fridge overnight to thaw. easy peasy!
When it comes to reheating, honestly i like them best cold or at room temperature, but if you really want that fresh out-of-the-oven vibe, a quick 5-minute toast back in the oven at 300° f ( 150° c) does the trick.
Creative Variations
Now, let’s talk fun variations! think seasonal twists! add some pumpkin spice in the fall or some crushed peppermint candies during the holidays.
Feel adventurous? try adding in some weird but wonderful ingredients, like matcha powder for a fresh green twist.
If you’re on a gluten-free journey , worry not! Just grab gluten-free oats, and you’re all set. Oh, and don’t skip the nut butter almond or even cashew for something different talk about a flavor explosion!
Complete Nutrition Guide
Alright friends, let’s break down why you’ll love these clusters beyond their amazing crunch and flavor. each serving packs a punch with protein , healthy fats from nuts, and fiber from oats, making it perfect for a healthy breakfast or snack.
Looking out for your portion sizes? a 1/2 cup will typically give you around 250 calories , with a nice balance of sugar and carbs .
And goodness, are these crunchy bits doing your tummy a favor! they fill you up while keeping you energized for the day ahead.
Seriously, who could pass up a homemade treat that’s both delicious and nutritious?
It’s really easy to get caught up in the day-to-day rush, but remember to savor the process ! there’s something magical about creating your own granola recipe that is tailored just to your taste.
Whether you enjoy them during breakfast with yogurt or as a midnight snack straight from the jar, you’re gonna love every bite!
So, the next time you ask yourself how to make granola clusters , rest assured you now have the tools and tips to make them truly your own.
Look into in, get beta testing those flavors, and embrace the magic of messy kitchens because in the end, it’s all about the joy in cooking! enjoy!
Frequently Asked Questions
How do I make granola clusters that stick together?
To ensure your granola clusters hold together, it's crucial to not overmix the wet and dry ingredients. When combining them, just stir until they're barely mixed this way, you can achieve larger clusters.
Additionally, allowing the granola to cool completely on the baking sheet will help the clusters bind together as they harden.
Can I customize the ingredients in my granola clusters?
Absolutely! One of the best things about granola is its versatility. Feel free to swap out the nuts for your favourites or use different dried fruits like apricots or cherries. You can also add spices like nutmeg for a bit of warmth, or even some chocolate chips post baking for a sweet treat.
What’s the best way to store my homemade granola clusters?
Once your granola clusters have completely cooled, store them in an airtight container. They can be kept at room temperature for up to two weeks. If you want them to last longer, consider freezing them in a sealed bag; they'll keep for a few months and can be enjoyed straight from the freezer!
Are granola clusters healthy?
Granola clusters can be a healthy option, as they are often packed with oats, nuts, and seeds that offer good fiber and protein. Just be mindful of added sugars in sweeteners like honey or syrup.
You can adjust the sweetness to your taste, or even omit sweeteners altogether, using ripe bananas for natural sweetness instead.
How long do I need to bake my granola clusters?
Your granola clusters will typically take about 20 to 25 minutes to bake at 350°F (175°C). Remember to stir the mixture halfway through to ensure even browning; you want them golden but still a bit soft before cooling, so keep an eye on them!
Can I make granola clusters without nuts?
Definitely! If you're looking for a nut-free option, you can replace the nuts with seeds like pumpkin or sunflower seeds. You can also amplify the flavor with additional spices or by adding ingredients like puffed rice or quinoa for crunch.
This FAQ section is structured to address common worries and curiosities regarding granola clusters, aiding both novices and culinary pros in their delicious adventure. Enjoy whipping up your yummy clusters!
Crunchy Homemade Granola Clusters