Decadent Chocolate Cake Pops – a Sweet Copycat Delight!
- Sweet Beginnings: Diving Into Cake Pops
- A Little Cake Pop History
- Time and Cash-Savvy Treat
- Health and Happiness in a Bite
- More Than Just Cake
- Essential Ingredients Guide: Your Go-To for Deliciousness
- Decadent Chocolate Cake Pops – A Sweet Copycat Delight!
- Pro Tips & Secrets to Make Cake Pops Shine
- Perfect Presentation: Make ‘Em Pop!
- Storage & Make-Ahead Options
- Creative Variations Because Why Not?
- Complete Nutrition Guide: Sweet and Savory Balance
- Frequently Asked Questions
- 📝 Recipe Card
Sweet Beginnings: Diving Into Cake Pops
Oh my gosh, have you ever had a moment when a single bite took you back to your childhood? picture this: i’m standing in my kitchen, the sweet aromas wafting through the air as i take my first nibble of a cake pop, and boom!
i’m transported to my best friend’s birthday party, where the only mission was to devour all the desserts.
Those little bites of joy starbucks style cake pops are a nostalgia bomb wrapped in a chocolatey hug!
But let’s be real. A lot of us wonder, how much are Starbucks cake pops these days? They’re surprisingly pricey for what they are! Why not make them at home? Today, I’m excited to share a fun, easy recipe that’ll have your friends drooling faster than you can say “easy desserts TikTok”!
A Little Cake Pop History
Cake pops are like the modern day snack revolution! they first burst onto the dessert scene in the early 2000s and took the world by storm.
These little handheld treats are a fusion of traditional cake and a chocolate coating what’s not to love? they’ve evolved from fancy party treats to beloved staples at coffee shops and birthday parties alike.
Making them has become a fun weekend project where you can gather friends and create both memories and deliciousness. this recipe is moderately tricky; it requires some baking skills but trust me, it's worth it for those easy desserts to make at home vibes.
Time and Cash Savvy Treat
You might be thinking, “will this take forever?” nope! the total time you'll spend is around 1. 5 hours , which includes about 25- 30 minutes of baking.
The hardest part is the waiting like chilling your cake pops for a bit to get that perfect coating. oh, and you’ll be blessed with about 24 of these babies for under $15, depending on what you have in your pantry.
Health and Happiness in a Bite
Now, you might think, "are cake pops just sugar bombs?" au contraire, my friend! while they do carry some sweetness, they can be crafted with healthier ingredients if you choose.
You can make them gluten-free or even swap some sugar for healthier alternatives. plus, they’re great for parties, cozy afternoons, or as a fun project during a sleepover.
Seriously, they’re some of the best stuff to bake at a sleepover when you want to impress your pals!
Imagine serving these at a birthday party or even for Valentine’s Day or just because it’s Tuesday! The unique selling point? They’re cuter than a cupcake and perfect for portion control! 🎉
More Than Just Cake
Here’s the kicker: cake pops are wayyyy more versatile than they seem. you can experiment with various flavors, like swapping chocolate for vanilla, or adding a drizzle of caramel on top! plus, they’re a fabulous cake pop alternative if you're tired of the same ol' cake routine.
So now that you’re on board as a cake pop aficionado, let’s get into the fun part the ingredients you’ll need.
Trust me; once you start making these, you’ll never go back to regular desserts.
Let’s find out what makes these little delights so glorious!
Essential Ingredients Guide: Your Go-To for Deliciousness
Getting into the kitchen to whip up something tasty is one of life’s simple joys, isn’t it? whether we’re in a cozy mood wanting some easy desserts to make at home recipes or preparing for a fun sleepover , knowing the right ingredients can make a world of difference.
Here's a helpful rundown of some premium core components that every aspiring baker and cook should have in their pantry.
The Basics: Premium Core Components
When it comes to baking, the right ingredients can really elevate your game. Let’s break it down!
Detailed measurements: always measure your flour, sugar, and other components correctly. for instance, if a recipe calls for 1 ½ cups (190 g) of all-purpose flour, you gotta use that amount.
This is the magic recipe for perfect cake pops.
Quality indicators: Fresh ingredients can change everything. Check your expiration dates on baking powder and other goodies. Old spices can ruin the vibe of your Easy Desserts Tiktok creations.
Storage guidelines and shelf life: Store your all-purpose flour in a cool, dry place, and it can last for months. Brown sugar? Keep it sealed tight; no one likes hard sugar!
Freshness tips: When choosing eggs, just break one open. If it looks funky, toss it! Choose organic for better flavor and feel good about your choices!
Spice it Up: Signature Seasoning Blend
Next, let’s talk about flavors! Do you have your go-to spices? Building a signature seasoning blend is key to really making your dishes pop.
Essential spice combinations: Try mixing cinnamon, nutmeg, and a touch of ginger for cozy desserts.
Herb selections: Fresh herbs like basil, parsley, or thyme pair beautifully in savory dishes, while mint can jazz up your Grocery Store Cupcake Makeover !
Flavor enhancers: A dash of vanilla extract can do wonders! And don't sleep on citrus zest; just a little can brighten things up.
Regional variations: If you’re feeling wild, try a Cajun mix for your next dish or go Italian with oregano and rosemary!
Smart Substitutions: Baking on the Fly
We’ve all been there you’re missing an essential ingredient, and the recipe is right there tempting you! Here’s where smart substitutions save the day:
Common alternatives: No buttermilk? Just mix a tablespoon of vinegar with a cup of milk boom, instant buttermilk!
Dietary modifications: If you need a cake pop alternative that’s dairy-free, coconut milk can work wonders.
Emergency replacements: Running out of eggs? Applesauce is a fantastic binder.
Seasonal options: Got pumpkin puree in the fridge? Turn that into a festive cake instead of chocolate for the holidays!
Tools of the Trade: Kitchen Equipment Essentials
Alright, let’s not forget the gear! Having the right tools can seriously level up your experience in the kitchen.
Must have tools: Mixing bowls, measuring cups, and a good whisk are non-negotiable.
Alternative equipment options: Don’t have cake pop sticks? Use pretzel sticks instead for some crunch or just go with a fork!
Preparation tips: Always prep your workspace before diving into a recipe. Makes the process smoother!
Storage solutions: Invest in airtight containers to keep your dry ingredients fresh and your pantry organized!
Now that we’ve stocked up your ingredients and laundry list of essentials, you’re probably itching to bake something sweet like those Starbucks Style Cake Pops ! Honestly, who can resist those, right? While you're at it, ever wondered how much are Starbucks cake pops ?
Totally worth it to make at home, trust me!
So grab your apron, and let’s make something delicious together! Get ready for those step-by-step instructions coming up next. Happy baking!
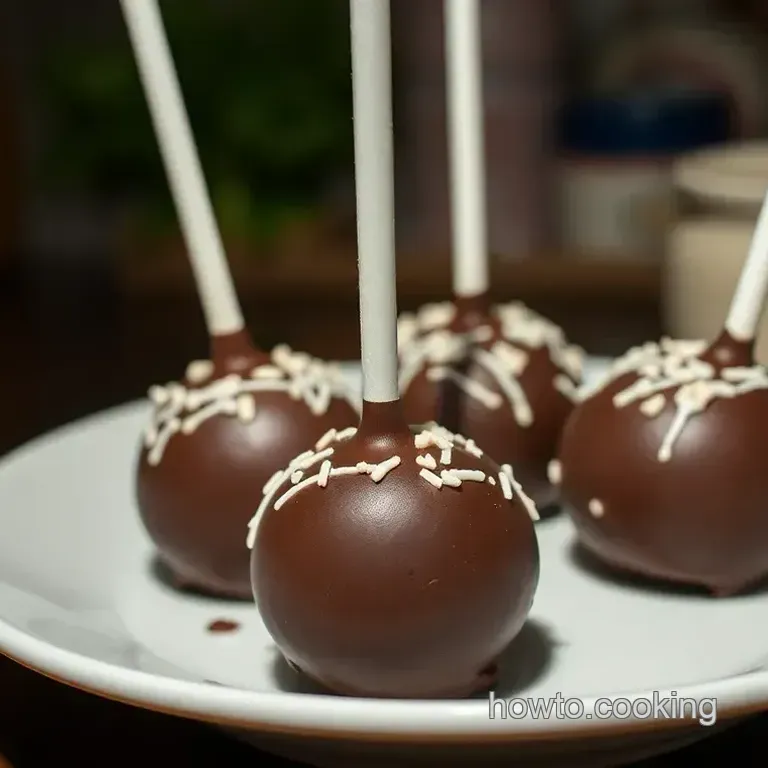
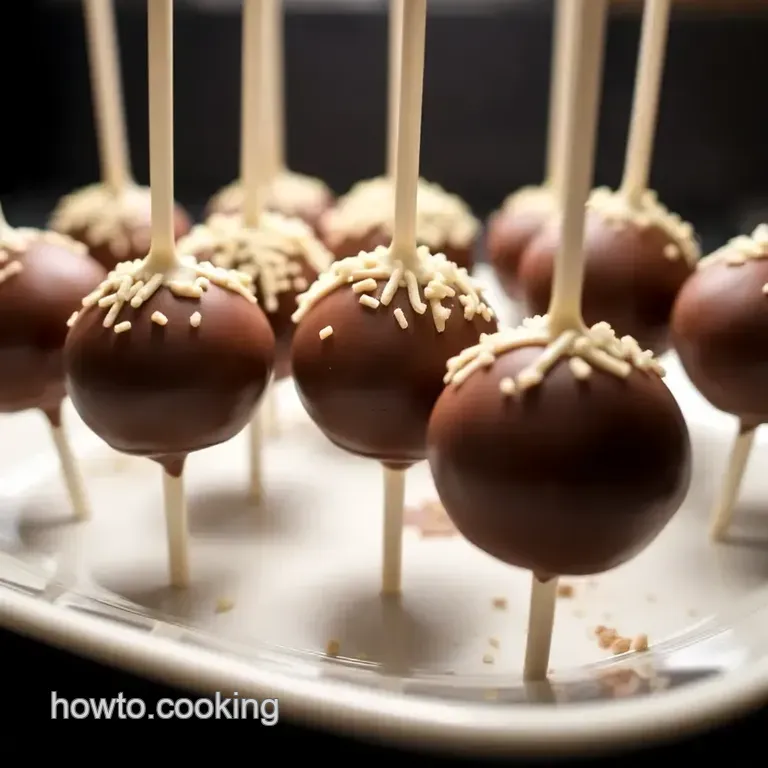
Decadent Chocolate Cake Pops A Sweet Copycat Delight!
Oh my gosh, y’all! if you love a little sweetness with your coffee, you’re gonna flip for these starbucks style cake pops.
Seriously, they are like little bites of heaven on a stick! perfect for parties, gifts, or just a cute afternoon treat to munch on while binge watching your fave show!
Essential Preparation Steps
First things first, let’s chat about mise en place . this fancy phrase just means getting everything in its place. measure your ingredients, and have everything ready so you’re not scrambling for cocoa while your cake batter is already waiting.
Trust me, it makes life way easier, especially if you’re following a recipe you want to nail down.
Time management is another biggie. I find that multitasking is where it’s at. While your cake bakes at 350° F ( 175° C) , you can prep your toppings or those adorable sticks that scream, “Look at me! I’m a cake pop!” This makes everything more fun and less crazy!
Don’t forget to think safety! when you’re melting chocolate steady now it can get hot, hot, hot! use a double boiler if you can.
If you’re using a microwave, keep it low and check every 30 seconds. nobody wants scorched chocolate, am i right?
step-by-step Process
Now, let’s dive into the step-by-step magic of creating these cute pops!
- Preheat that oven to 350° F ( 175° C) and get your baking pan all ready with some parchment paper.
- Mix the dry stuff flour, sugar, cocoa powder, baking powder, baking soda, and salt in a bowl. Give it a good whisk!
- In another bowl, whisk together your eggs, milk, vegetable oil, and vanilla. This part is fun!
- Pour those wet ingredients into your dry mix, and combine until it’s smooth (still a bit thin, but that’s okay!).
- Add boiling water. Yes, this seems wild, but it helps create a super moist cake. Bake for 25- 30 minutes , until a toothpick comes out clean.
- Let that baby cool before you crumble it up into fine crumbs. A little patience goes a long way here!
- Add a dollop of frosting just about ½ cup —and mix until you can form it into balls.
- Chill ‘em for about 15 minutes, then dip those sticks into melted chocolate before pushing them into the cake balls.
- Coat the pops in chocolate and sprinkle your goodies on top while it’s still wet. Let them set!
Expert Techniques
Here’s where the magic really happens. timing precision in the baking part is key. set that timer and resist the urge to keep checking! for a perfectly blended batter, don’t over mix it’s like…overdoing it with your coffee! you want that light texture.
During decoration, ensure your cake pops are well chilled; they’re way easier to work with when they’re firm. And let’s be real; no one likes a sad, droopy cake pop.
If things go sideways oops! and your chocolate starts to harden, just warm it back up with a little coconut oil.
Success Strategies
So, here’s the deal: the most common mistake? Not letting that cake cool down before crumbling. You’ll thank yourself later; trust me.
For quality assurance, taste test a raw cake pop mix. it’s tempting! and if you want to make-ahead, these freeze beautifully.
Just pop them in the freezer before dipping. that helps keep them fresh and ready for when you get hit with the sweet tooth.
And hey, speaking of thinly veiled temptations, if you're curious about those little yumminess you might see at Starbucks, you might be wondering, “ How much are Starbucks cake pops ?” Spoiler alert: making them at home will save you some serious cash, plus they’re way more fun to share!
These cake pops are an easy dessert that’s going to impress whether at a sleepover or a little get-together. So get your baking hat on, gather your friends, and whip up something delightful!
Ready to dive into more creative ideas? Let’s explore some Additional Information next! You won’t want to miss it!
Pro Tips & Secrets to Make Cake Pops Shine
Oh, my goodness, you guys! if you’re going to dive into the world of cake pops, you need to do it right.
One thing i've picked up on my baking adventures is to always don’t skimp on the chocolate! high-quality chocolate makes a world of difference.
It’s like the difference between a plain movie and an epic cinematic experience! and, trust me, these cake pops deserve the best.
Now for some time saving techniques: pre-chop your sprinkles or garnishes while the cake is baking. this way, you won’t feel rushed during the decorating phase.
And speaking of decorating, try to chill your cake pops. a cold pop will hold its shape like a champ when you’re coating them in that melted chocolate.
When it comes to flavor enhancement, consider adding a splash of vanilla extract or even a smidge of espresso powder to the batter.
It adds a complexity that will leave everyone wondering what your secret is! as for presentation? you can make those pops shine by going wild with color combos think pastels or even vibrant jewel tones!
Perfect Presentation: Make ‘Em Pop!
Presentation is everything, am i right? plating your cake pops can be as fun as making ‘em. you can use cake pop sticks for a classic look, or get quirky with cute paper straws.
For garnishing, edible glitter, sprinkles, or even crushed nuts can transform a simple cake pop into a showstopper.
A little tip i found helpful? use contrasting colors. for example, if you have chocolate flavored cake pops, consider a white chocolate coating and bright sprinkles.
It definitely ups the visual appeal. and don’t forget about balance; if your pops look good, folks will be even more excited to gobble them up!
Storage & make-ahead Options
Let’s talk real life scenarios. you have a sleepover planned and need some easy food to make . cake pops can be made ahead of time! just let ‘em set completely and then store them in an airtight container in the fridge for up to one week .
When it comes to reheating, well, you probably won’t need to! these little guys can be devoured cold. but if you find yourself with some left over, just pop them in the fridge.
They stay fresh for a good while if stored correctly. a quick tip? don’t keep them out too long at parties between the frosting and hot breath, they can go stale surprisingly fast!
Creative Variations Because Why Not?
Alright, we all know that cake pops can be a little predictable. why not jazz things up? get creative with flavors! swap out the chocolate for vanilla cake or even try a red velvet twist.
You can also tailor them to dietary preferences by swapping in gluten-free flour or using a vegan frosting.
How about seasonal flavors? Pumpkin spice cake pops around fall, or peppermint ones for the holidays. You can even go regional try a key lime flavor if you're feeling adventurous! The possibilities are endless!
Complete Nutrition Guide: Sweet and Savory Balance
Now, i know what you might be thinking what about the calories? let me break it down for you: a typical cake pop carries around 150 calories .
That’s not too shabby for a delightful treat! you’ve got carbs from the cake and a bit of protein from the eggs.
If you’ve got dietary restrictions or are keeping an eye on sugar, just adjust recipes based on your needs. maybe switch to dark chocolate melts, which have no added sugars, or low-calorie sweeteners in your cake batter.
Portion guidance could be easy, too one cake pop makes for a satisfyingly sweet bite, but two? well, that’s just living your best life!
In conclusion, i hope you feel inspired to dive into making these little gems! they’re a crowd favorite and perfect for those chill nights with friends or family gatherings.
And if you have any questions about pricing, i can’t help but wonder how much are starbucks cake pops ? either way, your homemade ones will taste better and probably cost less! so, get in the kitchen, channel your inner baker, and whip up a batch of these delightful treats.
Happy baking, y’all!
Frequently Asked Questions
How much are Starbucks cake pops?
The price of Starbucks cake pops typically ranges from about $2 to $3 each, depending on your location and seasonal offerings. They’re a delightful treat that adds a touch of sweetness to your coffee break!
What’s the best way to store my homemade cake pops?
To keep your homemade cake pops fresh, store them in an airtight container in the fridge for up to a week. For longer storage, you can freeze them just be sure to wrap them well so they don't get freezer burn!
Can I make cake pops ahead of time?
Absolutely! You can prepare the cake and form the pops a day or two in advance. Just chill them well before coating with chocolate. This can actually enhance the flavour as they sit for a bit!
What are some popular topping variations for cake pops?
Get creative with your cake pop toppings! Popular options include sprinkles, crushed nuts, or even a drizzle of contrasting chocolate. You can also experiment with edible glitter for that extra sparkle that’ll impress your guests.
Can I use gluten-free flour in this recipe?
Yes, you can use a gluten-free flour blend in this recipe for a gluten-free version of cake pops. Just make sure to check that your other ingredients, like baking powder and chocolate, are gluten-free as well.
Is there a way to make these cake pops lower in sugar?
Definitely! You can use a sugar substitute or a recipe that calls for less sugar in both the cake and the coating. Just keep in mind that the texture and taste might slightly differ, but you'll still enjoy a delightful treat!
Decadent Chocolate Cake Pops A Sweet Copycat Del
Ingredients:
Instructions:
Nutrition Facts:
| Calories | 150 |
|---|---|
| Fat | 7g |
| Fiber | 1g |
