Snow Ice Cream: the Great British Treat
The Great British Snow Day Treat: Emergency Vanilla Ice Cream
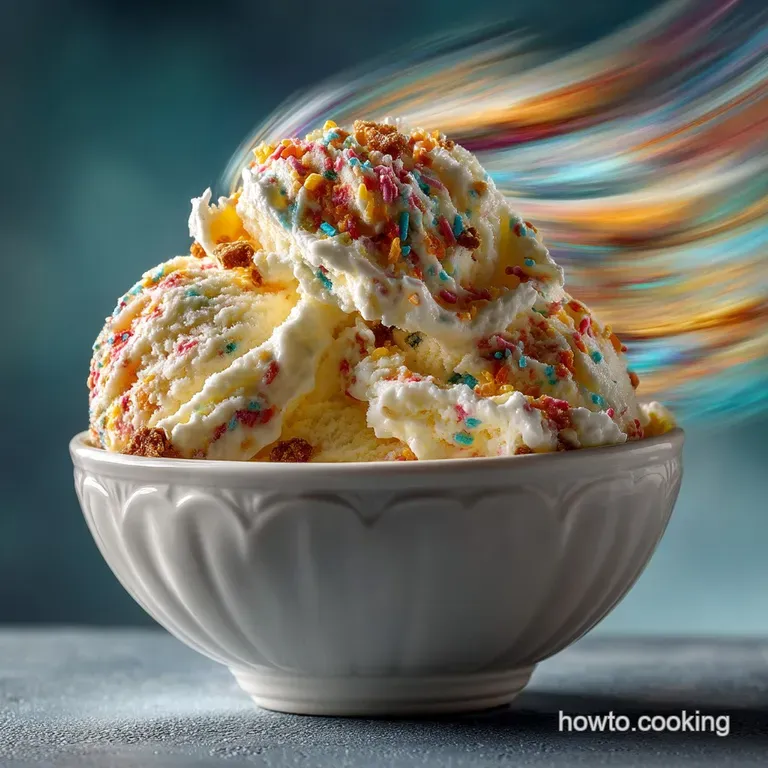
Oh my goodness, stop whatever you are doing. The sound of fresh snow crunching underfoot is magic, but the taste of real, homemade Snow Ice Cream ? That is next level. It’s light, impossibly creamy, and tastes like the purest vanilla cloud you’ve ever imagined.
We’re talking zero cooking, five minutes active time, and ingredients you already have lurking in the back of your pantry. Seriously, if you need a comfort food fix when the schools close and the world slows down, Snow Ice Cream is the answer.
It’s the easiest, cheapest emergency dessert there is, transforming a mundane snow day into an instant celebration.
I’ve ruined perfectly good snow by being too slow or using the wrong sugar, so trust me, I’ve perfected the technique. This recipe works because we treat the liquid base like a concentrated syrup before mixing.
Let’s dive straight into the only method you’ll ever need to make the absolute best Snow Ice Cream .
The History of Emergency Treats: When Necessity Creates Dessert
I love a recipe with a story, don’t you? People have been making snow treats for centuries, from Persian faloodeh to simpler recipes that just rely on available sweeteners.
My method for Snow Ice Cream takes the classic American Depression era recipe milk, sugar, and vanilla and amps up the speed and flavour precision. It’s a moment of pure, immediate joy, crafted entirely from necessity.
Why Fresh Snow is the Key Ingredient for Texture
You might think snow is snow, but you’d be wrong, darling. The texture of the final Snow Ice Cream depends entirely on the composition of the flakes. Fresh, fluffy, cold snow contains maximum air pockets, which gives the final product that airy, soft serve mouthfeel we crave.
If you use hard packed or icy snow, your final product will be dense and disappointingly crunchy. The best homemade Snow Ice Cream relies on the fluffiest, coldest flakes possible.
How This Recipe Beats Traditional Churning Methods
Traditional ice cream relies on slowly churning a high fat custard to incorporate air while freezing slowly, minimizing large ice crystals. This recipe for Snow Ice Cream flips that whole process on its head. The frozen air is already built into the snow structure!
We are simply coating those pre-chilled air pockets with a concentrated, sweet dairy mixture before the temperature difference causes a complete melt. This means we achieve an incredibly airy, creamy texture in about one minute, making this the fastest route to perfect Snow Ice Cream .
Ingredients You Need for Snow Ice Cream
Making this requires absolute minimalism, which is part of its charm. Remember, you need eight cups of snow that’s a surprising amount! Collect it right before you start mixing to ensure it stays as cold as possible.
Main Ingredients Notes
- Freshly Fallen Snow (8 cups, lightly packed): CRITICAL WARNING: This must be pristine, clean, white snow. Find a spot in the garden that hasn't been trodden on or touched by the car. Absolutely no yellow snow, please!
- Whole Milk (1 cup / 240 ml): Whole milk provides the necessary fat for creaminess. If you want a truly decadent, thick consistency, use evaporated milk; it’s a game changer for homemade Snow Ice Cream .
- Granulated Sugar (1/2 cup / 100 grams): I highly recommend using caster sugar (superfine sugar). Its tiny crystals dissolve much, much faster in cold liquid, which is the single most important factor in preventing a gritty texture in your final Snow Ice Cream .
- Pure Vanilla Extract (2 teaspoons / 10 ml): Skip the cheap artificial stuff. Because this recipe is so simple, the quality of the vanilla extract shines right through.
- Fine Sea Salt (1/4 teaspoon): Do not skip the salt! It balances the sugar beautifully and prevents the final Snow Ice Cream from tasting flat or overly sweet.
Easy Substitutions and Swaps
Sometimes you’re trapped inside with the snow falling and you realise you’re out of whole milk. Don't panic! Here are the swaps I rely on when making quick Snow Ice Cream at home.
| Ingredient | Substitute | Resulting Texture/Flavour Note |
|---|---|---|
| Whole Milk | Evaporated Milk (chilled) | Richer, denser, closer to traditional ice cream. |
| Whole Milk | Full Fat Canned Coconut Milk | Excellent dairy-free option, sometimes slightly icier. |
| Granulated Sugar | Maple Syrup or Honey | Use 1/3 cup instead of 1/2 cup. Will impart a distinct flavour. |
| Vanilla Extract | Almond Extract | A stronger, sharper flavour profile (use slightly less). |
Essential Equipment
You don't need a lot, but you absolutely need the right size bowl.
- A Very Large Mixing Bowl: Seriously, huge. Eight cups of snow takes up much more space than you think. Using a small bowl is my number one rookie mistake, as you’ll spill half the mixture when you fold in the snow.
- Whisk or Sturdy Wooden Spoon: A whisk works best for dissolving the sugar, but a sturdy spoon is sometimes better for folding the final Snow Ice Cream mixture.
- Rubber Spatula: Essential for scraping every last drop of that precious vanilla base.
Instructions for Snow Ice Cream

This is where speed and precision matter. Read the steps entirely before you even go outside to collect the snow, because once you start, you cannot stop. Making Snow Ice Cream is a race against time, but it’s a fun one!
Preparing Your Mixing Bowl for Optimal Chill
Grab that massive mixing bowl and stick it in the freezer for about ten minutes. This step is non-negotiable if your kitchen is warm. The colder the bowl, the longer the snow takes to melt, which gives you precious seconds to mix your perfect Snow Ice Cream .
The Critical 60 Second Mixing Window
In a separate, medium sized bowl, whisk together the milk, sugar (preferably caster sugar!), vanilla, and salt. Whisk vigorously until you cannot feel any grit from the sugar left at the bottom. This must be a concentrated, intensely sweet base, ready to coat the snow.
Now, go collect your snow! Immediately transfer the eight cups of pristine, fluffy white stuff into your chilled, large mixing bowl. Pour the entire liquid base directly over the snow.
You have 60 seconds. Using your spoon or whisk, quickly fold and incorporate the liquid. Don’t over mix, but don't dawdle. The goal is to coat every single snowflake before it transitions into plain water.
Achieving the Perfect 'Scoopable' Consistency
As you mix, you will feel the texture rapidly changing. It will go from watery snow to a thick, fluffy, sticky consistency, remarkably similar to soft serve ice cream. Once you see that transformation, STOP MIXING.
If you keep going, you risk melting the remaining structure and ending up with vanilla sludge. That perfect texture is how you know you have succeeded in making flawless Snow Ice Cream .
Chef’s Note: If your liquid base wasn't cold enough or you mixed too slowly, you might end up with thin, watery slush. There is no saving it at that point. You simply must use the base and the snow quickly together. That’s the only secret to great Snow Ice Cream.
Storage, Freezing, and Reheating
Let's be brutally honest about the reality of homemade Snow Ice Cream . It is a transient beauty. It exists only in the present moment, much like a rainbow after a storm.
How to Store Leftovers
You can’t. I wish I had better news, but the moment this starts to melt, the structure collapses and those glorious air pockets are lost forever. If you must, you can keep it in a freezer safe container for 5– 10 minutes to firm up slightly, but after that, it transitions into a gritty, dense ice block.
Freezing Instructions
Please do not try to freeze this. I once made a huge batch of Snow Ice Cream thinking I could save it for later. I was wrong. The next day, what I pulled out was a block of frozen vanilla sugar water, totally devoid of the light, airy texture that defines proper Snow Ice Cream . If you want a recipe that stores well, check out my tutorial on Bangers and Mash: Creamy Mash Rich Onion Gravy — those leftovers are infinitely better.
Best Reheating Methods
Since this is an ice cream, reheating is unnecessary. However, if you are stuck inside on a cold day and craving warmth, the perfect complement to this quick treat is a rich, hot drink. Maybe give my recipe for Irish Coffee: Master The Floating Cream Technique a go!
Serving Suggestions
Serving Snow Ice Cream is all about fun and contrast. You need warmth, colour, and perhaps a bit of crunch.
What to Serve With This Dish
This simple vanilla base is a blank canvas. Treat it as you would soft serve.
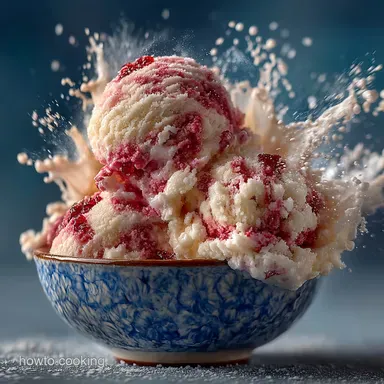
- Classic Drizzle: Golden syrup (treacle) or maple syrup are traditional. A tart raspberry jam provides a lovely acidic contrast to the rich dairy base of the Snow Ice Cream .
- Crunch Factor: Crushed shortbread or chocolate digestives are divine. Even better? A handful of sprinkles (hundreds and thousands) instantly ramps up the fun level.
- The Adult Twist: Stir in some miniature chocolate chips and serve with a tiny glug of bourbon splashed over the top. It provides a gorgeous warmth perfect for a snowy afternoon.
- Colourful Variations: If you want to move beyond vanilla, I’ve found that mixing in a tablespoon of high-quality matcha powder turns the base into a vibrant green delight. It’s perfect for green tea lovers, just like my popular Iced Matcha Latte Recipe: Achieve Clump Free Perfection .
Ultimately, making Snow Ice Cream is more than just making dessert; it's an event. It’s a wonderfully fast, low-effort way to capitalize on nature’s surprise ingredient.
Go on, enjoy that snow day and make sure you have enough milk and sugar ready for the next time the flakes fall. We've conquered the art of making the perfect homemade Snow Ice Cream , and your snow days will never be the same.

Recipe FAQs
How do I ensure the snow is safe and clean to eat?
Only use freshly fallen, pristine snow collected from an area away from roads, walkways, or roof runoff where pollutants might accumulate. The ideal method is to place a clean, empty bowl outside just as the snow begins to fall and collect the powder that lands directly inside it.
Never use snow that has been packed down or appears colored.
Why is my snow cream mixture too runny or icy?
Runniness means the snow melted too quickly, likely because your liquid base was not sufficiently chilled. Ensure your cream, milk, and flavorings are refrigerated until the last minute and work extremely fast once the snow is introduced.
If the result is overly icy, you may need to increase the fat content slightly by using more heavy cream, as this helps bind the mixture smoothly.
Can I freeze the leftover snow ice cream for later consumption?
While you can place the finished mixture into the freezer, it is strongly discouraged as the texture will suffer dramatically. The unique, light fluffiness of snow cream relies on the air trapped in the freshly mixed snow.
Freezing and thawing will cause the delicate structure to collapse, resulting in a hard, gritty, and crystallized consistency rather than traditional creamy ice cream.
How can I create alternative flavors for the Emergency Snow Cream?
The beauty of this recipe is its adaptability. You can easily substitute the vanilla extract with peppermint, maple, or almond extract for a simple change. For richer flavors, try sifting two tablespoons of high-quality cocoa powder into the cold dairy base, or swirl in a teaspoon of instant espresso powder before mixing with the snow.
Is it possible to make this snow ice cream dairy-free or vegan?
Yes, this recipe adapts very well to dietary restrictions, though you must use high fat alternatives to achieve the best texture. Chilled full fat canned coconut milk or a high-quality, creamy oat milk substitute will work perfectly in place of the dairy cream.
Ensure your sugar source (if using refined) is also vegan certified.
What is the secret to getting a truly perfect, light texture?
The key is temperature control and aeration. Use a mixing bowl that has been chilled in the freezer for at least 15 minutes before starting, and mix the ingredients swiftly and vigorously, ideally with a stiff spatula or whisk.
This rapid motion ensures the liquid base freezes instantly onto the cold snow before it has a chance to melt into water.
What should I do if I don't have heavy cream, only milk?
Heavy cream provides the essential fat content necessary for a smooth, binding texture that resists immediate melting. If you must use only milk, use full fat (whole) milk and add an extra tablespoon of powdered (confectioner's) sugar, as the cornstarch often present in powdered sugar acts as a mild stabilizer.
Be aware that the final texture will be noticeably icier.
Easy Snow Ice Cream Recipe
Ingredients:
Instructions:
Nutrition Facts:
| Calories | 275 calories |
|---|---|
| Fat | 12.5 g |
| Fiber | 0 g |
