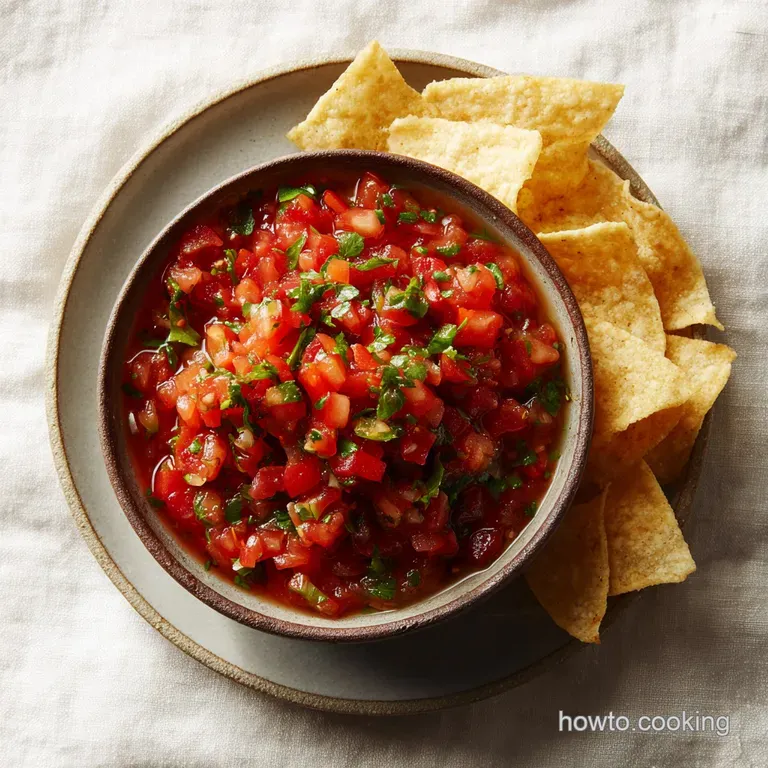
Homemade Salsa: Smoky and Charred
- Time: Active 10 minutes, Passive 10 minutes, Total 20 minutes
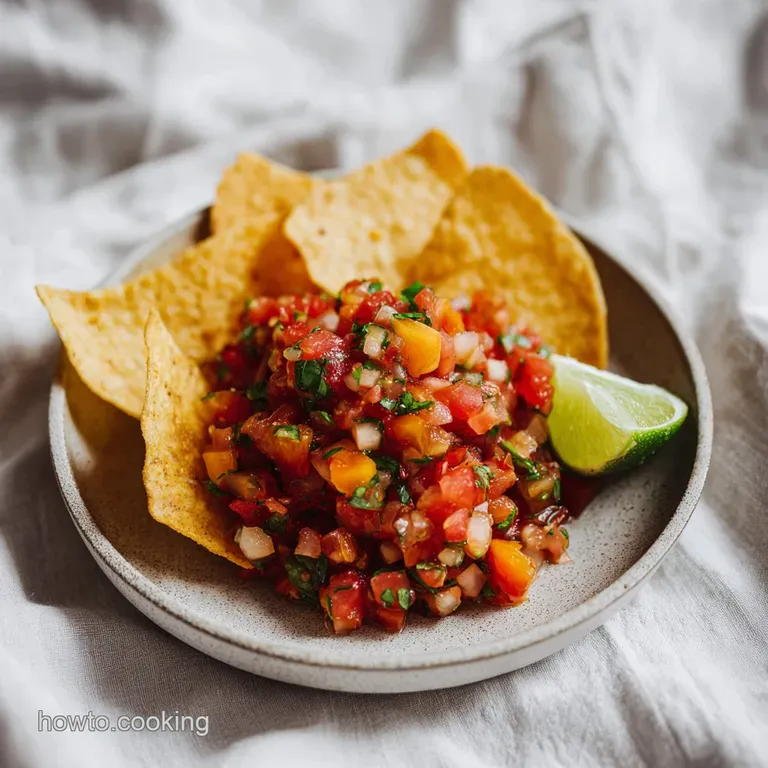
- Flavor/Texture Hook: Smokey, charred, and chunky
- Perfect for: Game day snacks, taco nights, or meal prep
- Achieving the Perfect Smokey Homemade Salsa
- Why Most Versions Lack Depth
- The Blueprint for Flavor Success
- Kitchen Tools for Fast Results
- Mastering the Char and Pulse
- Avoiding Bitter or Watery Results
- Flavor Swaps for Every Palate
- Keeping Your Batch Fresh Longer
- Better Ways to Serve Salsa
- Kitchen Myths Debunked
- Recipe FAQs
- 📝 Recipe Card
Achieving the Perfect Smokey Homemade Salsa
The kitchen fills with an incredible, slightly acrid scent the moment the broiler starts popping and hissing against those Roma tomatoes. You know that smell the one that reminds you of a busy taqueria where the salsa has that distinct, dark speckled look and a depth that lingers.
There is a specific sizzle that happens when the tomato skins finally give up and blister, turning from bright red to a deep, charred black. It is the sound of flavor being created from nothing but intense heat and a little bit of patience.
I remember my first attempt at making this, thinking I could just toss everything in raw and call it a day. It was fine, sure, but it lacked that "soul" we all look for in a great dip. It was too watery, too sharp, and honestly, a bit boring.
Then I saw a street food vendor in Mexico city roasting his vegetables on a massive flat grill until they looked almost ruined. That was the breakthrough. That char isn't a mistake; it is the secret to a velvety, rich consistency that clings to a chip rather than sliding right off.
We are going to use the broiler today because it is fast and efficient for a busy home cook, but the results taste like you spent hours over a wood fire. You can expect a result that is smoky, balanced, and far superior to anything you will find in a jar.
Trust me, once you see those blackened skins and smell the roasted garlic, you will never go back to the raw, watery stuff again. Let's get into why this method actually works so well.
Why Most Versions Lack Depth
Most people think salsa is just about the ingredients, but it is actually about the application of heat. When we eat a raw salsa, we are mostly tasting water and acid. By introducing the broiler, we change the molecular structure of the vegetables in three specific ways.
It turns a simple condiment into a complex sauce that has layers of flavor.
- Sugar Caramelization: The high heat of the broiler breaks down the complex carbohydrates in the tomatoes and onions, turning them into simple sugars that brown and intensify.
- Pectin Breakdown: Roasting softens the cell walls of the tomatoes, releasing pectins that help thicken the final sauce naturally without needing any thickeners.
- Garlic Mellowing: Roasting garlic in its skin protects the delicate cloves from burning while steaming them in their own juices, removing the harsh "bite" and replacing it with a buttery, savory sweetness.
- Volatile Oil Release: The heat coaxes the oils out of the jalapeño skins, which distributes the spice more evenly throughout the mixture rather than in sharp, painful bursts.
| Preparation Method | Total Time | Final Texture | Flavor Profile |
|---|---|---|---|
| Quick Broil | 20 minutes | Thick & Velvety | Smokey, sweet, and complex |
| Raw Chop | 10 minutes | Thin & Crunchy | Sharp, acidic, and bright |
| Slow Simmer | 45 minutes | Concentrated | Heavy, jam like, and mild |
This table shows why the broiler method is the sweet spot for busy cooks. You get the depth of a slow cooked sauce with the speed of a raw preparation. It is the ultimate shortcut that doesn't feel like a compromise.
| Component | Science Role | Pro Secret |
|---|---|---|
| Roma Tomatoes | Provides the "meat" and pectin | Choose heavy, firm Romas for less water and more pulp. |
| Fresh Jalapeños | Heat and aromatic oils | Charring the skins removes the "grassy" raw flavor. |
| White Onion | Sulfuric sweetness | Large wedges char better than small pieces, preventing mush. |
| Sea Salt | Flavor extraction | Salt draws out moisture during the pulse, helping flavors meld. |
The Blueprint for Flavor Success
To get the best results, you need to be picky about your produce. I always reach for Roma tomatoes because they have a lower water content than beefsteak or vine ripened varieties. This prevents your salsa from turning into a soup.
For the onion, white onion is the traditional choice because it has a sharper bite that stands up well to the roasting process, whereas red onion can turn a bit "muddy" in color once blended.
Managing Onion Flavor Profiles
Raw white onion can be incredibly aggressive, sometimes overpowering everything else in the bowl. However, when we roast those thick wedges under the broiler, the harsh sulfur compounds dissipate. What remains is a mellow, savory sweetness that bridges the gap between the acidic lime and the spicy peppers.
If you find your salsa is still too "oniony" for your liking, you can rinse the charred onions under cold water before blending, though I find the char adds too much flavor to lose.
Solving Texture and Water Content
Nothing ruins a dip faster than a puddle of pink water at the bottom of the bowl. This usually happens because of two things: using watery tomatoes or over processing the mixture. By using Romas and only pulsing the food processor, we keep the fibers intact.
If you find yourself with extra juicy tomatoes, you can actually drain some of the liquid after roasting but before blending. This ensures a thick, scoopable consistency that stays on the chip.
Optimizing Heat Levels
The heat in jalapeños lives mostly in the seeds and the white membrane (the pith). For a medium heat, I leave the seeds in two of the peppers and remove them from the third. If you are a heat seeker, keep them all in! The roasting process actually makes the heat feel "rounder" and less sharp on the tongue. If you're looking for even more kick, you might consider adding a dash of Zingy hot sauce to the finished batch to punch up the acidity and spice simultaneously.
Kitchen Tools for Fast Results
You don't need a professional kitchen to make world class salsa, but a few specific tools make the process much smoother. The most important is a sturdy, rimmed baking sheet. The rim is crucial because as the tomatoes roast, they will release some juices.
A flat cookie sheet will result in a mess at the bottom of your oven that will smoke out your house.
- Baking Sheet: A standard half sheet pan is perfect for spreading the vegetables out so they roast rather than steam.
- Aluminum Foil: This is a non negotiable for easy cleanup. The charred tomato bits can be a nightmare to scrub off a naked pan.
- Food Processor: A 7 cup or 11 cup processor gives you the most control over the texture. If you use a high speed blender, you risk turning your salsa into a smoothie.
- Tongs: Essential for flipping the peppers or removing the hot garlic cloves without burning your fingertips.
If you don't have a food processor, you can absolutely do this by hand. It takes longer, but a heavy chef's knife and a large cutting board can produce a beautiful, rustic "hand chopped" version. Just be sure to mince the charred garlic and jalapeños very finely so no one gets a giant chunk of spice.
Mastering the Char and Pulse
Now, let's get cooking. Remember, we are looking for a dark, blackened char on those skins. Don't be afraid if it looks "burnt" that is where the flavor lives.
- Prep the oven. Set your oven broiler to high and line a large rimmed baking sheet with aluminum foil. Note: Foil makes cleanup a breeze and prevents sticking.
- Arrange the vegetables. Place 6 medium halved Roma tomatoes (cut side down), 1 large white onion cut into thick wedges, 3 fresh jalapeños, and 4 unpeeled garlic cloves on the tray. until the tray is full but not overcrowded.
- Broil for depth. Place the tray under the broiler for 8–10 minutes until tomato skins are blackened and charred.Note: Keep an eye on it, as broilers vary in intensity.
- Steam the garlic. Remove the tray. Place the hot garlic cloves into a small bowl and cover with a plate or wrap to steam for 2 minutes. until the skins soften and slip off easily.
- Peel and prep. Slip the garlic out of their skins. You can leave the skins on the tomatoes and jalapeños they provide those beautiful black flecks and a ton of smokey flavor.
- Combine ingredients. Transfer the charred vegetables, peeled garlic, 1 cup fresh cilantro, 2 tablespoons fresh lime juice, 1 teaspoon sea salt, 0.5 teaspoon ground cumin, and 0.25 teaspoon sugar into a food processor.
- Pulse for texture. Pulse the mixture in short, 1 second bursts. until the desired chunky consistency is reached.Note: Stop before it becomes a puree; you want defined bits of onion and tomato.
- Taste and adjust. Grab a chip and try it. Add a pinch more salt or a squeeze more lime if it needs a boost.
- Rest the salsa. If you have time, let it sit for at least 15 minutes. until the flavors have fully melded together.
Avoiding Bitter or Watery Results
Even the best cooks run into issues occasionally. Salsa is a living thing, and sometimes the tomatoes are more acidic or the onions are more pungent than the last time you made it. Understanding the "why" behind these issues helps you fix them on the fly.
Fixing Thin or Watery Salsa
If your salsa looks more like juice than dip, you likely used tomatoes with too much water or over blended. To fix this, you can strain the salsa through a fine mesh sieve for a minute or two. Don't throw away that liquid! It is packed with flavor and makes an incredible base for a michelada or a spicy tomato soup.
Another trick is to finely dice a fresh Roma tomato (raw) and stir it in to add body and texture.
Balancing Bitter Char Flavors
Sometimes, if the onion or garlic gets too blackened, the salsa can take on a slightly bitter edge. This is where that 0.25 teaspoon of granulated sugar comes in. Sugar isn't there to make it sweet; it is there to balance the bitterness of the char and the acidity of the lime.
It acts like a "volume knob" for the other flavors. If it still tastes bitter, try adding a tiny pinch more salt, as salt suppresses our perception of bitterness.
| Problem | Root Cause | Solution |
|---|---|---|
| Too Bitter | Over charred garlic or onion | Add 1/8 tsp extra sugar and a pinch of salt. |
| Too Soupy | Over processing in blender | Strain through a sieve or stir in 1 chopped raw tomato. |
| Lacks Punch | Not enough salt or acid | Add an extra 1/2 tsp lime juice and a dash of salt. |
Between these tables, I want to mention that making your own condiments is a gateway to better home cooking. If you find yourself enjoying the process of blending your own flavors, you might also like experimenting with a homemade Italian seasoning to keep in your pantry for quick marinades and dressings.
Common Mistakes Checklist
- ✓ Don't peel the tomatoes. Those charred skins are the source of the smokey flavor and the beautiful visual contrast.
- ✓ Don't skip the sugar. Even that tiny 0.25 teaspoon balances the intense acidity of the lime and tomatoes.
- ✓ Don't over process. Use the pulse button only. A continuous blend will incorporate too much air and turn the salsa pink and foamy.
- ✓ Don't use cold vegetables. Let your roasted veg cool slightly so they don't cook the fresh cilantro and turn it brown instantly.
Flavor Swaps for Every Palate
This recipe is a solid foundation, but the beauty of homemade salsa is how easily it adapts to your mood or what is in your fridge. You can change the heat, the sweetness, or even the entire color profile with just one or two swaps.
- The Salsa Verde Alternative: Swap the 6 Roma tomatoes for 1 lb of husked and rinsed tomatillos. Follow the same roasting steps. Tomatillos are more acidic and have a natural citrus notes that is incredible with pork or fish.
- Fruit Infusion: For a summer twist, stir in 1/2 cup of finely diced mango or pineapple after you have pulsed the base. The sweetness of the fruit plays beautifully against the charred jalapeños.
- The Smoky Chipotle: If you don't have fresh jalapeños, use 1 or 2 chipotle peppers in adobo sauce from a can. This will give you an even deeper, earthier smokiness.
| Original Ingredient | Substitute | Why It Works |
|---|---|---|
| Roma Tomatoes | Tomatillos (1 lb) | Adds a tart, zesty flavor. Note: Result will be green and more acidic. |
| Jalapeños | Serrano Peppers | Serranos are smaller and thinner but pack a much higher heat level. |
| White Onion | Shallots | Shallots offer a more delicate, garlic forward sweetness when roasted. |
Keeping Your Batch Fresh Longer
Since this salsa contains fresh lime juice and salt both natural preservatives it keeps quite well in the fridge. However, because we aren't using industrial stabilizers, the texture and flavor will evolve over time.
Storage: Keep your salsa in an airtight glass jar in the refrigerator for up to 5 days. You will notice that the heat from the jalapeños tends to mellow out after the first 24 hours, while the cumin and garlic flavors become more pronounced.
Always give it a good stir before serving, as some natural separation is normal.
Freezing: While you can freeze this salsa, the texture will change significantly. The tomatoes will release more water upon thawing, making it thinner. If you do freeze it (up to 3 months), it is best used as a cooking base for chilaquiles or enchilada sauce rather than a dip for chips.
Zero Waste: If you find yourself with a cup of salsa left that is past its "dipping prime," don't toss it! It makes a phenomenal marinade for chicken or shrimp. The acidity in the lime juice and tomatoes helps tenderize the meat while the charred aromatics provide instant flavor.
You can also stir it into a pot of black beans or use it as the poaching liquid for "Salsa Chicken" in the slow cooker.
Better Ways to Serve Salsa
While the classic "chips and dip" combo is unbeatable, this smokey homemade salsa is versatile enough to be a component in a full meal. Think of it as a savory sauce rather than just a snack.
Restaurant Style Serving Tips
To get that authentic restaurant feel, serve your salsa in a chilled stone or ceramic bowl. If you have a molcajete (a traditional Mexican mortar and pestle), using it as a serving vessel adds an incredible rustic charm to the table.
I also like to garnish the top with a few extra leaves of fresh cilantro and a very thin slice of fresh jalapeño just to signal the heat level to my guests.
Creative Uses for Salsa
- Breakfast Upgrade: Spoon a generous amount over fried eggs and black beans for an instant Huevos Rancheros.
- Grilled Proteins: It acts as a bright, acidic relish for grilled flank steak or blackened salmon.
- Creamy Hybrid: Mix equal parts salsa and Greek yogurt or sour cream for a "Salsa Ranch" dressing that is killer on salads or as a dip for roasted potatoes.
- The Perfect Pairing: This salsa provides a bright contrast to heavier dishes. I find it goes particularly well as a side for a rich Broccoli Casserole recipe if you're doing a fusion style family dinner.
Kitchen Myths Debunked
Many people believe that the seeds of a pepper contain all the heat. This is a common misconception. While the seeds are spicy, the majority of the capsaicin (the compound that makes it hot) is actually concentrated in the white pith or membrane that holds the seeds.
If you want a truly mild salsa, you must carefully scrape out every bit of that white inner rib.
Another myth is that "fresh is always better." In the world of salsa, "fresh" often means thin and sharp. Roasting isn't about hiding bad ingredients; it is about transforming them.
A roasted salsa has a complexity and a "cooked out" flavor that raw salsa can't achieve, making it much more suitable for pairing with complex dishes like grilled meats or aged cheeses.
Finally, don't believe the idea that you need a lot of oil. A lot of store-bought salsas use oil to create a mouthfeel of richness. In this recipe, the richness comes from the pectin in the charred tomatoes and the softened fibers of the roasted onion.
It is a naturally low-fat, high flavor condiment that proves you don't need fat to carry flavor if you have enough heat and salt.

Recipe FAQs
Is it true I must peel the tomatoes before blending?
No, this is a common misconception. You should leave the charred skins on because they provide the essential smoky flavor and create a beautiful visual contrast in the final dip.
How to achieve the perfect chunky consistency?
Pulse the mixture in short bursts until you reach the desired texture. Avoid running the machine continuously, as this will incorporate too much air and result in a thin, pink, foamy salsa.
Why is my salsa turning brown after adding cilantro?
Allow your roasted vegetables to cool slightly before adding the fresh cilantro. Adding the herbs while the vegetables are piping hot will cook the cilantro instantly and ruin the vibrant green color.
Is the sugar really necessary for such a small amount?
Yes, don't skip the sugar. Even that small 0.25 teaspoon is crucial to balance the intense acidity coming from the tomatoes and the fresh lime juice.
How to ensure the garlic peels easily after roasting?
Place the hot garlic cloves into a small bowl and cover them for two minutes. This steaming process loosens the skins, allowing you to slip them off effortlessly before you combine your ingredients for tender Italian meatballs or other flavorful dishes.
How to properly char the vegetables in the oven?
Set your broiler to high and arrange the tomatoes cut-side down on a foil lined baking sheet. Broil for 8 10 minutes until you see significant blackening on the skins, which signals the roasted flavor is ready.
Can I process the ingredients while they are fresh out of the oven?
No, wait for them to cool slightly to maintain the best flavor. Processing the vegetables while they are extremely hot can negatively affect the final texture and cause the fresh cilantro to lose its bright, herbal brightness.
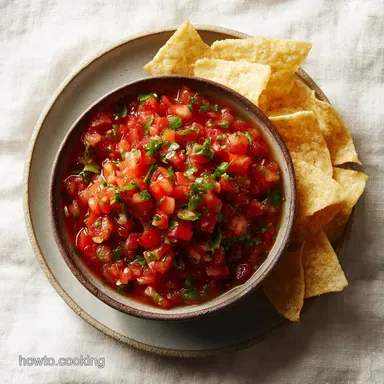
Fire Roasted Homemade Salsa
Ingredients:
Instructions:
Nutrition Facts:
| Calories | 50 kcal |
|---|---|
| Protein | 1.8 g |
| Fat | 0.4 g |
| Carbs | 10.9 g |
| Fiber | 2.5 g |
| Sugar | 5.2 g |
| Sodium | 335 mg |
