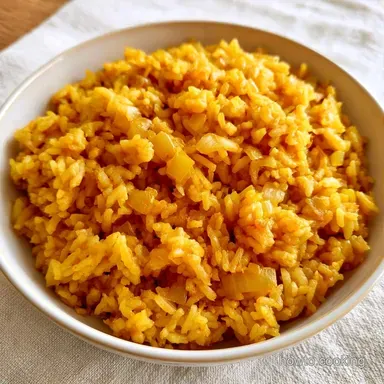
Dutch Oven Mexican Rice: Baked
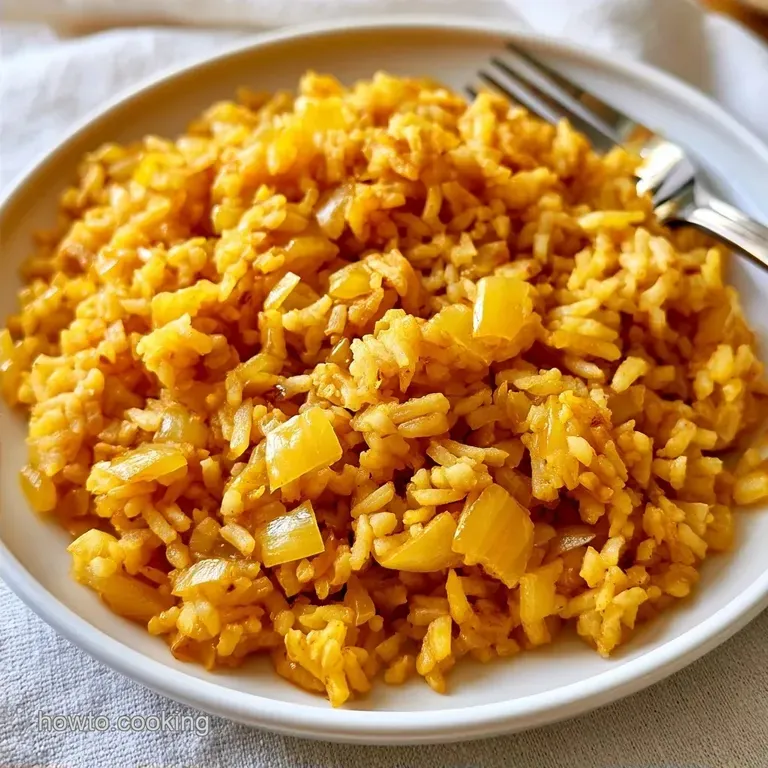
- Time: 10 min active + 35 min cook
- Flavor/Texture Hook: Toasted, mahogany colored grains
- Perfect for: Taco night or weekly meal prep
- How to make Mexican Rice
- Quick Details for the Cook
- Gathering Your Essentials
- Basic Tools for Success
- Step-by-Step Instructions
- Avoiding Kitchen Disasters
- Dietary Adaptations
- Adjusting the Batch Size
- Common Rice Misconceptions
- Freezing and Reheating Guide
- Perfect Complements
- Recipe FAQs
- 📝 Recipe Card
Right then, let's talk about the "clumpy red paste" problem. I once served a batch of rice for a family dinner that looked more like porridge than a side dish. It was pale, gummy, and honestly a bit sad. I had just added the liquid to the rice and hoped for the best, ignoring the toasting step.
You don't want that. You want grains that are distinct, slightly chewy, and carry a deep, toasted flavor. This approach solves the sogginess by focusing on heat and timing.
We're using a Dutch oven here because it holds heat evenly. Whether you finish it on the stove or pop it in the oven, this Mexican Rice comes out consistent every single time.
How to make Mexican Rice
Success lies in managing the starch. Rinsing the grains followed by a quick fry in oil creates a seal that stops too much starch from escaping into the pot. This mirrors the approach in my Jasmine Rice guide, where controlling the heat and water levels is essential.
Toasting: Frying the rice until it's golden brown shifts the flavor profile from simple to nutty. Rinsing: Washing off surface starch ensures the texture isn't gluey or sticky.
The oven technique is a fantastic time saver for hectic evenings. Because heat envelops the pot, it prevents the bottom from scorching while the top stays undercooked.
| Method | Time | Texture | Best For |
|---|---|---|---|
| Stovetop | 20 mins | Traditional | Quick dinners |
| Oven | 25 mins | Extremely Even | Large batches |
Quick Details for the Cook
For this dish, precision matters. Use a liquid measuring cup rather than a coffee mug to avoid over hydrating the grains.
- For a firmer set
- let the pot rest for 10 minutes after cooking.
- For more color
- use an extra tablespoon of tomato bouillon.
- For less salt
- swap the bouillon for a pinch of paprika and salt.
Gathering Your Essentials
Before you turn on the heat, get everything prepped. The cooking happens fast once the oil is hot, and you don't want to be chopping onions while your rice is burning.
| Component | Purpose | Substitute Notes |
|---|---|---|
| Long grain white rice | Provides structure | Basmati works; a bit more floral |
| Avocado oil | High heat searing | Vegetable oil; neutral flavor |
| Tomato bouillon | Concentrated color/salt | Beef bouillon; deeper, meatier taste |
| Chicken broth | Main hydrating liquid | Vegetable broth; lighter profile |
- 2 cups (400g) long grain white rice Why this? Stays separate and fluffy
- 3 tbsp (45ml) avocado oil Why this? Won't smoke at high heat
- 1 medium (110g) yellow onion, finely diced
- 4 cloves (20g) garlic, minced
- 1 tsp (5g) ground cumin
- 1 tsp (5g) smoked paprika
- 3 cups (710ml) chicken broth (low sodium)
- 1 cup (240ml) tomato sauce
- 1 tbsp (15g) tomato bouillon Why this? Gives that iconic red color
- 1 tsp (5g) salt
Basic Tools for Success
Minimal equipment is necessary for this dish. The only must have is a heavy bottomed pot.
I suggest using a 5 quart Dutch oven, as cast iron ensures even heat distribution. A deep stainless steel skillet with a tight fitting lid is a great alternative. You'll also need a fine mesh strainer for rinsing the grains.
Step-by-step Instructions
Let's dive into the steps. Make sure to maintain medium high heat while toasting the rice.
- Place the long grain white rice in a fine mesh strainer. Rinse under cold water for 60 seconds until the water runs clear. Shake it well to drain any excess water.
- Warm avocado oil in a Dutch oven over medium high heat. Add the rinsed rice and stir constantly for 5–7 minutes until grains turn deep golden brown and smell nutty. This is when your Mexican Rice develops its core flavor.
- Stir in the diced onion and sauté for 3 minutes until translucent.
- Mix in the minced garlic, cumin, and smoked paprika. Cook for 30 seconds until aromatic.
- Pour in the chicken broth, tomato sauce, and tomato bouillon. Stir well, scraping the bottom to release any browned bits.
- Bring the pot to a boil, then quickly switch the burner to low.
- Cover with a tight lid and simmer for 18–20 minutes without lifting the lid. Alternatively, you can place the covered pot in a 350°F / 175°C oven for 25 minutes to complete the rice.
- Take the pot off the heat and let the rice rest, covered, for 10 minutes.
- Fluff with a fork and serve.
Chef's Note: Don't be tempted to peek! Opening the lid lets steam escape, which can result in unevenly cooked rice and hard grains on top.
Avoiding Kitchen Disasters
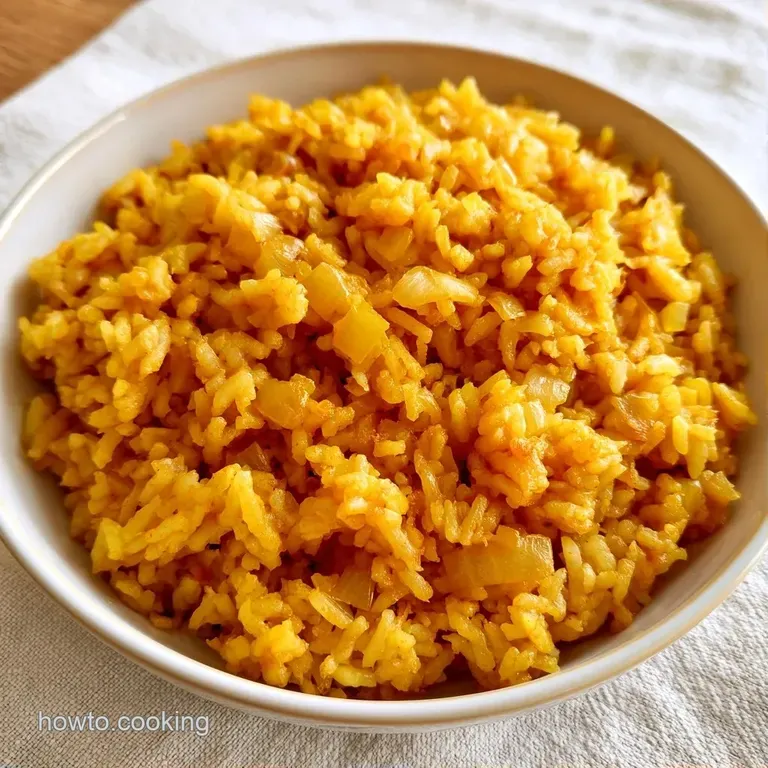
Even with a good plan, things happen. Usually, it comes down to the liquid ratio or the heat level.
Fixing Mushy Texture
This usually happens if you skip the rinsing or use too much broth. If the Mexican Rice is too soft, try roasting it in the oven next time for more consistent evaporation.
Preventing Burnt Bottoms
If you smell burning, your heat is too high or your lid isn't tight enough. A heavy Dutch oven lid is the best defense against this.
Solving Under cooked Grains
This happens when steam escapes. If the rice is still crunchy after the timer goes off, add 2 tablespoons of water, cover tightly, and simmer for another 5 minutes.
| Problem | Fix |
|---|---|
| Grains are sticky | Rinse rice longer next time |
| Bottom is scorched | Use lower heat or a heavier pot |
| Rice is pale | Increase toasting time by 2 mins |
Dietary Adaptations
You can easily tweak this Mexican Rice to fit different needs without losing the core flavor.
Creating a Vegan Version
Swap the chicken broth for vegetable broth and use a vegan friendly tomato bouillon. Since you lose some of the savory depth from the chicken, add a teaspoon of nutritional yeast or a dash of soy sauce to the liquid.
Lowering the Sodium
Use "no salt added" chicken broth and omit the bouillon. To keep the color, use an extra half cup of tomato sauce and a pinch of smoked paprika.
Using Brown Rice
Brown rice takes much longer to cook. Increase the broth by 1 cup and extend the simmering time to 45–50 minutes. You'll still get that toasted flavor, but the texture will be heartier.
Adjusting the Batch Size
Adjusting the quantity of your Mexican Rice means making minor changes to the heating and liquid levels.
For half batches: Use a more compact pot to maintain the proper liquid levels. Cut the simmering time by roughly 20%.
For double or triple batches: Avoid simply doubling the seasonings; start with 1.5x the paprika and cumin, then adjust to taste. Lower the total liquid by 10%, as larger batches retain more steam.
| Batch Size | Liquid Adjustment | Time Adjustment |
|---|---|---|
| 1/2 Batch | Exact Ratio | -20% Simmer Time |
| 2x Batch | -10% Total Liquid | +5 mins Resting |
Common Rice Misconceptions
A few common misconceptions often arise when preparing Mexican Rice.
For instance, some believe you should avoid rinsing the rice. While retaining starch is essential for a creamy risotto, it is the enemy here. Rinsing ensures the grains stay distinct.
Similarly, the idea that searing "locks in" flavor is a myth. It doesn't actually trap flavor, but rather creates new ones through browning. That toasted aroma is what gives this dish its authentic taste.
Freezing and Reheating Guide
Mexican Rice remains delicious if stored properly.
Place leftovers in an airtight glass container. It remains good for 3 to 4 days when refrigerated. If freezing, allow it to cool completely first; it stays fresh for about 3 months in the freezer.
When warming it up, stir in a bit of water or broth and cover. Microwave for 2 minutes or warm in a skillet over low heat. This extra liquid stops the rice from drying out and restores its fluffy texture.
To avoid waste, toss any remaining rice into a fried rice dish the following day, or fold it into a breakfast burrito with eggs and cheese.
Perfect Complements
This accompaniment is created to balance bold, spicy main courses. Thanks to the slight acidity of the tomato, it cuts through rich, fatty flavors beautifully.
I enjoy pairing this with Beef Enchiladas for a hearty dinner. The earthiness of the cumin in the rice is a great match for a deep red sauce.
It also pairs wonderfully with blackened shrimp, grilled fish, or a simple bowl of slow cooked beans. For a bright contrast, garnish with sliced avocado or a dollop of pico de gallo. It elevates a basic serving of Mexican Rice into a full culinary experience.
Recipe FAQs
Can I make Mexican rice in a Dutch oven?
Yes, a Dutch oven is ideal for distributing heat evenly.
Tip: use a tight lid to trap steam for fluffy grains.
Which rice is best for Mexican rice?
Long grain white rice provides the best separate, fluffy texture.
Tip: rinse grains for 60 seconds until the water runs clear.
What is the oven cook time at 350 degrees?
Bake the covered pot for 25 minutes.
Tip: let the pot rest covered off the heat before fluffing.
Is it true that tomato paste is required for the red color?
This one's false: tomato sauce and bouillon provide all the necessary color.
Tip: scrape the pot bottom when adding liquids to capture browned bits.
How to prepare this easily using tomato sauce?
Toast rice in oil, sauté aromatics, and simmer with broth and tomato sauce.
Tip: this pairs well with shredded beef enchiladas.
Dutch Oven Mexican Rice