The Great British Churn Homemade Butter in Minutes No Fancy Equipment Needed
- Busting Myths: Why Homemade Butter Outshines Store-Bought Spreads
- The Alchemy of Cream: Unveiling Your Kitchen Transformation
- Selecting Your Starting Liquid: The Cream Requirement Checklist
- Tools of the Trade: Essential Gear for Cream Conversion
- Phase One: Whipping Past Whipped Cream into Golden Fat
- The Separation Point: Capturing the Butterfat
- Extending the Shelf Life: Expert Tips for Storing Your Homemade Butter
- Flavor Frontiers: Creative Variations Beyond the Classic Salted Stick
- Recipe FAQs
- 📝 Recipe Card
Busting Myths: Why Homemade Butter Outshines store-bought Spreads
There’s a certain romance associated with transforming simple ingredients into something luxurious, and few culinary feats are as rewarding as making Homemade Butter from scratch.
Many home cooks assume this process is arduous, messy, or requires specialized equipment found only on dairy farms. I’m here to dismantle that notion completely. The reality is that making Easy Homemade Butter is not only simple but yields a product whose flavour profile utterly eclipses the waxy, often flavorless spreads found wrapped in plastic on supermarket shelves.
When you control the starting cream, you control the final taste, resulting in a product that is brighter, richer, and slightly sweeter a testament to pure dairy excellence.
The Alchemy of Cream: Unveiling Your Kitchen Transformation
The magic behind turning liquid cream into solid gold relies on a fundamental physical process: agitation. We are simply speeding up what happens naturally over time on a churn forcing the microscopic fat globules suspended in the cream to clump together, separating them from the watery component.
This entire transformation is remarkably fast, which often surprises newcomers to the world of Easy Butter Preparation .
Ditching the Wrapper: Experience True Dairy Flavor
When you make your own home made Butter , you eliminate the stabilizers, artificial colors, and sometimes questionable preservatives often added to commercial spreads to achieve that uniform yellow hue and extended shelf life. The flavour you achieve is pure, clean dairy.
It’s the difference between hearing a song on a scratchy vinyl record and hearing the pristine studio master vibrant, nuanced, and undeniably superior.
A Five Minute Miracle: Speed Meets Culinary Gold
Forget long waiting times. If you have a stand mixer or a powerful blender ready, the core process to produce Homemade Unsalted Butter takes mere minutes of active effort. We are aiming for speed and efficiency here.
Indeed, the total time required to go from cold cream to golden fat is often under eight minutes, making this one of the fastest ways to elevate your kitchen game immediately.
Why Now Is the Perfect Time to Master Homemade Butter
In an era where we are increasingly conscious of what we consume, mastering How To Make Butter is a simple, satisfying step toward food autonomy. It allows you to dictate the salt content (or avoid it entirely), and the immediate availability of fresh Homemade Buttermilk as a byproduct is a massive bonus for baking enthusiasts.
Selecting Your Starting Liquid: The Cream Requirement Checklist
The quality of your finished product is entirely dependent on the quality of your initial ingredient. For the best results in any Homemade Butter Recipe , you must adhere strictly to the fat content.
The essential ingredient is Heavy Whipping Cream , and it must contain at least 36% milk fat. Lower fat creams will simply whip into stiff peaks and refuse to separate, leaving you with very expensive whipped cream.
While unpasteurized or raw cream yields the most profound flavour, standard, store-bought pasteurized heavy cream works perfectly well for this Easy Homemade Butter process.
Tools of the Trade: Essential Gear for Cream Conversion
While historically this was done with a dasher in a wooden crock, modern kitchens offer faster alternatives.
The Single Ingredient Hero: Quality Heavy Cream Deep Dive
Remember, we are using 2 cups (480 ml) of Heavy Whipping Cream as our base for this recipe, yielding approximately 8 ounces of finished butter. Keep this cream chilled right up until the moment you pour it into your mixing bowl; cold ingredients facilitate faster, cleaner separation during the churning.
Optional Enhancements: Salt, Herbs, and Flavor Infusions
While the base recipe focuses on creating pure Homemade Unsalted Butter , you can easily customize the final product. Once the washing phase is complete, you can fold in about 1/2 teaspoon of Fine Sea Salt if you prefer a salted finish.
For flavored Butter Recipes , this is the stage where minced fresh herbs or garlic can be incorporated.
Machine vs. Manual: Choosing Your Churning Method
For the fastest results, a Stand Mixer fitted with a Whisk Attachment is the top choice. A high powered blender is a close second, though it requires careful monitoring to prevent overflow.
If you are embracing the rustic route, a large, tightly sealed jar shaken vigorously for 7 to 10 minutes will certainly work, offering a great arm workout in exchange for your efforts!
Related Recipes Worth Trying
- The Best Homemade Classic Knorr Spinach Dip Recipe — Upgrade that nostalgic Classic Knorr Spinach Dip This recipe delivers the iconic flavour but fresher and creamier Easy entertaining appetizer perfection
- Buttery Cranberry Almond Shortbread Cookies Recipe — The ultimate meltinyourmouth Buttery Cranberry Almond Shortbread Cookies Easy to make and perfect for Christmas desserts
- The Ultimate Chocolate Pecan Ooey Gooey Butter Cake Recipe — Nail this Chocolate Pecan Ooey Gooey Butter Cake Its an easy fudgy twist on the St Louis classic Get the best gooey texture with this foolproof recipe
Phase One: Whipping Past Whipped Cream into Golden Fat
The initial stage of churning looks exactly like making standard whipped cream. Pour your very cold cream into your mixer bowl. Begin mixing on a medium speed, slowly increasing the power. You will see soft peaks form, then stiff peaks. Resist the urge to stop here!
This is still just highly aerated cream, not yet butter.
The Separation Point: Capturing the Butterfat
This next phase is where the transformation is visibly dramatic and requires your full attention.
Setting the Stage: Optimal Temperature for Churning Success
While the cream should start very cold, the actual environment of the kitchen shouldn't be freezing, as slightly warmer temperatures encourage the fat molecules to move more freely, aiding coalescence.
Patience Pays Off: The Transition from Soft Peaks to Solid Gold
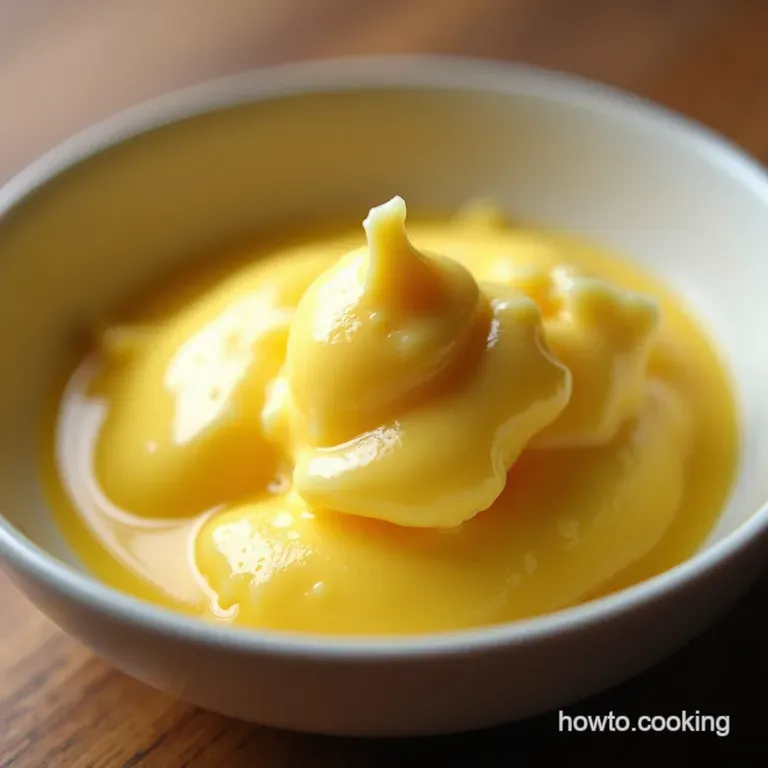
Continue beating past the stiff peak stage. The mixture will suddenly look deflated, grainy, and almost curdled. Don't panic; this is the moment of truth! You are witnessing the fat globules clumping together, separating from the liquid.
You might hear a distinct change in the sound of the mixer as the solids begin to separate from the remaining liquid. Stop the machine immediately once you see distinct yellow clumps forming and a thin, watery liquid pooling at the bottom.
Washing Away the Buttermilk: Achieving Pure Butter Texture
The watery liquid left behind is your fresh, flavorful Homemade Buttermilk . Pour the entire contents through a fine mesh sieve set over a large bowl to capture this precious liquid. Take the solid yellow mass (your butter) and place it into a clean bowl.
Add about 1/4 cup of Ice Water and gently knead the butter with a spatula or your clean hands. This process forces out any lingering buttermilk trapped within the fat matrix.
Drain the cloudy water and repeat this washing process with fresh ice water until the water being squeezed out runs completely clear. This washing step is crucial; any residual buttermilk will drastically shorten the shelf life of your home made Butter .
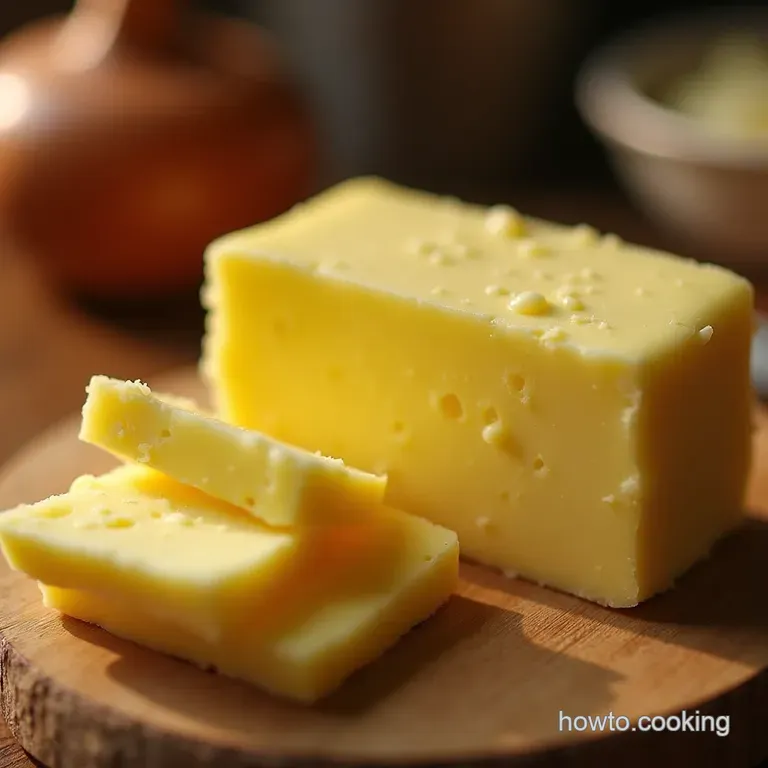
Pressing Perfection: Shaping Your Freshly Made Butter
Once the butter is thoroughly washed and no more liquid releases, you can season it if desired. Then, place the butter onto parchment paper or plastic wrap. Use the paper to roll and press the butter into a cohesive log shape. This pressing expels any final traces of air and water, ensuring a dense, smooth texture.
Chill this shaped butter for at least an hour before slicing to allow it to firm up properly.
Extending the Shelf Life: Expert Tips for Storing Your Homemade Butter
Because you have washed away almost all the buttermilk, your Homemade Butter will last much longer than you might expect, typically up to two weeks in the refrigerator.
For longer storage, tightly wrap the butter in foil or plastic wrap and place it in an airtight container in the freezer, where it maintains excellent quality for several months.
Flavor Frontiers: Creative Variations Beyond the Classic Salted Stick
The beauty of this recipe lies in its adaptability. Once you have mastered the technique of making Easy Butter Preparation , the door opens to an endless array of sophisticated spreads.
The Golden Liquid Left Behind: What To Do With All That Buttermilk
Do not discard the liquid you collected! This is incredibly fresh, tangy Homemade Buttermilk , far superior to commercial versions. It’s the perfect starter for fluffy pancakes, tender biscuits, or making the ultimate Southern fried chicken brine.
Infusing Aromas: Dill, Garlic, and Wild Herb Butter Recipes
To create unforgettable compound butter, wait until the butter is completely washed (Step 6). Gently fold in your chosen additions perhaps finely minced roasted garlic and fresh parsley, or bright dill and chives.
Roll this flavored mixture into a log, chill, and slice over grilled steaks or vegetables for an instant flavor upgrade.
Troubleshooting Common Churning Hiccups
If your cream whips into stiff peaks but refuses to separate after an extended beating time, the cream is likely too warm. Try chilling the bowl and whisk attachment briefly in the freezer for five minutes, then resume churning.
Conversely, if separation is taking too long, the cream might be too cold, inhibiting fat movement; let it sit at room temperature for about ten minutes before continuing.
Recipe FAQs
What if my heavy cream isn't cold enough when I start making my Homemade Butter?
If your cream is too warm, it will likely turn into whipped cream and struggle to reach the crucial separation stage. You might end up with soft, greasy whipped cream instead of butterfat.
Pop the cream in the freezer for 15 minutes before starting, or wrap your mixing bowl in a damp, cold cloth to help it chill down quickly.
My butter won't separate! I’ve been mixing for ages what am I doing wrong?
Don't panic, it just needs more encouragement! If you've reached stiff peaks and nothing else is happening, you need to push it a bit further this is where people often stop too soon.
Keep whipping past the stiff peak stage; you will hear the texture change, and it will look crumbly before it suddenly sloshes as the liquid drains away. Persistence pays off here!
How long does Homemade Butter last, and how should I store it properly?
The storage life totally depends on how well you washed out the buttermilk. If you wash it until the water runs perfectly clear, it can last 2 3 weeks in the fridge, wrapped tightly.
For longer storage (a couple of months), you can freeze it; just wrap it well in parchment paper and then foil to prevent freezer burn. If you leave any buttermilk in it, it might only last a few days before smelling a bit off.
Can I make flavoured butter, like garlic or herb butter, with this recipe?
Absolutely! Once you have finished the final wash (Step 6) and pressed out all the water, this is the perfect time to mix in your flavourings. Gently fold in finely minced garlic, fresh herbs like parsley or chives, or even a touch of lemon zest before shaping it.
Remember, any additions should be completely mixed in before chilling.
I have a lot of buttermilk left over what’s the best way to use it?
Don't you dare pour it down the sink! That fresh buttermilk is pure gold and tastes miles better than the store-bought variety. It's essential for achieving a truly fluffy American pancake or the best soda bread. It also works brilliantly mixed with spices for a wonderfully tender marinade for fried chicken.
Easy Homemade Butter Recipe

