Royal Icing Recipe: Velvety Finish
- Time: Active 10 minutes, Passive 7 minutes, Total 17 minutes
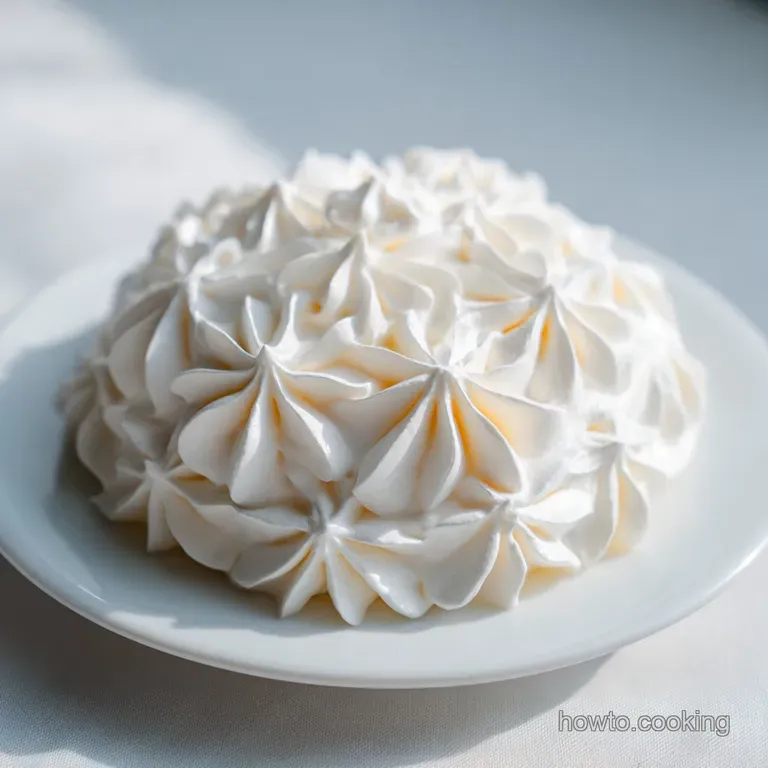
- Flavor/Texture Hook: Glossy finish with a crisp shatter
- Perfect for: Holiday sugar cookies, gingerbread houses, and detailed piping
- The Only Royal Icing Recipe You Need
- The Science of Icing Stability
- Key Batch Measurements Explained
- Essential Ingredient Selection Guide
- Tools for Flawless Decoration
- Creating the Perfect Texture
- Solving Common Decorating Hurdles
- Customizing Your Sweet Finishes
- Preserving Your Finished Batches
- Ideal Pairings for Decoration
- Recipe FAQs
- 📝 Recipe Card
The Only Royal Icing Recipe You Need
I still remember my first attempt at holiday cookies. I had these beautiful snowflake cutouts ready to go, but my icing was essentially sugar water, it ran straight off the edges and pooled into a sticky mess on the counter.
It was frustrating, but it taught me that royal icing isn't just about mixing sugar and water, it is about building a structure that can hold its shape.
Once you find the right balance, the whole process becomes incredibly meditative. There is something so satisfying about watching a thick ribbon of icing smooth itself back into a glossy pool or hearing that distinct "snap" when you bite into a finished cookie.
This specific royal icing recipe is designed to give you that confidence, whether you are flooding a simple heart or piping intricate lace.
We are going to use meringue powder here because it's predictable and safe, unlike fresh egg whites which can be finicky. Plus, it dries much harder, making your cookies easy to stack and gift.
If you've ever struggled with icing that stays soft or looks dull, the small additions we're making today will be your secret weapon for a professional, opaque finish.
The Science of Icing Stability
Protein Network: Meringue powder provides egg white proteins that, when whipped, create a structural web that traps tiny air bubbles for volume and stability.
Acidic Strengthening: The cream of tartar lowers the pH of the mixture, which prevents the egg proteins from over bonding and ensures the icing remains smooth rather than gritty.
Crystal Inhibition: Light corn syrup acts as an interference agent, preventing the sugar from forming large crystals so the finished surface stays glossy instead of chalky.
| Method | Prep Time | Stability | Finish | Best For |
|---|---|---|---|---|
| Meringue Powder (Fast) | 10 minutes | High | Glossy | Precision piping, stacking |
| Traditional Egg White | 20 minutes | Medium | Matte | Traditionalists, immediate eating |
| Standard Glaze | 5 minutes | Low | Translucent | Simple drizzling, kids' crafts |
Choosing the right method depends on how much detail you need. For most of us who want to stack our cookies without the designs smudging, the meringue powder version is the clear winner for reliability and speed.
Key Batch Measurements Explained
Getting the texture right is more important than the exact clock time, but having these numeric checkpoints helps you stay on track. You'll want to aim for a "15 second consistency" for most flooding tasks, which means a line drawn through the icing disappears completely in exactly 15 seconds.
| Thickness | Beating Time | Visual Cue | Purpose |
|---|---|---|---|
| Stiff Peaks | 7 minutes | Holds a sharp point | Flower petals, borders |
| Medium | Add 1 tsp water | Softly curls over | Outlining, lettering |
| Flood | Add 2-3 tsp water | Honey like flow | Filling large areas |
The weight of your sugar is also a major factor in success. While 4 cups is standard, using a scale to measure 480g ensures you aren't adding too much air or packing the cup too tightly, which can throw off the hydration levels.
Essential Ingredient Selection Guide
Success starts with the quality of your sugar. Always reach for a finely ground confectioners' sugar and take the extra minute to sift it. Even the smallest lump can clog a fine piping tip and ruin a steady line.
| Component | Science Role | Pro Secret |
|---|---|---|
| Meringue Powder | Structural base | Smells like vanilla; stays stable for weeks |
| Cream of Tartar | Protein stabilizer | Keeps the white color brilliant and bright |
| Corn Syrup | Plasticizer | Adds a subtle sheen and prevents cracking |
- 4 cups (480g) Confectioners' Sugar, siftedWhy this? Provides the bulk and sweetness while ensuring a smooth, grit free texture. (Substitute: Sifted powdered sugar)
- 3 tablespoons Meringue PowderWhy this? Essential for creating a hard drying, safe to eat structural foam. (Substitute: 3 egg whites, though stability varies)
- 0.5 teaspoon Cream of TartarWhy this? Stabilizes the proteins and keeps the icing from becoming brittle. (Substitute: 0.5 tsp lemon juice)
- 6 tablespoons Warm WaterWhy this? Hydrates the powder and sugar; temperature helps the sugar dissolve faster. (Substitute: Room temp water)
- 1 teaspoon Clear Vanilla ExtractWhy this? Adds flavor without tinting the pure white icing yellow. (Substitute: Almond extract)
- 1 tablespoon Light Corn SyrupWhy this? Gives the icing a soft shine and a slightly softer bite. (Substitute: Honey or agave, but will add color)
Tools for Flawless Decoration
You don't need a pantry full of gadgets, but a stand mixer or a sturdy hand mixer is non negotiable here. Beating this by hand to reach stiff peaks would take a monumental amount of effort and rarely yields the same velvety results.
- Stand Mixer: Using a whisk attachment helps incorporate the air needed for that thick, pipeable structure.
- Sifter: A fine mesh sieve is your best friend to prevent the dreaded "tip clog."
- Spray Bottle: This is a trick I learned late in the game, use it to add water one mist at a time for perfect flood consistency.
- Scribe Tool: Or even a simple toothpick, to pop those tiny air bubbles that rise to the surface.
If you are used to the softer feel of a Homemade Icing recipe, remember that royal icing is a different beast entirely. It’s meant to be lean and firm, providing a canvas rather than a thick pillow of frosting.
Creating the Perfect Texture
- Sift the sugar. Place your 4 cups (480g) of confectioners' sugar into a large bowl through a fine mesh sieve. Note: This prevents lumps from clogging your piping tips later.
- Combine dry ingredients. Add 3 tablespoons of meringue powder and 0.5 teaspoon of cream of tartar to the sugar.
- Add liquids. Pour in 6 tablespoons of warm water, 1 teaspoon of clear vanilla, and 1 tablespoon of light corn syrup.
- Mix on low. Use the whisk attachment of your mixer to slowly incorporate the ingredients until the sugar is fully moistened.
- Beat on high. Increase the speed and whip for 7 minutes until the icing is thick, white, and holds stiff peaks.
- Check consistency. Lift the whisk; the icing should stand straight up without drooping.
- Thin for flooding. Remove a portion of icing and add water a few drops at a time until it reaches the 15 second mark.
- Remove air bubbles. Let the bowl sit for 5 minutes, then gently stir by hand to pop any surface bubbles.
- Color the batch. Add gel food coloring sparingly until you reach your desired shade.
Solving Common Decorating Hurdles
The most common issue I see is "color bleeding," where a darker color seeps into a lighter one. This usually happens because the icing is too wet or the room is too humid. To prevent this, make sure your first layer is completely dry before adding the next color on top.
Managing Color Bleeding Problems
When your beautiful red borders start weeping into your white flood, it is usually a sign of excess moisture. Try using a small fan to circulate air around the cookies as they dry; this speeds up the surface crusting and locks the colors in place.
| Problem | Root Cause | Solution |
|---|---|---|
| Icing is runny | Too much water added | Add sifted sugar 1 tbsp at a time |
| Bubbles in finish | Too much air whipped in | Stir gently by hand before bagging |
| Clogged piping tip | Sugar lumps or dried bits | Sift sugar and keep tips covered with damp cloth |
Stirring by hand for a minute before you put the icing into your piping bag is the best way to get that velvety look. It pushes out the large air pockets that the mixer created.
Common Mistakes Checklist - ✓ Forgetting to sift the sugar (results in bumpy texture) - ✓ Using oil based flavorings (can break down the meringue structure) - ✓ Adding too much water at once (always use drops or a spray bottle) - ✓ Leaving the bowl uncovered (royal icing
starts drying within minutes) - ✓ Using liquid food coloring (thins the consistency too much; use gels)
Customizing Your Sweet Finishes
If you want a different flavor profile, you can easily swap the vanilla for lemon extract or even a bit of peppermint for the holidays. Just ensure whatever flavoring you use is oil free, as oil is the enemy of meringue and will cause the icing to collapse.
| Original Ingredient | Substitute | Why It Works |
|---|---|---|
| Warm Water | Lemon Juice | Adds a tart flavor and helps with stability. Note: Icing will dry faster |
| Clear Vanilla | Almond Extract | Provides a classic wedding cake flavor. |
| Light Corn Syrup | Glycerin (few drops) | Similar shine and soft bite without the extra sugar. |
For a vegan version, you can substitute the meringue powder and water with reduced aquafaba (the liquid from a can of chickpeas). It takes a bit longer to whip, but it provides a surprisingly similar "shatter" when dry.
Preserving Your Finished Batches
Royal icing dries out incredibly fast when exposed to air. If you aren't using it immediately, keep the bowl covered with a damp paper towel or a tight layer of plastic wrap pressed directly onto the surface of the icing.
Storage: You can keep leftover icing in an airtight container in the fridge for up to 2 weeks. It will likely separate, so just give it a good stir by hand (avoid re whipping) to bring it back to the right consistency.
Freezing: This recipe freezes beautifully for up to 2 months. Thaw it overnight in the fridge and let it come to room temperature before stirring.
Zero Waste: If you have small amounts of colored icing left over, pipe them into tiny "royal icing transfers" like dots, hearts, or stars on parchment paper. Let them dry hard, then peel them off and store them in a jar to use as homemade sprinkles for future projects.
Ideal Pairings for Decoration
There is a common misconception that royal icing has to be rock hard and tasteless. By adding that touch of corn syrup, we ensure it's pleasant to eat. It pairs perfectly with a classic shortbread or a spiced gingerbread, where the sweetness of the icing balances the warmth of the cloves and ginger.
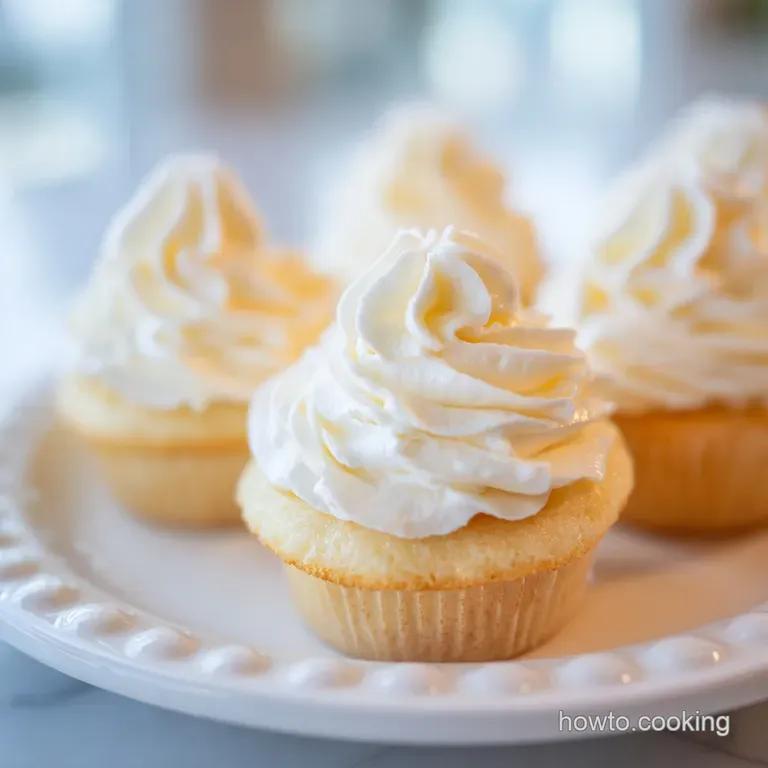
- Soft Sugar Cookies: The contrast between a soft cookie and the crisp icing is a classic for a reason.
- Gingerbread Houses: Use the stiff peak version of this Royal Icing recipe as "glue" for walls and roofs.
- Tea Cakes: A simple flood of white icing over a small lemon tea cake adds an elegant, professional touch.
Fact Checking Icing Traditions One myth is that you must use raw egg whites for "authentic" icing. In reality, meringue powder is much more stable and removes any food safety concerns, especially if you're gifting cookies to kids or the elderly.
Another myth is that icing won't dry in humid weather; while it takes longer, using a small desk fan near your drying rack will solve most humidity issues.
Decision Shortcut - If you want maximum shine, add an extra teaspoon of corn syrup. - If you want a matte look for "chalkboard" cookies, skip the syrup entirely. - If you are doing fine detail work, stick to the 7 minute whip time for maximum stiffness.

Recipe FAQs
What are the ingredients of royal icing?
Confectioners' sugar, meringue powder, cream of tartar, water, clear vanilla extract, and light corn syrup. Meringue powder is the key structural ingredient, providing the protein base that allows the icing to dry rock hard and safe for consumption.
What are the three types of royal icing?
Meringue Powder (High Stability), Traditional Egg White (Medium Stability), and Standard Glaze (Low Stability). The meringue powder version, which is the focus here, offers the highest structural integrity for detailed piping and stacking.
What is the key ingredient in royal icing that makes it harden?
Meringue powder provides the necessary egg white proteins. When whipped, these proteins create a stable network that traps air, allowing the sugar structure to completely desiccate and dry into a hard, brittle finish.
What is the 10 second rule for royal icing?
The 10 second rule is a common, though slightly inaccurate, benchmark for icing consistency. A better standard is the 15 second rule: after cutting the icing with a knife, the line drawn through it should disappear completely in exactly 15 seconds for perfect flood consistency.
Is it true I must use fresh egg whites instead of meringue powder?
No, this is a common misconception. Meringue powder is highly recommended because it is pasteurized, perfectly consistent, and creates a more reliably stable icing that won't deflate over time like fresh whites sometimes do.
How to store leftover royal icing for later use?
Press plastic wrap directly onto the surface and seal in an airtight container. Icing can be refrigerated for up to two weeks; it will stiffen, so gently stir it by hand before using again to restore the texture, much like reviving dough after a cold ferment.
How to achieve a brilliant, non-cracking finish?
Incorporate a small amount of light corn syrup (about 1 tablespoon per batch). The syrup acts as a plasticizer, inhibiting large sugar crystal formation which prevents the final coat from looking chalky or developing fine cracks.
Easy Royal Icing Recipe

Ingredients:
Instructions:
Nutrition Facts:
| Calories | 68 kcal |
|---|---|
| Protein | 0.5 g |
| Fat | 0 g |
| Carbs | 16.5 g |
| Fiber | 0 g |
| Sugar | 16.1 g |
| Sodium | 12 mg |
