Perfect Royal Icing: the Essential Guide for Decorating
Let’s look into Into Royal Icing
Oh my gosh, have you ever stared at a beautifully decorated cookie and thought, “how do they do that?” well, today we’re diving into how to make royal icing ! trust me, it’s a game changer.
It’s sweet with just a hint of vanilla and, honestly, so satisfying to work with. plus, it’s perfect for those intricate designs that make your cookies the stars of the show!
Royal icing isn’t just some fancy stuff you slap on desserts. its roots trace back to the uk, where cheerful bakers whip it up to dress cakes and holiday treats.
This icing has become a staple in american baking, especially for decorating cookies that are destined for parties. if you’re worried about the difficulty, fret not it’s actually easy !
You’ll need about 10 minutes to whip it up, and it yields about 2 cups enough to coat around 24 cookies, depending on your artistic flair.
Why You’ll Love This Icing
Alright, let’s talk benefits. first off, the biggest perk? royal icing is a great source of creativity ! you can get wild with your sugar cookie designs, transforming your basic cookies into fancy masterpieces that will impress everyone.
Plus, you’ll have the joy of decorating cookies for birthdays, holidays, or just when you're feeling artsy. this icing holds its shape beautifully, making it ideal for those fine details and color pops!
Now, here’s what’s special: the royal icing consistency can be adjusted to your liking. want to pipe outlines? make it thicker! looking to flood those cookies with colors? just thin it out with a bit of water.
Seriously, it’s like your trusty partner in the kitchen always there to help you create something magical.
So, what are you waiting for? grab your mixing bowl and let’s conquer the world of sugar cookie icing ! don’t stress about the process; just remember that practice makes perfect.
Who knows, you might end up creating the next pinterest sensation!
Now, let's get into the ingredients you’ll need. Spoiler alert: it’s super simple!
All the Ingredients & Equipment You’ll Need for Royal Icing Magic
Alright, friends! are you ready to dive into how to make royal icing like a pro? this sweet, creamy goodness is gotta have-it for decorating cookies, cakes, or even those fancy biscuits your grandma used to make.
Let’s talk about what you need to get started on this icing adventure!
Main Ingredients You Can’t Skip
4 cups powdered sugar (that's about 1 lb or 450g ). Make sure it’s super fine for that smooth finish!
3 large egg whites (or 1/2 cup egg white powder ). Super important! Fresh egg whites give the best results.
1 tsp lemon juice (or vinegar, optional). This little accent can help stabilize the icing just like how a dash of salt brings cookies to life!
1 tsp pure vanilla extract (optional, but totally worth it!). It adds that nice vanilla vibe to balance all that sugar.
When You’re Seasoning (A Few Notes)
Okay, we can’t forget about flavor enhancers! this is where the magic meets the method. adding a teaspoon of lemon juice makes all the difference for royal icing consistency .
Want something with a kick? try almond extract instead of vanilla for a nutty twist.
And if you find yourself short on egg whites, grab some meringue powder. It’s an easy swap, trust me! Just follow the instructions on the package for bad-to-the-bone yummy icing.
Tools of the Trade You Got This!
Alright, let’s talk tools. Here’s what you’ll want in your kitchen arsenal:
Mixing bowl : Any size will do, just make sure it's clean!
Electric mixer (or a good ol' whisk). I’ll admit, if you’re whipping this by hand, you’re gonna get a workout, but I believe in you!
Rubber spatula : You need this for folding no air bubbles allowed!
Piping bags and tips : Time to get fancy with those designs. You can even use ziplock bags if you’re in a pinch; just cut a corner off!
Sifter : Seriously, sift that powdered sugar to avoid lumps. We want smooth icing here, folks.
Measuring cups and spoons : Get precise for the best cookie royal icing outcome.
Wrapping It Up
With all these ingredients and tools on deck, you’re all set for decorating cookies like a champ. remember, getting that perfect icing consistency takes practice, but once you nail it, you can create stunning sugar cookie designs that’ll wow everyone.
So, grab your supplies, channel your inner baking goddess or god, and let’s create some fancy cookies that’ll steal the show. You got this!
Mastering the Magic of Royal Icing: How to Create and Decorate
Oh my gosh, let’s talk about royal icing ! it’s like the magic wand for decorating cookies and cakes. you want those sweet treats to look fabulous, right? trust me, with a little practice, you can master this icing consistency and create some seriously impressive designs.
Getting Ready for Royal Icing Bliss
First things first: mise en place . this fancy french phrase just means getting everything ready before you start mixing. grab your 4 cups of powdered sugar and 3 large egg whites (or about half a cup of egg white powder if you're feeling fancy).
Don’t forget a dash of lemon juice or vinegar to stabilize things. and, honestly, who can resist the sweet aroma of vanilla? snag some pure vanilla extract too!
Now, hit up your kitchen and lay out your tools. you’ll need a bowl, an electric mixer (or just a good ol’ whisk if you want to get your workout on), some piping bags, and a rubber spatula because we’re all about that no-waste life.
Before getting into the nitty gritty, it's key to sift the powdered sugar . this little step keeps your royal icing nice and smooth nobody likes lumps, right?
Step-by-step Process for Stunning Icing
Start by sifting the powdered sugar into your mixing bowl. No one likes a lumpy icing!
In a separate bowl, whisk together the egg whites and lemon juice until it’s foamy. This usually takes about 2 minutes .
Gradually mix in the powdered sugar with an electric mixer on low speed until it’s all combined.
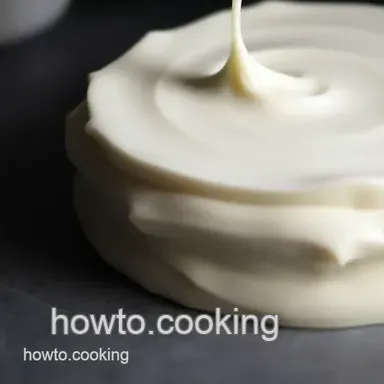
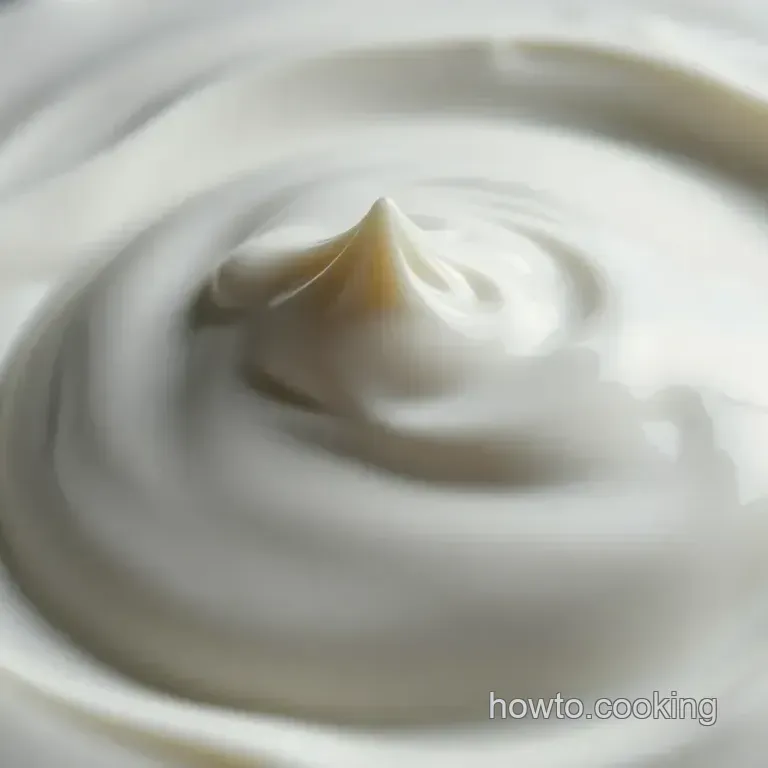
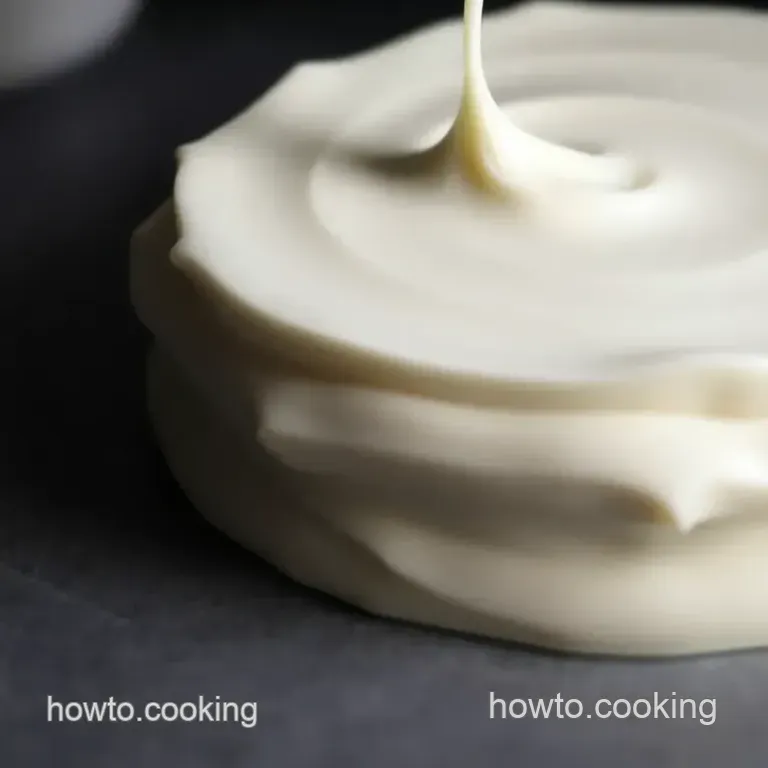
Once combined, crank up that speed to medium high and whip it until you see stiff peaks forming. this usually takes about 3- 5 minutes .
You’re looking for that perfect royal icing consistency !
Gently fold the icing to remove any rogue air bubbles. Trust me, you don’t want air bubbles ruining your decorating cookies game.
If you want to thin your icing for flooding, add a bit of water like 1 teaspoon at a time .
Use right away or cover it (with a damp cloth!) to prevent it from drying out.
Pro Tips for Perfect Royal Icing
Now, here’s where i spill the tea! want a glossier finish? toss in a teaspoon or two of corn syrup! also, if you’re using real egg whites, let them sit out to get to room temperature for better mixing.
One common mistake? not testing your icing before diving into your sugar cookie designs . always do a small test run! i’ve messed up a batch before trust me; you don’t want to go all-in on a design that’s not going to work.
And hey, want to prep for the future? Make a batch of this delight and store it in an airtight container! You can use it within a few days.
So now that you’ve got your royal icing down to a science, decorate those cookies like you’re picasso with some sweet, sugary flair.
Whether it’s for a festive occasion or just because you want to impress your friends, you’ve got this!
Now, grab your cookies, get cozy, and start making some fancy cookies . And remember, enjoy the process because that’s what it’s all about!
Recipe Notes for Perfect Royal Icing
Serving Suggestions to Wow Your Guests
First things first: presentation is key! when you’ve got those fancy cookies all decked out in their sugar cookie icing , it’s time to let them shine.
Try plating your cookies on a colorful cake stand or a rustic wooden board. mix and match colors for an instagram worthy spread.
Honestly, your friends will be snapping pics like they’re at a gallery!
And don’t forget the drinks! a cup of chai tea or a classic glass of milk pairs perfectly with your decorated cookie creations.
If you wanna keep it festive, how about serving them alongside some hot cocoa? you’ll have the whole crew swooning!
Storage Tips for Long Lasting Icing
So, let’s say you’ve whipped up more cookie royal icing than you needed (it happens!). if you plan to save some, pop it in an airtight container at room temperature.
Just make sure to cover the icing with a damp cloth to keep it from drying out. nobody wants crusty icing!
If you’ve got leftovers that just won’t be used right away, you can freeze it! just portion it into freezer safe bags.
When you’re ready to decorate again, let it thaw overnight in the fridge. after that, give it a good mix to bring back its creamy royal icing consistency .
Delicious Variations to Try
Want to mix things up a little? get creative with flavors! instead of plain vanilla, try adding a splash of almond extract for an unexpected twist.
It’s like giving your cookies a warm hug!
And for those of you watching what you eat, or if you wanna adapt for vegan friends, you can use aquafaba instead of egg whites.
It whips up just like the real thing! also, seasonal swaps are fun; think about pumpkin spice in the fall or mint during the holidays.
The world of decorating cookies is your oyster!
Nutrition Basics to Know
Now, nobody’s pretending royal icing is a health food, but it’s good to know what you’re dealing with! each tablespoon packs about 45 calories with 11 grams of sugar.
But hey, it’s a treat, right? when you use sugar cookie royal icing to top off those delightful baked goods, you’re not just adding sweetness; you’re creating little edible works of art.
Plus, the protein from egg whites provides a boost!
Final Thoughts
When it comes to decorating with royal icing, just remember: practice makes perfect! the more you play around with icing consistency , the better you’ll get.
So, don’t stress if the first batch doesn’t look ready for a magazine it’s all part of the fun.
Grab your ingredients and let’s dive into the world of how to make royal icing . you’ve got this! happy decorating!
Frequently Asked Questions
What is the best way to achieve the right consistency when learning how to make royal icing?
To achieve the perfect consistency, start by whisking the egg whites until foamy before gradually adding sifted powdered sugar. For outlining, aim for stiff peaks, while flooding requires a thinner consistency just a few drops of water can help achieve this.
Remember, practice makes perfect, so don't be disheartened if it takes a couple of tries!
Can I make royal icing without using egg whites?
Absolutely! You can use meringue powder as a substitute for egg whites. Just follow the package instructions for reconstituting it usually around 2 tablespoons mixed with water equals one egg white. For a vegan option, try using aquafaba, the liquid from canned chickpeas!
How do I store leftover royal icing?
Leftover royal icing can be stored in an airtight container at room temperature for a few days, but it's best used within 2-3 days to avoid it drying out. Just remember, you can prevent drying by covering it with a damp cloth or a piece of plastic wrap pressed directly onto the icing surface.
Why does my royal icing have air bubbles, and how can I fix it?
Air bubbles can form during mixing; to avoid this, mix on low speed and gently fold the icing with a spatula to remove any trapped air. Additionally, try tapping your mixing bowl on the counter to help release any bubbles before piping it onto your cookies.
How long does royal icing take to dry completely?
The drying time for royal icing can vary depending on the thickness and environmental conditions, but generally, it takes about 1-2 hours to dry completely for outlines. For decorative flooding or thicker layers, it may require several hours or even overnight for a fully set finish, just like a classic British biscuit!
What are some common flavour variations for royal icing?
You can easily add flavour to your royal icing! A teaspoon of lemon or almond extract can elevate the taste and add a delightful twist. Just remember to adjust the moisture in your recipe accordingly when using liquid flavourings, work with the sugar-to-egg white ratio to maintain the desired consistency.
Perfect Royal Icing The Essential Guide For Deco