Ermine Frosting Recipe: Less Sweet Frosting
- Time: Active 35 minutes, Passive 10 minutes, Total 45 minutes
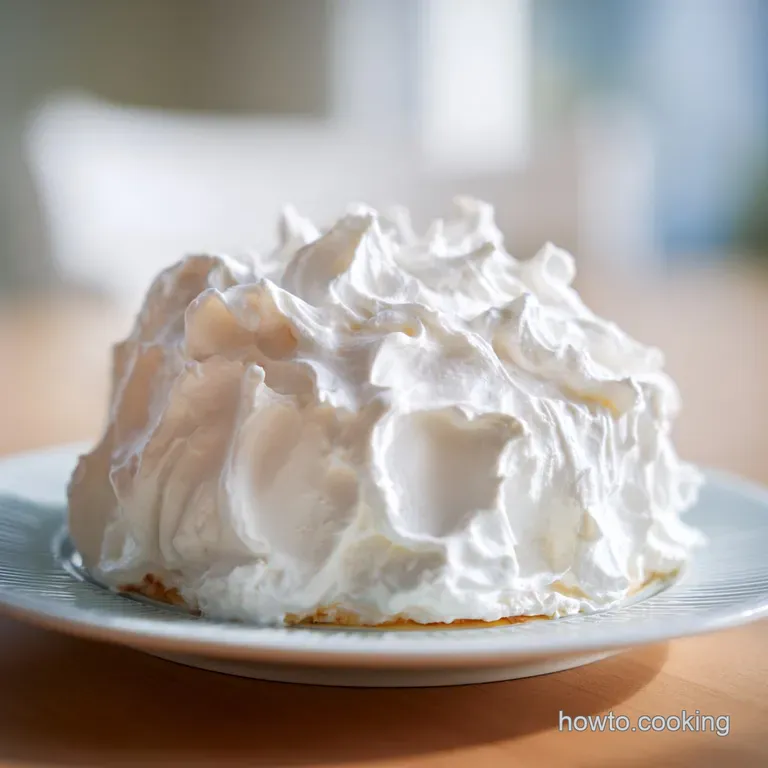
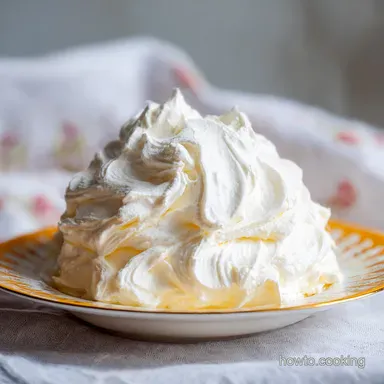
- Flavor/Texture Hook: Silky, whipped texture with a clean, buttery finish
- Perfect for: Family birthday cakes, piping onto cupcakes, or nostalgic desserts
- Creamy Frosting Without Confectioners Sugar
- Science of Silky Starch Frosting
- Vital Recipe Specifications
- Selecting Wholesome Foundation Ingredients
- Essential Tools for Best Results
- Step-by-Step Culinary Process
- Solving Common Texture Issues
- Creative Flavor Variations
- Proper Storage Guidelines
- Ideal Pairing Ideas
- Recipe FAQs
- 📝 Recipe Card
Creamy Frosting Without Confectioners Sugar
Imagine you’ve just pulled a batch of golden, fragrant cupcakes from the oven. You go to the pantry, reaching for that familiar blue bag of powdered sugar, only to find it’s completely empty.
This exact scenario happened to me during a rainy Sunday bake with my kids, and honestly, it was the best mistake I ever made. That's when I rediscovered the "boiled milk" method, also known as Ermine frosting.
The aroma of this mixture as it simmers on the stove is like a warm vanilla hug, a far cry from the dusty cloud of sugar that usually coats my kitchen counters. This recipe isn't just a backup plan, it's a wholesome, flavorful alternative that actually lets the butter and vanilla shine.
You're going to love how it feels on the tongue, it's remarkably silky and lacks that heavy, tooth aching sweetness we often associate with store-bought toppings.
We are going to move away from the "sugar bomb" approach and embrace a bit of kitchen science. By cooking a simple flour and milk roux, we create a stable base that can hold a massive amount of air when whipped with butter.
It’s a confident, old school technique that produces a nutritious feeling result that won't leave your family with a sugar crash.
Science of Silky Starch Frosting
Understanding the "how" behind this recipe will give you the confidence to nail the texture every single time. It’s all about managing the way starches and fats interact to create a stable emulsion.
- Starch Gelatinization: Heating the flour with milk causes starch granules to swell and burst, creating a thick, structural paste that holds the frosting together.
- Sucrose Dissolution: Cooking granulated sugar into the roux ensures every crystal melts, resulting in a perfectly smooth finish with zero grittiness.
- Fat Emulsification: Whipping the cooled flour base into softened butter traps air bubbles within a fat and water matrix for a light, cloud like feel.
Starch and Silky Texture
The all purpose flour acts as the skeleton of this recipe. Unlike powdered sugar which just adds bulk and sweetness, the flour creates a viscous gel. This gel is what gives the frosting its unique "shatter free" spreadability, making it feel more like a whipped mousse than a stiff paste.
Granulated Sugar Benefits
By using granulated sugar instead of confectioners sugar, we achieve a cleaner flavor profile. Confectioners sugar often contains cornstarch to prevent clumping, which can leave a slightly metallic or chalky aftertaste. In this method, the sugar is fully dissolved in the milk, providing a pure, wholesome sweetness.
Temperature and Stability
Temperature is your most important tool here. If the roux is too hot, it will melt your butter into an oily puddle. If it's too cold, it won't incorporate smoothly. Aiming for a consistent room temperature for both the butter and the cooked base is the secret to a professional, velvety result.
| Method | Time | Control Level | Texture |
|---|---|---|---|
| Stovetop Roux | 8 minutes | High - Constant stirring | Ultra smooth and glossy |
| Microwave Roux | 3 minutes | Low - Risk of hot spots | Can be grainy if not whisked |
| Oven Thickening | 15 minutes | Medium - Hands off | Drier consistency |
This comparison shows why the stovetop is my preferred method. While the microwave is faster, the stovetop allows you to feel the resistance of the whisk as the mixture thickens, ensuring you never overcook the base. This tactile feedback is essential for a nutritious and consistent bake.
Vital Recipe Specifications
When you're ready to start, keep these precision checkpoints in mind. Accuracy in the cooling phase is just as important as the cooking itself.
- Checkpoint 1: Cook the roux until it reaches exactly 75°C (167°F) to ensure the starch is fully activated.
- Checkpoint 2: Cool the mixture to 21°C (room temp) before adding to the butter.
- Checkpoint 3: Whip the final combined mixture for a full 5 minutes to achieve maximum aeration.
| Component | Science Role | Pro Secret |
|---|---|---|
| All purpose flour | Structural Thickener | Cook it until it smells like toasted shortbread |
| Granulated sugar | Sweetness & Bulk | Whisk constantly while heating to prevent scorching |
| Whole milk | Liquid Hydrator | Use full fat milk for the most velvety mouthfeel |
| Unsalted butter | Fat & Flavor | Ensure it's soft enough to leave a finger indent |
A quick paragraph to bridge our tables: picking the right ingredients is the first step toward a flavorful result. high-quality butter makes a world of difference here since it’s the primary flavor carrier.
I always recommend using a European style butter if it fits your plan, as the higher fat content leads to an even more luxurious finish.
Selecting Wholesome Foundation Ingredients
You likely have everything you need in your pantry right now. This recipe is wonderfully practical, using basic staples to create something extraordinary.
- 5 tablespoons all purpose flour (45g): This provides the structure. Why this? It has the right protein balance for a stable, smooth roux.
- Substitute: Cake flour works too, but your frosting will be slightly softer.
- 1 cup granulated sugar (200g): The source of sweetness. Why this? It dissolves completely in the milk for a grit free texture.
- Substitute: Caster sugar dissolves even faster if you have it on hand.
- 1 cup whole milk (244g): The liquid base. Why this? The fat in whole milk adds a rich, nutritious depth.
- Substitute: 2% milk is fine, but avoid skim milk as it lacks the necessary fat.
- 0.25 teaspoon fine sea salt (1.5g): Balances the sweetness.
- Substitute: Table salt is fine, just use a tiny pinch less.
- 1 cup unsalted butter, softened (226g): The heart of the frosting.
- Substitute: Salted butter works, but skip the extra sea salt if you use it.
- 1 tablespoon pure vanilla extract (13g): For that classic aroma.
- Substitute: Vanilla bean paste adds beautiful black specks for a fancy look.
Essential Tools for Best Results

You don't need a high end lab to make this work, but a few specific tools will make the process much smoother. A heavy bottomed saucepan is your best friend here because it distributes heat evenly, preventing the milk from catching and burning on the bottom.
I highly recommend using a stand mixer, like a KitchenAid, because the final whipping stage takes some time. If you only have a hand mixer, don't worry, you'll just get a little bit of a forearm workout!
You'll also need a fine mesh whisk to keep the roux smooth and a silicone spatula to scrape every bit of that precious base out of the pan.
step-by-step Culinary Process
Before you begin, make sure your butter is sitting out on the counter. It needs to be truly softened to room temperature to emulsify properly with the cooked base.
Cooking the Stovetop Base
- Whisk 45g all purpose flour and 200g granulated sugar in a small saucepan until well combined. Note: This prevents the flour from clumping when the liquid is added.
- Slowly pour in 244g whole milk while whisking constantly. Whisk until no lumps remain.
- Place the pan over medium heat and stir continuously.
- Cook for about 5 to 7 minutes until the mixture becomes thick like a heavy pudding. You should see a few bubbles pop on the surface.
- Remove from heat and stir in 1.5g sea salt.
The Critical Cooling Phase
- Transfer the hot mixture to a shallow bowl and press a piece of plastic wrap directly onto the surface. Note: This prevents a "skin" from forming on the roux.
- Let the mixture cool completely to room temperature. It must not feel warm to the touch. This usually takes about 30 to 45 minutes on the counter.
Aerating the Unsalted Butter
- In a large bowl, beat 226g softened butter for 3 minutes until it looks pale and fluffy.
- Add the cooled flour mixture one tablespoon at a time while the mixer is running at medium speed.
- Once all the base is added, pour in 13g vanilla extract and whip on high for 5 minutes until it looks like a cloud.
Solving Common Texture Issues
Even the most experienced cooks hit a snag sometimes. The most common issues with this frosting usually involve temperature. If your kitchen is very warm, the butter might struggle to hold its shape.
Fixing Lumpy Textures
If your roux has lumps, don't panic. You can pass the hot mixture through a fine mesh sieve before cooling it. Alternatively, a quick pulse with an immersion blender will smooth it out instantly. This ensures your final product is silky and professional.
Fixing Broken Emulsions
If the frosting looks curdled or "separated" when you add the roux to the butter, it’s usually because of a temperature mismatch. If it’s too cold, the butter bits won’t incorporate. If it’s too warm, it will look greasy.
| Problem | Root Cause | Solution |
|---|---|---|
| Greasy/Melting | Roux was too warm | Chill the bowl for 15 mins, then re whip |
| Curdled/Grainy | Butter was too cold | Wrap a warm towel around the bowl while mixing |
| Gritty sugar | Under cooked base | Ensure bubbles pop during the cooking stage |
Remember, this frosting is resilient. Most issues can be fixed with a little time in the fridge and a vigorous re whip. It’s a very forgiving recipe once you understand the balance of fat and starch.
Common Mistakes Checklist: ✓ Always whisk the dry flour and sugar together before adding milk to prevent stubborn lumps. ✓ Never rush the cooling process; a warm roux will destroy the butter's structure.
✓ Use the "plastic wrap touch" method to prevent a dry skin from forming on your base. ✓ Scrape the sides of the bowl frequently during the final whip to ensure total incorporation. ✓ If the frosting is for a hot outdoor event, add an extra 10g of flour to the roux for more stability.
Creative Flavor Variations
Once you've mastered the basic vanilla version, you can start experimenting with different flavors to suit your family's preferences. This base is incredibly neutral, making it a perfect canvas for your creativity.
Chocolate Flavor Variations
To turn this into a chocolate dream, whisk 30g of high-quality cocoa powder into the dry sugar and flour at the very beginning. The cocoa will cook with the milk, creating a deep, flavorful chocolate base that tastes much more complex than a simple cocoa buttercream mix.
Zesty Lemon Variations
For a bright, summery twist, add the zest of two lemons to the milk as it heats. Once the frosting is finished whipping, fold in a tablespoon of fresh lemon juice. The acidity cuts through the richness of the butter beautifully, making it perfect for a Classic Frosted Sugar recipe or a light sponge cake.
Proper Storage Guidelines
This frosting stores surprisingly well because the cooked starch helps retain moisture. It doesn't crust over as quickly as powdered sugar frostings, which keeps your cakes looking fresh for longer.
- Fridge: Store in an airtight container for up to 5 days. You will need to bring it back to room temperature and give it a quick whip before using it again.
- Freezer: This frosting freezes beautifully for up to 3 months. Thaw it overnight in the fridge, then let it come to room temperature before re whipping.
- Zero Waste Tip: If you have leftover roux that hasn't been mixed with butter yet, you can use it as a thickener for a homemade vanilla pudding or even as a base for a sweet white sauce to drizzle over fruit.
Ideal Pairing Ideas
This frosting is the ultimate companion for a wide variety of desserts. Because it is less sweet, it pairs exceptionally well with rich, heavy cakes that might otherwise be overwhelming.
It's particularly fantastic on a classic red velvet cake, where the slight tang of the cake meets the creamy, buttery finish of the frosting.
If you are looking for a more traditional icing for different projects, you might also enjoy a Homemade Icing recipe, but for most of my family meals, I find myself returning to this boiled milk version. It’s also sturdy enough to be used as a filling for homemade sandwich cookies or piped onto sugar cookies for a festive touch.
- If you want a stiffer pipe for intricate flowers, chill the finished frosting for 15 minutes before loading your piping bag.
- If you want a deeper, nutty flavor, brown the butter in a pan first, let it solidify in the fridge, then use it as directed.
- If you want a matte finish for a rustic look, reduce the milk by 20g to create a thicker, less glossy paste.
Trust your instincts in the kitchen. This recipe is a testament to how simple, wholesome ingredients can be transformed into something truly special with just a little bit of patience and heat. You've got the tools and the science now go make something flavorful!

Recipe FAQs
What can I use if I don't have powdered sugar for frosting?
Use a cooked flour base (Ermine/Boiled Milk Frosting). This method relies on cooking flour and milk into a thick roux, which is then whipped with butter and granulated sugar.
What is a substitute for confectioners sugar in buttercream frosting?
The best substitute is granulated sugar incorporated into a cooked base. This cooked starch base replaces the bulk and structure that powdered sugar normally provides, resulting in a silkier texture.
What to do if you run out of confectioners sugar?
Switch immediately to the Ermine frosting method using granulated sugar. This is an excellent opportunity to try a less sweet, velvety frosting which is superior for many cakes.
Can I use flour instead of confectioners sugar for frosting?
Yes, when combined correctly with milk and heat, flour acts as the structural replacement for powdered sugar. You must cook the flour and milk mixture until it thickens significantly before whipping it into the butter.
Can I just blend granulated sugar until it's fine enough to use as powdered sugar?
No, grinding granulated sugar is not recommended for frosting. While you can make a coarse powder, it will likely remain gritty because home blenders cannot achieve the micron level fine particle size of commercial confectioners sugar.
Is it true that frosting made without powdered sugar tastes less sweet?
Yes, this frosting often tastes cleaner and less intensely sweet. Because you are dissolving the granulated sugar fully, you avoid the slight chalky flavor sometimes imparted by the cornstarch found in commercial powdered sugar.
How do I make sure my boiled milk frosting isn't runny after whipping?
Ensure the cooked flour base is completely cooled to room temperature before adding it to the butter. If the base is too warm, it will melt the butter, leading to a greasy, unmanageable texture, unlike the stable structure achieved in the Homemade Cinnamon Rolls Recipe.
Frosting Without Confectioners Sugar
Ingredients:
Instructions:
Nutrition Facts:
| Calories | 183 kcal |
|---|---|
| Protein | 1.0 g |
| Fat | 12.8 g |
| Carbs | 16.5 g |
| Fiber | 0.1 g |
| Sugar | 14.1 g |
| Sodium | 38 mg |
