Creamy Mashed Butternut Squash
- Time: 10 min active + 40 min roasting
- Flavor/Texture Hook: Nutty, buttery, and glossy
- Perfect for: Holiday side dishes or healthy meal prep
- Creamy Mashed Butternut Squash Guide
- Why Roasting Actually Works
- Goal Based Adjustments
- Quick Recipe Specs
- Ingredients You'll Need
- Ingredient Swaps
- Essential Kitchen Tools
- Easy Cooking Steps
- Fixing Common Issues
- Creative Twists and Swaps
- Storage and Leftovers
- Best Presentation Ideas
- The One Thing That Changes Everything
- Recipe FAQs
- 📝 Recipe Card
Creamy Mashed Butternut Squash Guide
That smell of roasting squash hitting the air is just the best. It starts as a sweet, earthy scent and then turns into something deep and caramelized as the edges brown. I used to think boiling was the only way to get a smooth mash, but honestly, that just makes a watery soup that you have to stir for an hour to thicken.
Forget the idea that you need to boil the squash to get it soft. Boiling floods the vegetable with water, which kills the flavor. When you roast it at a high heat, the water evaporates and the natural sugars concentrate.
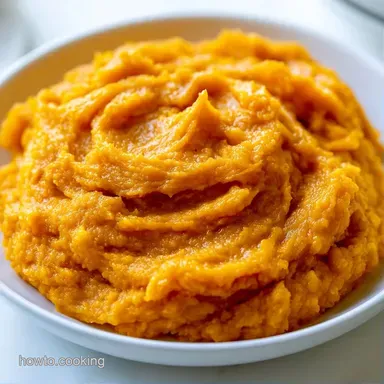
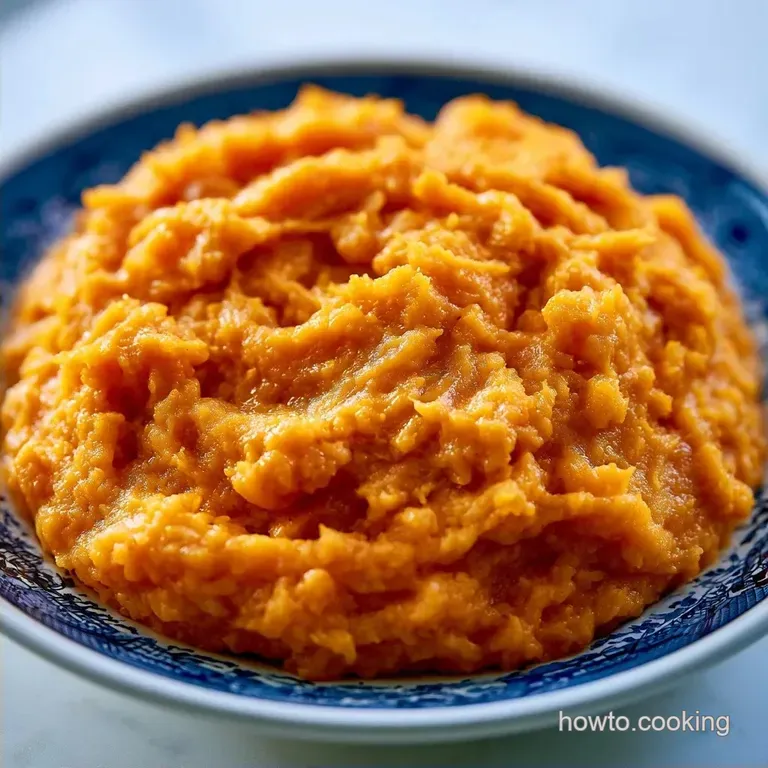
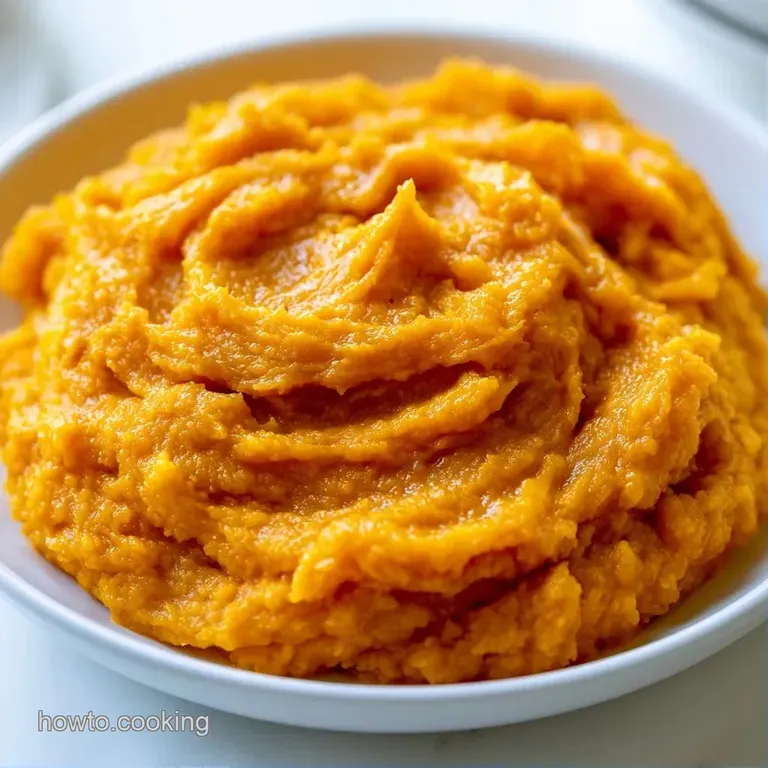
This Mashed Butternut Squash is about getting that dense, rich consistency that holds its shape on a plate. It's wholesome, family friendly, and doesn't require any fancy equipment. Trust me, once you see the difference in color, you'll never go back to the pot.
Why Roasting Actually Works
- Water Loss: High heat pushes moisture out of the squash cells, which prevents the mash from becoming runny.
- Browned Edges: Roasting creates caramelized bits that add a savory, toasted layer to the sweetness.
According to the techniques at Serious Eats, roasting vegetables at high temperatures concentrates flavor through moisture loss. This is exactly why the roasted version of Mashed Butternut Squash tastes so much more intense than the boiled one.
| Method | Time | Texture | Best For |
|---|---|---|---|
| Classic Roast | 50 mins | Dense & Nutty | Holiday feasts |
| Quick Steam | 20 mins | Light & Airy | Weeknight sides |
Goal Based Adjustments
| Goal | What to change |
|---|---|
| More Sweetness | Add 1 extra tsp maple syrup |
| Thicker Mash | Use 2 tbsp less heavy cream |
| Savory Profile | Double the black pepper |
Quick Recipe Specs
This recipe serves 6 people. It's a budget friendly side that uses a few pantry staples to make a humble squash feel a bit more special.
The active work is minimal. You spend about 10 minutes prepping the cubes and then let the oven do the heavy lifting for 40 minutes. Total time is 50 minutes from start to finish.
Since we aren't boiling, there's no need to drain anything. You just roast, mash, and serve. It's an empowering way to cook because the sensory cues (the smell and the color) tell you exactly when it's done.
Ingredients You'll Need
To save time, I often grab pre-cut squash, though peeling it manually is more economical and typically fresher. If you're low on cream, you can easily whip up a batch using my heavy cream hack.
- 1.36kg butternut squash, peeled and cubed Why this? Provides the nutty, sweet base
- 2 tbsp extra virgin olive oil Why this? Ensures even heating and golden browning
- 1 tsp kosher salt Why this? Draws out moisture and enhances flavor
- 1/2 tsp cracked black pepper Why this? Offers a hint of spice to offset the sweetness
- 4 tbsp unsalted butter, softened Why this? Adds richness and a glossy finish
- 1/4 cup heavy cream Why this? Creates that smooth, pourable texture
- 1 tbsp maple syrup Why this? Complements the natural squash sugars
- 1/4 tsp ground nutmeg Why this? Traditional autumn aromatic
- 1/4 tsp salt Why this? Final seasoning adjustment
| Ingredient | What It Does | Best Swap |
|---|---|---|
| Heavy Cream | Adds richness | Coconut milk (adds tropical notes) |
| Maple Syrup | Adds sweetness | Brown sugar (deeper, molasses taste) |
| Unsalted Butter | Provides creaminess | Vegan butter (similar fat content) |
Ingredient Swaps
You can easily customize this dish with a few simple substitutions. Swapping cream for coconut milk makes the recipe vegan, although it introduces a light coconut taste. For a more rustic and less sweet result, simply omit the maple syrup.
To achieve a richer taste, brown sugar is an excellent substitute for maple syrup. It provides the Mashed Butternut Squash with a subtly caramelized, candy like quality that complements salty meats perfectly.
Now, let's move on to the tools you'll need.
Essential Kitchen Tools
No special equipment is required. A basic baking sheet and a mixing bowl are all you really need.
I prefer using a hand masher for the squash; those remaining small chunks give the dish a bit more character. However, if you're aiming for a perfectly smooth and glossy consistency, a food processor or an immersion blender is the best choice.
I always line my trays with parchment paper. It prevents the squash from sticking and saves me from scrubbing the pan for twenty minutes after dinner.
Easy Cooking Steps
- Set your oven to 400°F (200°C) and prepare a baking tray with parchment paper.
- In a large bowl, combine the cubed butternut squash with olive oil, salt, and pepper, mixing until well coated. Note: Ensure every piece is glistening to prevent them from drying out
- Arrange the squash across the tray, making sure they aren't too crowded so they roast instead of steam.
- Roast for 30–40 minutes, tossing once halfway through, until edges are mahogany colored and caramelized and the centers are tender.
- Move the hot roasted squash into a bowl and stir in the softened butter and maple syrup.
- Use a potato masher for a rustic texture or a food processor for a silkier finish.
- Gradually pour in the heavy cream while stirring until the texture is velvety and glossy.
- Fold in the ground nutmeg and season with additional salt to taste.
Chef's Tip: For a richer taste, roast the squash until some pieces are nearly charred. Those dark bits lend a smoky quality to the Mashed Butternut Squash that's hard to beat.
Fixing Common Issues
The most common problem people run into is the mash feeling too watery. This usually happens if the squash was piled too high on the baking sheet. When the cubes touch too much, they release steam, and that steam stays trapped, making the veg soggy.
Another issue is a grainy texture. This usually means the squash wasn't roasted long enough, or the butter wasn't softened. If the butter is cold, it won't emulsify into the squash and will leave little oily streaks.
If your mash is too thin, just put it in a pan over medium low heat for 5 minutes. Stir it constantly to cook off the excess liquid.
Fixing a Watery Texture
If the squash feels thin or runny, it's usually a roasting issue. Simply simmer the mash in a pot for a few minutes.
Solving Grainy Flesh
Graininess comes from undercooked squash. Use a blender or food processor to force a smoother consistency.
Balancing Too Much Sweetness
If the maple syrup overwhelms the dish, add a squeeze of lemon juice or an extra pinch of salt.
| Problem | Fix |
|---|---|
| Watery consistency | Simmer in a pan for 5-8 mins |
| Grainy texture | Process in a food processor |
| Overly sweet | Add lemon juice or more salt |
Creative Twists and Swaps
If you're serving this for a dinner party, try adding a tablespoon of fresh sage. You can fry the sage leaves in a bit of butter first, then stir them into the Mashed Butternut Squash for a professional touch.
For a more savory version, stir in some grated Parmesan cheese or a dollop of sour cream. This cuts through the sweetness of the squash and makes it a great pairing for a main like my Pot Pie recipe.
You can also try adding a pinch of cinnamon instead of nutmeg if you want a warmer, more dessert like side dish.
Storage and Leftovers
Keep your Mashed Butternut Squash in a closed glass container in the fridge for 4 days. It stays fresh quite well, although the consistency may thicken as it chills.
To serve it again, warm it up in a small saucepan over low heat. Stir in a little water or milk to restore the texture. Try to avoid the microwave, as it often creates "hot spots" and can cause the butter to separate.
This mash also freezes beautifully. Transfer it into freezer safe bags and press them flat. It remains good for around 3 months. Simply let it defrost in the refrigerator overnight before reheating on the stove.
To reduce waste, save the squash seeds. After cleaning them, coat them in oil and salt, then roast at 325°F for 15 minutes for a nutritious snack.
Best Presentation Ideas
Since this dish is a bright orange, it looks great against dark plates. I like to scoop it into a bowl and create a small well in the center with a spoon.
Fill that well with a knob of melting butter or a drizzle of extra maple syrup. A sprinkle of fresh parsley or a few fried sage leaves on top adds a pop of green that makes the Mashed Butternut Squash look like it came from a restaurant.
If you're serving it as a base for another protein, spread it in a wide circle and place the meat right in the middle. The rich color of the squash makes any roast or seared steak stand out.
The One Thing That Changes Everything
The real win here is the temperature of the squash when you add the fats. Adding butter and cream to piping hot squash allows the fats to melt and bind immediately.
If you let the squash cool down too much, the butter just sits there in clumps. By stirring everything in while it's still steaming, you create a stable emulsion that gives you that glossy, rich finish. This is what separates a basic puree from a truly creamy Mashed Butternut Squash.
Recipe FAQs
What's the best way to make butternut squash puree?
Pulse roasted squash in a food processor. Process until completely smooth, then stir in heavy cream and butter for a velvety finish.
Can you mash up butternut squash?
Yes, it mashes easily once tender. Use a potato masher for a rustic texture or a blender for a silky consistency.
Is it true that butternut squash is just a pumpkin?
No, this is a common misconception. While both are winter squashes, butternut squash has a denser texture and a distinctively nuttier sweetness.
Should I boil the squash instead of roasting?
No, roasting is superior. Baking at 400°F caramelizes the natural sugars, whereas boiling often results in a watery, bland mash.
How to turn this mash into a pasta sauce?
Whisk in extra heavy cream to thin the mash. Stir in a bit more salt and pepper to create a savory coating. If you enjoyed achieving a creamy texture here, the same principle works in our potato soup for a rich base.
Mashed Butternut Squash