Oreo Truffle Balls: the Cookie Lover's Delight
- Recipe Overview
- Key Benefits
- The Sweet Transition: Ingredients
- Essential Ingredients Guide: Your Go-To for Delicious Treats
- Mastering Professional Cooking Techniques for Delicious Oreo Balls
- Pro Tips & Secrets for Making Oreo Balls
- Storage & Make-Ahead Tips
- Creative Variations to look into Into
- Your Complete Nutrition Guide
- Encouragement to Get Rolling
- Frequently Asked Questions
- 📝 Recipe Card
Oh my gosh, have you ever had one of those days when all you want is a sweet little pick-me-up? i remember sitting on my couch one rainy afternoon, staring at a pack of oreos and thinking, "why don’t i just make something yummy?" that’s when oreo balls popped into my head!
and y’all, let me tell you, these baby truffles are just the ticket.
If you’re like me, and enjoy simple, no-fuss desserts that scream nostalgia, then keep on reading. we’re diving deep into the world of oreo balls , a treat that’ll have you reminiscing about simpler times while satisfying your sweet tooth.
Recipe Overview
Let’s backtrack a bit. “oreo balls,” also known as oreo truffles or cake pops, have a charm that goes beyond their deliciousness.
These little bites of joy date back to the early 2000s, becoming wildly popular at parties and picnics. fast forward to today, and you’ll find them all over your tiktok and instagram feeds.
The world has fallen in love with these no-bake wonders.
Now, don’t let the culinary elite fool you; making oreo balls is as easy as pie or pie crust, to be more precise.
Seriously! you can whip up a batch in about 45 minutes. prep time? just 15 minutes. chill time? a quick half hour while you catch up on your favorite show.
Bonus: they’re budget friendly! you can whip up roughly 24 chocolate dipped truffles for a fraction of what you’d spend on fancy desserts.
Key Benefits
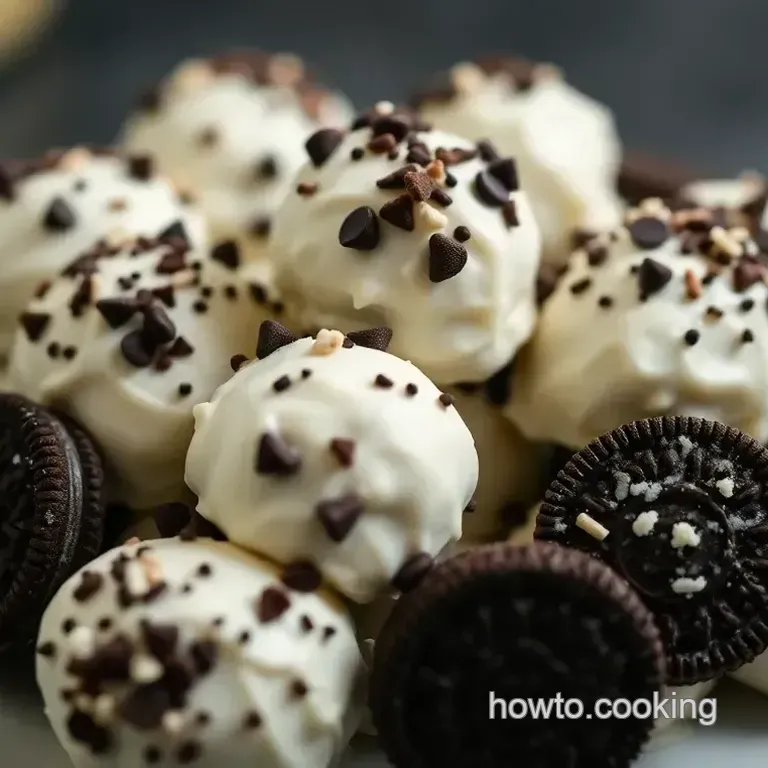
So, what makes these bad boys stand out? well, first off, the simplicity is legendary. we’re talking about crushed oreos paired with creamy cream cheese, then dipped in chocolate.
It’s a match made in dessert heaven . no complicated steps or fancy equipment required. if you’ve ever had an experience where your cake pops fell apart, you’ll appreciate the resilience of these oreo cake balls .
They’re just as easy to serve as they are to eat!
But it’s not just about taste; there are some serious health benefits when you make these little gems. oreos bring a bit of crunch and sweetness, while cream cheese adds creaminess (and a little protein too!).
And let’s be real, they’re perfect for any occasion birthdays, holidays, or just a tuesday night after work when you need a little treat.
Want to impress your friends? these decadent delights also beat out your average cookie hands down. you’ll be the go-to dessert person, and we all love that recognition and clout , right? plus, if you opt for variations like mint or peanut butter oreo balls , you can cater to every taste preference!
it’s truly a win-win.
The Sweet Transition: Ingredients
Alright, friends, let’s get down to brass tacks what do we need to make these oreo cake balls ? you’ll want to gather a classic pack of oreos, some cream cheese, and your choice of chocolate for coating.
Ready to dive in? grab your ingredients, and let’s get rolling!
Happy cooking, folks! These Oreo balls are waiting for you!
Essential Ingredients Guide: Your Go-To for Delicious Treats
Alright, friends, let’s dive into the secret life of kitchen ingredients! whether you're whipping up a simple oreo cake or those crowd pleasing oreo balls , knowing your essentials makes everything easier.
Trust me, it saves a lot of last minute panic when you realize you’re missing that one key component.
Premium Core Components
First up, we gotta nail down those premium core components . It’s like building blocks for cookin’, you know? Here are some practical notes:
- Detailed Measurements: Think of this as your kitchen GPS! For most recipes, you’ll need both US & metric measurements . If a recipe says 1 cup of flour, that’s roughly 120 grams if you’re measuring by weight.
- Quality Indicators: Look for fresh ingredients. For flour, you want it to smell a bit nutty, not like a dusty basement. For spices, be wary of those expired containers hiding in the back of your spice cabinet.
- Storage Guidelines: Certain things like chocolate chips can last you years; others, like fresh herbs, need to be used up fast! Herbs are best kept in the fridge. Keep them moist, and they’ll last longer.
- Freshness Tips: Always check the dates and aromas . You won't be able to make easy Oreo Cake Pops if your baking powder has lost its fizz!
Signature Seasoning Blend
Now, let’s talk signature seasonings —the magic that elevates those no-bake recipes!
- Essential Spice Combinations: Consider mixing up a blend of cinnamon and vanilla for that warm vibe in your bakes.
- Herb Selections: Fresh basil and oregano can turn any dish into a Mediterranean feast. Trust me; go for fresh when you can!
- Flavor Enhancers: Salt is a must! It brings out sweetness in desserts. But don't forget about that sprinkle of cayenne it's a game changer for chocolate treats like Oreo Cake Balls .
- Regional Variations: Want to spice things up a bit? Try using local flavors. Swap cloves for nutmeg in a seasonal pie, and you've got a twist!
Smart Substitutions
I’ve been there, staring at a recipe, realizing I have none of the required ingredients. Panic mode, activated, right? Not anymore!
- Common Alternatives: No cream cheese? Using Greek yogurt can give you that creamy texture! Your readers will be living for those Cake Ball Recipes .
- Dietary Modifications: gluten-free flour works like a charm and allows you to make Cake Pops Recipe that everyone can enjoy.
- Emergency Replacements: Have peanut butter instead of butter for that extra nutty touch in your treats.
- Seasonal Options: Swap in pumpkin for butter in the fall and watch your cupcakes fly off the table!
Kitchen Equipment Essentials
You don’t need the fanciest gadgets, but there are some must have tools that totally change your cooking game!
- Must Have Tools: You definitely need a food processor for crushing those Oreos into fine dust and a good mixing bowl. Seriously, get a sturdy one!
- Alternative Equipment Options: If you don’t have a food processor, just grab a resealable bag and a trusty rolling pin.
- Preparation Tips: Patience is key! Let ingredients come to room temp. That’s how you get creamy fillings in Cake Pucks !
- Storage Solutions: Invest in some airtight containers. They keep things fresh longer and mean you’ll be ready to make Oreo Cake Pops anytime the craving strikes.
So there you have it! with these tips, you'll transform your kitchen into a haven of deliciousness. just imagine all the delightful treats you can whip up, from oreo cake balls to a no bake oreo cake ! and trust me, getting the basics down will only make your cooking journey more fun.
Next up, let's jump into those step-by-step instructions that'll lead you to dessert bliss in no time!
Mastering Professional Cooking Techniques for Delicious Oreo Balls
Cooking is a bit like a dance, isn’t it? the more you practice, the smoother your moves get. and when it comes to making oreo balls, a super easy no-bake treat, there are a few pro tips you’ll want to keep in your back pocket.
From prepping your ingredients to putting on the perfect finishing touches, let’s dig into the world of professional cooking methods, and i promise you’ll impress your friends at the next gathering!
Essential Preparation Steps
Before we get into mixing and melting, let’s focus on mise en place that fancy french term for having everything in place before you start.
This means getting your oreo cookies crushed and your cream cheese softened. gather all your ingredients first! trust me; it saves a ton of time.
While we’re at it, let’s talk time management . if you’re making other snacks, like that simple oreo cake you’ve been eyeing, coordinate your steps.
You can chill your oreo balls while you bake your cake. this way, you’re maximizing your time in the kitchen.
And let’s not forget about organization strategies . use separate bowls for your chocolate and for the oreo mixture. it makes dipping the balls so much easier.
Plus, keep your work space clear to avoid the dreaded “mystery ingredient” mess y’know, when you can’t find your favorite spatula!
Oh, safety first! Always be mindful of where those sharp utensils are, especially when melting chocolate. Keep a towel handy for those hot bowls.
step-by-step Process to Delicious Oreo Balls
Crush oreo cookies: grab your food processor and blend those oreos until they're a fine dust. if you’re feeling old school, toss ‘em in a bag and go for it with a rolling pin.
Make the Filling: Mix those crushed cookies with 8 oz of softened cream cheese until it’s combined into a nice dough like texture.
Roll the Balls: Use a tablespoon to scoop and then roll that mixture into about 1 inch balls . Place them on parchment paper.
Chill: Give those beauties about 30 minutes in the fridge . This helps them firm up for pouring on the chocolate later.
Melt the Chocolate: Heat 12 oz of chocolate chips in a microwave safe bowl for 30-second intervals , stirring in between until it’s perfectly melty.
Coat the Balls: Dip each Oreo ball into that dreamy chocolate with a fork. Let the excess drip off and then place on the parchment again.
Decorate (Optional): If you’re feeling fancy, sprinkle crushed Oreos on top. Gotta keep it stylish!
Final Chill: Let the chocolate set for another 15- 20 minutes in the fridge.
Expert Techniques for Perfect Oreo Balls
Here’s where the pros really shine. Quality checkpoints are critical. Make sure your dough isn’t too sticky; if it is, pop it back in the fridge for a bit longer.
If you notice your chocolate isn’t coating smoothly, you might’ve overheated it. No worries add a drizzle of vegetable oil to help it along.
And if you ever find yourself with a batch that just isn’t working, remember: every great cook has their off days. These troubleshooting tips help save the day!
Success Strategies for Oreo Balls Perfection
Let’s avoid the rookie mistakes. Don’t skip your chilling time seriously, it’s key. Also, double check your proportions. A classic thing I’ve done is not account for the size of the Oreo cookie.
For quality assurance, taste test the filling before you coat it. After all, we want every bite to be as delicious as possible!
And if you want to plan ahead, these Oreo Balls store well in the fridge. Make ‘em a day or two in advance for that event or casual get-together.
So there you have it! with these professional techniques up your sleeve, you’ll whip up these delightful oreo balls like a seasoned chef.
Trust me, with just a little practice and the right methods, you’ll be the star of any dessert table.
Additional Information
If you’re looking for more easy recipes to add to your repertoire, make sure to check out other fun ideas like cake pops and truffles .
Who knows? you might just end up inventing your own sweet treat! happy cooking!
Pro Tips & Secrets for Making Oreo Balls
Oh my gosh, let me tell you, making oreo balls is super simple, but a few insider tips can elevate your game to next level! first off, use full fat cream cheese trust me on this.
It gives that filling a luscious creaminess. if you find the mixture a bit stickier than you'd like, pop it in the fridge for an extra 10 minutes.
It’ll firm up wonderfully, making it easier to roll into cute little balls.
Now, here’s a time saver: when you’re melting the chocolate, do it in 30-second bursts in the microwave. stir after each interval! this way, you won't end up with a burnt mess at the bottom.
If you want to amp up the flavor, mix a pinch of sea salt into the melted chocolate for that perfect sweet and-salty vibe.
Perfect Presentation of Your Delicious Treats
Making these beauties is one thing, but presenting them? now that's an art! for plating, you want to be mindful of aesthetics.
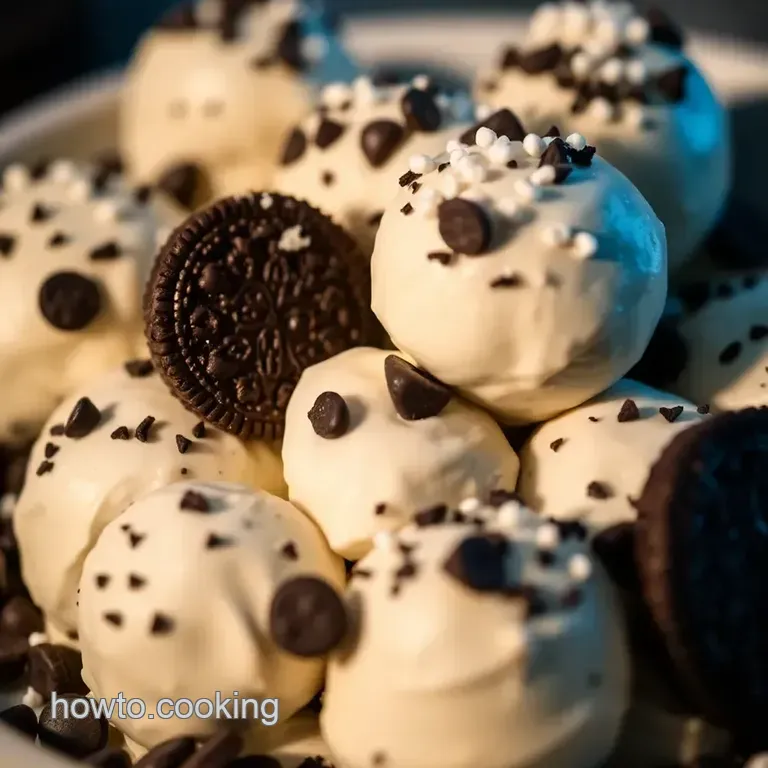
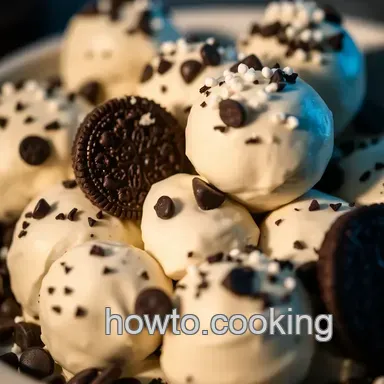
Arrange your oreo balls on a beautiful platter, maybe even drizzle a bit of melted chocolate on top for that wow factor .
Adding some colorful sprinkles or crushed oreos for garnish makes everything pop.
Color combinations matter too! Pair these dark chocolate delights with a bright, pastel backdrop think white plates or colorful napkins. Not only do they look appealing, but they'll also make folks reach for them faster than you can say "dessert!"
Storage & make-ahead Tips
Now let's talk storage. you can keep your oreo balls in the fridge for up to a week in an airtight container.
Honestly, they taste even better after a day or two as the flavors meld together. want to make-ahead? go for it! you can roll the balls and coat them in chocolate, then just store them in the fridge until you're ready to serve.
If you’re thinking longer term, you can freeze these little delights! just pop them into a sealed freezer safe container, and they’ll be good for about a month.
When you’re ready for a treat, pull them out and let them thaw in the fridge overnight. easy peasy!
Creative Variations to look into Into
Bored with the classic flavor? no worries, my friend! there are so many fun twists you can take with this recipe.
They say variety is the spice of life, right? you can switch things up with mint oreo balls for that refreshing kick.
If you’re feeling nutty, try peanut butter oreo balls by swapping cream cheese for some creamy peanut butter. trust me; you won’t regret it!
Thinking seasonal? add pumpkin spice in the fall or crushed peppermint around christmas. you could even make oreo cake pops by following a simple cake pops recipe.
Just crumble in some cake and form those pops like a pro!
Your Complete Nutrition Guide
Okay, let’s chat nutrition. now, we all know these oreo balls are a treat! each ball packs about 150 calories , which isn’t too shabby for a sweet delight.
They have a bit of sugar around 9 grams but it’s totally worth it for that rich chocolaty flavor, right?
If you're watching your sugar or calories, remember that moderation is key. Check in on portion sizes maybe enjoy two instead of three? You know your body best!
Encouragement to Get Rolling
So, there you have it! whether you’re whipping up a batch for your friends or indulging yourself, these oreo balls are such a crowd pleaser.
I can’t tell you how much joy it brings to see your loved ones devour something you made with your own hands.
Don’t overthink it just enjoy the process.
Get your apron on, gather those ingredients, and dive into this delightful no-bake adventure! Trust me, you’ll be the star of any kitchen with these beauties. Happy baking, my friend!
Frequently Asked Questions
What are Oreo balls made of?
Oreo balls are typically made from just two simple ingredients: crushed Oreo cookies and cream cheese. This mixture forms a deliciously creamy filling that’s then rolled into balls and coated in chocolate. It's the ultimate no-bake treat that’s perfect for any occasion!
How long do Oreo balls last?
Oreo balls can be stored in an airtight container in the fridge for up to one week, making them an excellent make-ahead treat. If you want to keep them for a while longer, you can freeze the balls for up to three months. Just be sure to thaw them in the fridge before serving.
Can I use different types of chocolate for coating my Oreo balls?
Absolutely! While semi sweet chocolate is the traditional choice, you can experiment with dark chocolate for a richer taste or even white chocolate for a sweeter flavour. Just melt your chocolate of choice in the same way as the original recipe, and you'll have a unique twist on the classic Oreo balls!
What can I do if my Oreo balls are too sticky?
If your Oreo ball mixture is too sticky to roll into balls, don’t fret! Simply chill the mixture in the fridge for an additional 15 30 minutes. This will firm it up and make rolling a breeze. If you prefer, you can also dust your hands with a bit of cocoa powder to help with the sticking.
Are there any variations I can try with Oreo balls?
Definitely! You can switch things up by using different Oreo flavours, like Mint or Peanut Butter Oreos, to create unique Oreo balls. For added flair, mix crushed candy canes during the holidays or sprinkle them with chopped nuts or shredded coconut to enhance their texture and taste!
Can I make Oreo balls without cream cheese?
Yes, you can substitute cream cheese with mascarpone for a slightly different flavour and texture. Alternatively, using peanut butter will give your Oreo balls a nutty twist. Just remember that the texture will vary slightly, so feel free to adjust the consistency with a little bit of powdered sugar if needed.
Oreo Truffle Balls The Cookie Lover S Delight
Ingredients:
Instructions:
Nutrition Facts:
| Calories | 150 |
|---|---|
| Fat | 8 g |
| Fiber | 1 g |
