Perfect Royal Icing for Cookies
Cookie Icing: A Sweet Journey into Decorating
Ever wondered what takes a plain ol' cookie to superstar status? well, cookie icing does just that! picture this: a glossy finish, vibrant colors, and the perfect touch of sweetness that ties everything together.
Yep, icing can turn your homemade cookies into little works of art. seriously, it’s like giving your cookies a fashionable makeover!
Sweet Origins and Simple Steps
Royal icing goes way back in the sugar art world. it’s what those fancy pastry chefs use to create stunning decorations.
This icing isn’t just pretty; it’s part of fun traditions like cookie decorating during the holidays. it’s medium in difficulty level, but don’t sweat it! a little practice and you’ll be piping like a pro.
You’ll need about 45 minutes in total 15 minutes of hands-on time and a bit of waiting while it sets.
With this recipe, you can decorate about 24 cookies , making it great for everything from holiday parties to a simple afternoon snack!
The Goodness in Every Bite
What makes this cookie icing recipe a game changer? well, for starters, it’s a simple way to add sweetness that also hardens beautifully.
That means it won't smudge all over your hands when you grab a cookie. it’s perfect for decorating sugar cookies during the holiday season, or anytime you want to impress your friends and family.
You know, those "oh my gosh" moments when they see your cookies!
And hey, this icing isn’t just about looks. it’s made with quality ingredients, so you can feel good about serving it at any gathering.
Whether it's a holiday party or a tuesday “just because” get-together, this icing will dazzle. trust me; your friends will rave about it!
So, are you ready to dive into the easy steps of making this delightful icing? get those mixing bowls and piping bags ready, folks, because we’re about to take your cookie game to a whole new level!
Let's check out the ingredients you’ll need to whip up this amazing homemade sugar cookies with icing experience.
The Essential Ingredients for Perfect Royal Icing
Alright, cookie lovers, let’s dive into the world of decoration with a quick overview of what you need for that perfect royal icing .
Trust me, this icing will take your cookie game from “meh” to “wow!” whether you’re prepping for the holidays or just want some sweet treats, having the right ingredients is crucial.
Main Ingredients: What You Need
For the Icing:
- 4 tablespoons (120 ml) meringue powder – This is essential. Meringue powder helps your icing harden like a champ.
- 1 pound (450 g) powdered sugar – Always sift this first. You want it as smooth as your favorite jazz playlist.
- 5-6 tablespoons (75-90 ml) water – Adjust as needed. You want it flowing but not a puddle.
- 1 teaspoon (5 ml) vanilla extract (optional) For a hint of flavor, because why not?
- Food coloring – Gel or liquid, whatever floats your boat.
So, keep an eye out for good quality meringue powder and powdered sugar. Nobody wants icing with lumps, am I right?
Seasoning Notes: Spice it Up!
When it comes to royal icing, we're all about mixing it up. you don’t really need a ton of spices here, but if you're feeling fancy, a dash of almond extract can add a nice twist.
Don’t worry if you don’t have certain ingredients. If you're missing vanilla, just leave it out! The icing will still rock.
Equipment Needed: The Must Haves
Here’s a rundown of what you’ll need to whip up this icing:
- Mixing bowls (medium and large) You can’t skip this part!
- Electric mixer or whisk – You could do it by hand, but save your arm and bring in the mixer.
- Piping bags – Get some different tips if you wanna get intricate.
- Palette knife or offset spatula – For smooth applications.
- Sifting tool – This is key for that smooth icing texture.
- Measuring cups and spoons – Gotta be precise here, folks.
- Airtight container for storage If you have leftovers (but let’s be real, who does?).
Wrapping It Up
With this knowledge under your belt, you're ready to make cookie icing that hardens beautifully. whether you’re going for the best royal icing recipe for decorating cookie frosting or just trying to pull off some frosting for christmas sugar cookies , these ingredients and equipment will set you up for success.
I know it can be a bit intimidating if you're new to cookie decorating, but remember: practice makes perfect! So, gather your supplies, roll up those sleeves, and let’s make some yummy memories with Homemade Sugar Cookies With Icing ! You got this!
Get Prepped for Sweet Masterpieces
Hey there, fellow bakers! let’s dive into the wonderful world of cookie icing . whether you're decking out cookies for a family gathering or just having some fun, i promise you’ve landed in the right spot.
This royal icing is your secret weapon. it hardens beautifully and holds up for all your design dreams. but before we get into the nitty gritty, let’s chat about prepping like a pro.
Essential Prep: Mise en Place
Okay, let’s get real for a second. the best way to make your cookie icing journey a smooth one? mise en place that fancy french term for having everything in place.
Measure out your ingredients: meringue powder, powdered sugar, and flavorings. not only does this save time but it helps you avoid mini freak outs when you can’t find your whisk!
And a quick safety reminder if you're using egg whites instead of meringue powder, make sure they're fresh! No one wants a bad egg ruining their sweet vibe.
Step-by-step Process to Royal Icing Perfection
Prep Your Space: Start with clean mixing bowls and tools.
Mix Meringue Powder & Water: In a medium bowl, whisk together 4 tablespoons of meringue powder with 5 tablespoons of water until it's foamy. This is the foundation of your icing!
Add Powdered Sugar: Gradually sift in 1 pound of powdered sugar , incorporating it on low speed. It should come together, thick and dreamy.
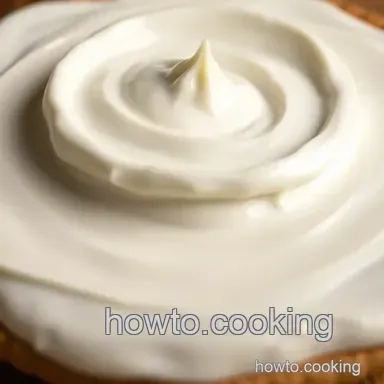
Whip to stiff peaks: crank up the mixer! beat until you see stiff peaks this usually takes about 4- 7 minutes .
Your icing should hold those peaks like it’s got some serious muscle!
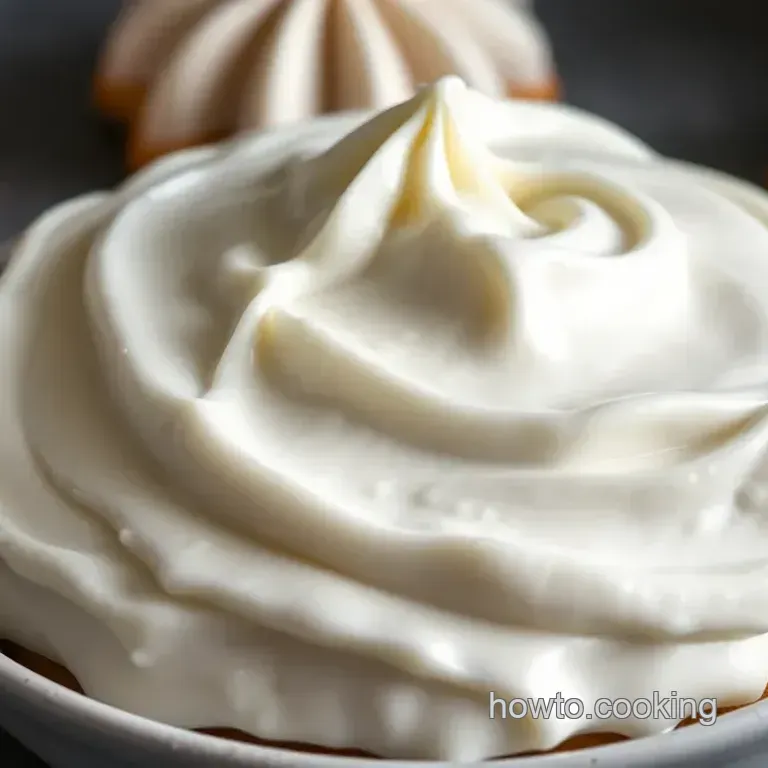
Adjust consistency: if it’s too thick, add a splash more water, one teaspoon at a time until you get that perfect flowing consistency for flooding.
For piping, keep it thicker aim for a toothpaste texture.
Get Colorful: If you wanna jazz it up, divide the icing and add some food coloring. Mix until you’ve got a vibrant masterpiece ready to pipe.
Let’s Decorate: Fill your piping bags and unleash your creativity! Outline, flood, and turn those cookies into art.
Dry Time: Let them sit and dry completely for around 4- 6 hours before diving in. Patience, my friend, is key!
Pro Tips: Mastering the Craft
Sift, Sift, Sift: This is huge! Sifting your powdered sugar gets rid of lumps and smooths out your icing. You want that sleek look, right?
Tackle Humidity: Seriously, icing hates moisture! Keep the environment dry to avoid sticky situations.
Quick Work: Decorate efficiently. Icing can set fast, so work your magic before it hardens. If you need to take a break, cover your icing with plastic wrap it’s a total lifesaver!
Make-ahead Icing
If you’re like me and enjoy planning, make this icing a day in advance. just store it in an airtight container to keep it fresh.
That way, when cookie time rolls around, you’re already ahead of the game.
It’s all about layering flavors, creativity, and a sprinkle of love. with this cookie icing , you’ll create edible art that’s even more delicious than it looks.
So go ahead, deck those cookies out, and remember the best part is eating them after!
Whipping Up Delicious Cookie Icing: Your Go-To Guide
Alright, friends! let’s chat about making the perfect royal icing for cookies . trust me, if you're hoping to up your cookie decorating game, the right icing can really bring your holiday treats to life! seriously, have you ever tried to bite into a cookie only to have the icing not stick? total bummer!
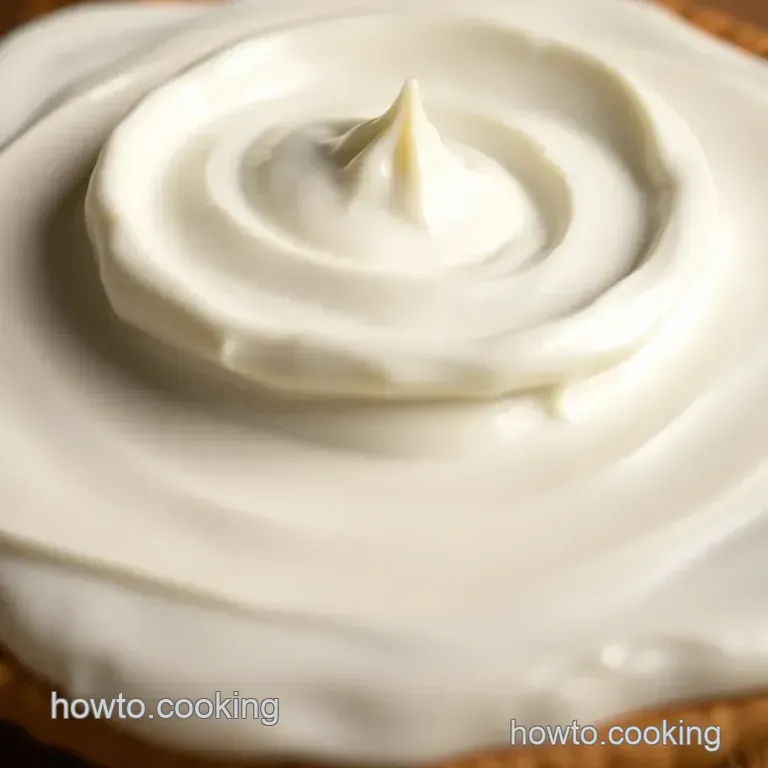
This icing hardens beautifully and has just the right amount of sweetness, making it the ultimate frosting for christmas sugar cookies (or any cookie, honestly).
Serving Suggestions
First things first, presentation matters. for that instagram worthy photo, consider using a shiny plate or a cute wooden board to display your cookies.
You can top them off with some sprinkles or edible glitter to really make those colors pop. pair your cookies with a warm cup of cocoa or a fun latte.
Trust me, there’s nothing cozier than curling up with some cookies and a hot drink on a chilly day. it gives all the “holidays are here!” vibes!
Storage Tips
Okay, so here’s the deal: refrigeration is key if you’re not using your icing right away. pop that icing in an airtight container, and it should last about a week in the fridge.
But if you want to get real fancy , you can freeze it! just make sure to let it sit out and come to room temp before you try to use it again.
When you’re ready to go, give it a little stir first. if you go the baking route, make sure your cookies have cooled completely before you start decorating; otherwise, things are gonna get messy!
Get Creative with Variations
Feel like switching things up? you can easily whip up a chocolate royal icing by mixing in cocoa powder, or go for a zesty twist by swapping out vanilla for some lemon juice.
If you’re baking sugar cookies with icing that hardens, those variations will leave your friends amazed!
Nutrition Basics
Now, let’s not kid ourselves; we love cookies, but we also want to know what we’re putting into our bodies.
A spoonful of this icing has about 90 calories, so it’s a sweet treat but one you can enjoy in moderation! plus, they can lift your spirits.
Seriously, who doesn’t feel better after a cookie?
Wrapping things up, creating homemade sugar cookies with icing is about more than just baking; it’s about making memories, sharing laughter, and, of course, enjoying delicious creations.
So grab your apron and get ready to dive into the cookie icing adventure! it's totally worth it, and who knows you might just become the next cookie decorating whiz among your friends! happy baking!
Frequently Asked Questions
What is the best way to achieve the perfect consistency for cookie icing?
To achieve the right consistency for cookie icing, start by mixing the icing until stiff peaks form. You can then gradually add water, one teaspoon at a time, until you reach a flowing consistency for flooding.
For piping, keep the icing thicker, aiming for a consistency that holds its shape but is still easily movable.
Can I make cookie icing in advance, and how should I store it?
Absolutely! You can prepare cookie icing in advance. Just make sure to store it in an airtight container, and cover the surface with plastic wrap to prevent it from drying out. It’ll keep well for up to a week in the fridge, but give it a quick stir before using again.
What are some fun variations I can try with cookie icing?
There are plenty of fun twists you can try! For a splash of flavour, switch out the vanilla extract for citrus juice, creating a delightful citrus royal icing. You can also add cocoa powder for a chocolate version, or mix in gel food coloring for vibrant designs that can compete with the best from a bakery!
Can I use regular sugar instead of powdered sugar for cookie icing?
It’s best to use powdered sugar for cookie icing, as it blends smoothly and gives the icing its characteristic texture. Regular sugar will leave a gritty texture, which is not what you want for your beautifully frosted cookies.
If you're looking for a lower sugar alternative, icing sugar alternatives like erythritol can work well too!
How long does cookie icing take to dry?
Cookie icing typically takes about 4-6 hours to dry completely, depending on the thickness and ambient humidity. Make sure to set your cookies in a dry place to ensure that the icing adheres well and dries properly, allowing your decorative efforts to shine!
What should I do if my cookie icing is too hard to pipe?
If your cookie icing is too thick to pipe smoothly, simply add a few drops of water at a time until you reach your desired consistency. Remember to mix thoroughly after each addition. If you've accidentally thinned it too much, just add a bit more sifted powdered sugar to bring it back to the right texture.
Perfect Royal Icing For Cookies