Perfectly Pillowy Pizza Dough: the Ultimate Guide
Discovering the Love for Pizza Dough
Oh my gosh, let me tell you about my love affair with pizza dough. it started one night when i was lounging on the couch, scrolling through endless takeout menus, feeling like i was drowning in indecision.
You know that moment when you just really want something cozy and comforting but also want it to feel special? yep, that was me.
Then it hit me: how to make pizza dough! i thought, why not try making it myself? spoiler alert: it was hands down one of the best decisions i’ve ever made in the kitchen!
Pizza dough is the foundation of some of the most amazing dishes out there thick crust, thin crust, you name it.
The origin of this beloved dough goes deep into italian history. imagine rustic kitchens in naples, where families gathered, rolling out dough and slapping on fresh toppings.
These days, it’s not just about the roots, though; homemade pizza has exploded in popularity. whether you’re making a quick pizza for a weeknight dinner or a grand thick crust pizza for your saturday night get-together, mastering pizza dough recipe easy is where it all begins.
You might be wondering: “how much time do i need for this?” well, the beauty is it’s super flexible. prep is just about 15 minutes , with an extra 30 minutes of rest.
Add another 10- 15 minutes for baking, and voila! you’re cooking magic in about an hour. just remember, the real heart of this dough lies in a little patience as it needs to rise.
Why Pizza Dough Is Worth Your Time
Let’s chat about the benefits of making your own pizza dough. first and foremost, it opens the door to endless pizza possibilities .
Want to throw on a wild combination of toppings? go for it! how about a classic pepperoni or a funky bbq chicken? you’re the boss of your pizza destiny! plus, this dough is way healthier than those takeout options, with ingredients you can pronounce.
Now, if you have kiddos running around (or, let’s be honest, even if it’s just you indulging), it’s a fantastic way to get everyone involved in the kitchen.
Kids love rolling out dough, and they’ll be so stoked to put all their favorite toppings on it. game nights, birthday parties, or simple sunday dinners this dough fits every occasion perfectly.
And let me tell you, there’s nothing quite like the aroma of freshly baked pizza wafting through your home. the warm, comforting smell it brings everyone to the kitchen faster than any dinner bell.
It’s like pizza magic!
Unique Advantages
What sets homemade pizza dough apart from store-bought? here’s the deal: with homemade, you can control the texture! you want that chewy, best pizza dough recipe vibe? you got it! craving a no rise pizza dough option because you’re starved? i feel you!
you can mix things up and make a quick pizza dough that doesn’t need to sit around for too long.
Plus, let’s not forget cost. make no mistake; ordering a pizza can get pricey. but when you whip up a batch of dough at home, you’re saving bucks while serving up deliciousness.
Each batch typically yields enough for two medium pizzas , perfect for feeding a crowd or keeping leftovers for lunch the next day.
With all this in your back pocket, you should be buzzing with excitement to kick things off in the kitchen.
Are you ready? grab your apron and let’s gather the ingredients for your own picturesque pizza experience!
Essential Ingredients Guide: Unlocking Your Homemade Pizza Potential
Oh my gosh, let’s talk about the magic that is homemade pizza dough ! seriously, when it comes to creating that perfect pizzaiolo experience in your kitchen, you gotta start with the right ingredients.
Without them, well, it’s like trying to make a lemonade stand without lemonade. let’s dive into the essential ingredients you’ll need, and trust me, they’ll make your pizza game strong!
Premium Core Components
When you’re whipping up that legendary best pizza dough recipe , having top-notch ingredients is key. Here are some must haves:
Flour: Go for 4 cups (500g) of all-purpose flour. You want that nice stretchy quality. If you’re in a pinch, bread flour is a great substitute!
Salt: About 1 ½ teaspoons (9g) . It’s not just for flavor it strengthens the dough.
Sugar: A teaspoon of sugar just 1 teaspoon (4g) —helps activate the yeast. This little trick boosts puffiness.
Yeast: 2 teaspoons (7g) of active dry yeast will give your dough its rise. Make sure it’s fresh; no one likes sad dough!
Water: Aim for about 1 ½ cups (360ml) of warm water. Tip : Between 110° F ( 43° C) , perfect for activating yeast.
Olive Oil: Just 2 tablespoons (30ml) for that richness and flavor. If you’re looking for a swap, melted butter works too!
Now, storage guidelines say to keep your flour in a cool, dry place. and trust me, check that yeast expiration date.
A stale batch is a total bummer! for the best freshness, keep your dough in a well sealed container. it’ll last for about 2-3 days in the fridge.
Signature Seasoning Blend
Want to spice things up? Here are a few killer combinations:
Essentials: Oregano, basil, and garlic powder! Sprinkle these gems into your dough for flavor that'll knock your socks off.
Variations: Try adding a pinch of crushed red pepper if you like a bit of heat, or get fancy with fresh herbs. Rosemary and thyme add a unique depth!
These seasonings ain't just for the dough; they’re perfect for your toppings too! A sprinkle of herbs can completely transform your sauce game .
Smart Substitutions
Sometimes, life throws you curves! Here are some quick pizza dough ideas if you’re missing an ingredient:
Common Alternatives: If you’re out of all-purpose flour, whole wheat flour makes a great thick crust pizza alternative, and it’s a tad healthier!
Dietary Modifications: For gluten-free friends, use a gluten-free flour blend just make sure it’s designed for yeast baking.
Emergency Replacements: Out of active dry yeast? No problem! Instant yeast works in a pinch, no need for proofing.
Seasonal Options: Fresh herbs are awesome in the summer, while dried are perfect for winter pies.
Kitchen Equipment Essentials
Now that you’ve got your ingredients, let’s chat about the tools:
Must Have Tools: Mixing bowls, measuring cups, a good ol’ dough scraper, and a clean surface. Seriously, don’t underestimate a tidy space when making pizza dough easy .
Alternative Equipment: Don’t sweat if you lack a pizza stone; a regular baking sheet works. Just flip it upside down for a makeshift stone!
Preparation Tips: Kneading is where the magic happens! Get your hands in there for 8- 10 minutes until the dough feels smooth and elastic.
Storage Solutions: Put that dough in a greased bowl and seal it with cling film, or bust out a damp cloth. Let it rise, and trust me, it’ll be worth the wait!
So there you have it! you’ve schooled yourself on how to make pizza dough like a pro. understanding these essential ingredients is a game changer.
With this knowledge, you’ll be crafting delicious pies in no time.
Now, roll up those sleeves because we're diving into how to actually get to the step-by-step instructions for whipping up that perfectly pillowy pizza dough !
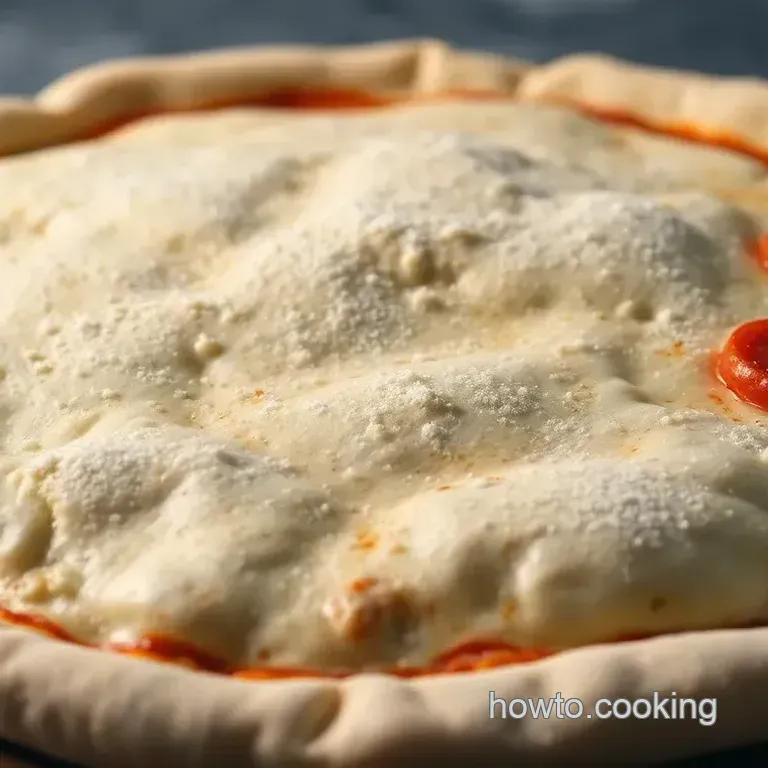
Perfectly Pillowy Pizza Dough: The Ultimate Guide
Let’s talk about pizza! seriously, what’s better than a slice of hot, cheesy goodness? it all starts with the dough.
I mean, who can resist that perfectly chewy and airy crust? homemade pizza often means a little more love goes into it, and trust me, once you make your own, there's no turning back.
But first things first, let’s dive into how to make pizza dough that’ll wow your friends and family.
Essential Preparation Steps
Before you get your hands floury, let’s cover some essential prep steps:
Mise en place is a fancy term, but it’s simple: have everything ready. measure out your 4 cups of flour , 1 ½ teaspoons of salt , and all that jazz before you even think of mixing.
You'll thank yourself later!
Time management is key. set aside about 1 hour for making the dough, plus an extra 1- 2 hours for it to rise .
It sounds long, but most of that time is the dough just hanging out.
Organization strategies ? Keep your workspace tidy. A cluttered countertop can make things chaotic, which is not good when you’re trying to roll out that nice big pizza.
And don't forget safety considerations ! baking can get messy. i’ve dropped raw eggs on the floor more times than i care to admit.
Keep a towel handy for spills, and make sure to wash your hands food safety, folks!
step-by-step Process
Now, let’s get down to the nitty gritty! Here’s your step-by-step guide:
Activate yeast: in a bowl, mix 1 ½ cups of warm water (around 110° f ) with 1 teaspoon of sugar and 2 teaspoons of active dry yeast .
Let it sit for about 5- 10 minutes until it foams this means your yeast is alive, so yay!
Combine Dry Ingredients: While waiting, whisk 4 cups of all-purpose flour and 1 ½ teaspoons of salt in a large bowl.
Make the Dough: Gradually add in the yeast mixture and 2 tablespoons of olive oil . Stir it together until a shaggy dough forms.
Knead the Dough: Now, transfer it to a floured surface and knead for 8- 10 minutes . You want it smooth and elastic, so put some muscle into it!
First rise: form the dough into a ball and place it in a greased bowl. cover it up (i use cling film).
Let it rest in a warm spot for 1- 2 hours until it doubles in size.
Divide and Shape: Once it’s risen, punch it down yes, seriously! Then divide it into two portions, shape ’em into balls, and let ‘em chill for another 10 minutes .
Roll Out the Dough: On a floured surface, roll out your dough to your desired thickness. Whether you like a thick crust pizza or a thin crust, you do you!
Preheat Oven: Get your oven blazing hot at 475° F (or 500° F if you have a pizza stone).
Top and Bake: Add your favorite toppings and bake for 10- 15 minutes until golden brown.
Expert Techniques
So, now you're an expert! But here are some pro tips to really nail it:
Temperature control is crucial. Make sure your oven is hot enough! A hot oven equals a perfect crust.
Timing precision matters too. Don’t skip the resting periods; it enhances the flavor. Trust me, I used to rush it, and it just wasn’t the same.
Watch for visual cues for doneness . A golden brown crust means you’re good to go no soggy bottoms here!
Success Strategies
Let’s chat about some success strategies for your pizza dough:
Avoid common mistakes like not kneading enough or rushing the rise. Seriously, give that dough time it’s like good wine, it gets better with age!
For quality assurance, poke the dough after its rise. If it springs back, it’s ready. If it stays indented, let it rise a bit longer.
If you want to get ahead, make-ahead options are totally possible! You can store your dough in the fridge for a couple of days or freeze it for later just defrost before using.
Remember, making pizza is all about patience and practice. so don’t stress if it doesn’t come out perfect the first time.
Each attempt is a step closer to that best pizza dough recipe you’ve been dreaming of.
Additional Information...
Ready to tackle your own pizza adventure? once you get the hang of this dough recipe easy , you'll find endless ways to enjoy homemade pizza nights.
Try out fun toppings, like bbq chicken or your classic pepperoni, or even whip up a fun pizza roll for a twist! happy cooking! 🍕
Additional Recipe Information
When you're diving into the world of homemade pizza, knowing how to make pizza dough is just the beginning! let’s explore some extra tips and secrets that’ll elevate your pizza game from good to mind blowing .
Pro Tips & Secrets
First off, here’s a little secret from my kitchen to yours: patience is key ! when making that classic thick crust pizza , don’t rush the rise.
Allowing the dough to sit longer gives it time to develop those incredible flavors. it might be tempting to skip this step; trust me, resist that urge.
You’ll feel like a pizza wizard when it tastes better than anything you’ve ordered!
Time saving techniques? you can mix your dry ingredients ahead of time. just pop them in a bowl and stash it in the fridge.
When you're ready to whip up your homemade pie, boom! you're halfway there.
When it comes to flavors, think outside the box! you can enhance your dough by adding a pinch of garlic powder or herbs like oregano or basil right into the mix.
It really takes your pizza to the next level, and your house will smell like a pizzeria!
Now, let’s talk presentation . I mean, who doesn’t eat with their eyes first, right?
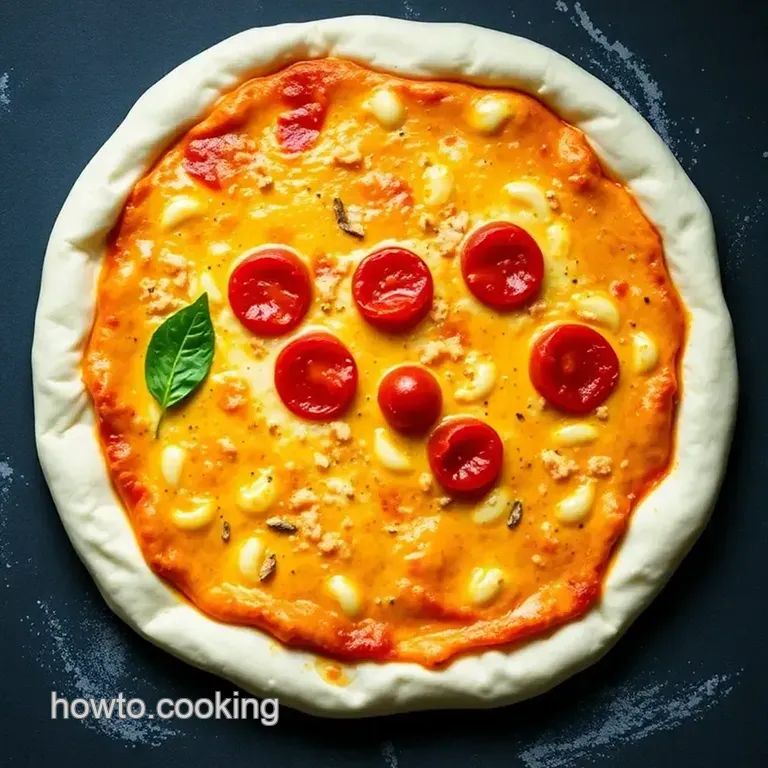
Perfect Presentation
Plating your pizza beautifully is part of the fun! once your pizza is out of the oven, let it cool for a minute.
This makes it easier to cut. use a sharp pizza cutter for those clean lines; nobody wants a messy slice.
A sprinkle of fresh basil on top adds a pop of green and lifts the whole look!
Speaking of visual appeal, try using toppings with contrasting colors. think bright red tomatoes against creamy white mozzarella. it’s like a color wheel that explodes with flavor! sprinkle a little extra olive oil or balsamic glaze right before serving for that gourmet touch.
Storage & make-ahead
Here’s the scoop on storage: let your leftover pizza cool completely before wrapping. you can use kitchen foil or freezer bags; just avoid stacking those gooey slices.
If you have some extra dough, it can be frozen for up to three months! just defrost it overnight in the fridge, so when that late night pizza craving hits, you've got your dough recipe easy to bring back to life.
When it comes to reheating, don’t throw it in the microwave. instead, pop it in the oven for a few minutes.
You want that crust crispy again trust me, you don’t want to eat rubbery pizza.
Creative Variations
Here's where the magic happens! feeling adventurous? try seasonal twists pumpkin puree can be used as a base during the fall and topped with sliced veggies.
Or if you want something lighter, go for a pizza roll with thin dough and loads of veggies.
Don’t forget about dietary modifications! if you’re gluten-free, easily swap in a blend that works for you. and for the health conscious, consider making no rise pizza dough for a quick fix perfect for those weeknights when you just need to get dinner on the table fast.
Complete Nutrition Guide
Let’s break down the numbers, shall we? a serving of your homemade pizza dough runs about 200 calories per slice (before toppings).
You’re getting a solid amount of carbs and some protein, too. the best part about making pizza at home isn't just control over ingredients it's also quality! you'll know exactly what goes into each slice.
Keep in mind some dietary considerations. if you're monitoring sodium or carbs, adjust toppings accordingly. load up on fresh veggies for fiber, and keep those greasy toppings in check if you're watching those macros.
Wrapping It Up
So, there you have it! making your own pizza dough is like opening a treasure chest of delicious possibilities. trust me, with a little practice, you'll become the go-to pizza maker among your friends.
Roll up your sleeves, gather your family, and dive into this culinary adventure. pizza night will never feel the same again! this is your chance to flex those kitchen muscles and create something truly special.
So, don’t be shy get out there and make some incredible pizza! 🍕
Frequently Asked Questions
How do I know if my pizza dough is rising properly?
Your dough is rising properly when it has doubled in size within the recommended time frame (1-2 hours). If you gently poke the dough with your finger and the indentation stays, it’s ready! If it springs back too quickly, it may need more rising time.
What’s the easiest way to learn how to make pizza dough?
The easiest way to learn how to make pizza dough is to follow a simple recipe and take it step-by-step, just like in this guide! Don’t be afraid to get your hands in there; practice makes perfect. And remember, it’s all about feeling the texture as you knead.
Can I store leftover pizza dough, and how should I do it?
Absolutely! To store leftover pizza dough, wrap it tightly in cling film or place it in an airtight container, and refrigerate for up to 3 days. For longer storage, freeze it in a freezer safe bag for up to 3 months. Just make sure to thaw it overnight in the fridge before using!
What variations can I make to this pizza dough recipe?
You can easily customize your pizza dough! Try adding herbs like oregano or rosemary to the flour for extra flavor or opt for whole wheat flour for a healthier twist. If you're gluten-free, substitute with a gluten-free flour blend it works wonderfully!
Is homemade pizza dough healthier than store-bought?
Generally, yes! Homemade pizza dough allows you to control the ingredients, which often means less preservatives and unnatural additives. Plus, you can adjust the salt and sugar to your preference, making it a healthier choice it's a win-win!
What's the key to achieving a crispy pizza crust?
The secret to a crispy pizza crust lies in preheating your oven (and pizza stone, if you have one) to a high temperature before baking. A good 475°F (245°C) or even higher will help achieve that delightful crunch. Don't forget to roll your dough thin for the crispier side of pizza!
Perfectly Pillowy Pizza Dough The Ultimate Guide

Ingredients:
Instructions:
Nutrition Facts:
| Calories | 200 |
|---|---|
| Fat | 3g |
| Fiber | 1g |
