Asiago Cheese Bread: Rustic Black Pepper Loaf (The Bakers Secret)
- Unlocking the Secret of Rustic Asiago Cheese Bread
- The Science of Texture: Why This Asiago Bread Recipe Cracks
- Essential Components: Ingredients for Authentic Asiago Bread
- Step-by-Step Baker's Guide: Making the Perfect Loaf
- Achieving Perfection: Troubleshooting and Expert Baking Tips
- Keeping the Crust Crisp: Storage and Freezing Asiago Loaves
- Pairing Perfection: What to Serve with Asiago and Pepper Bread
- Recipe FAQs
- 📝 Recipe Card
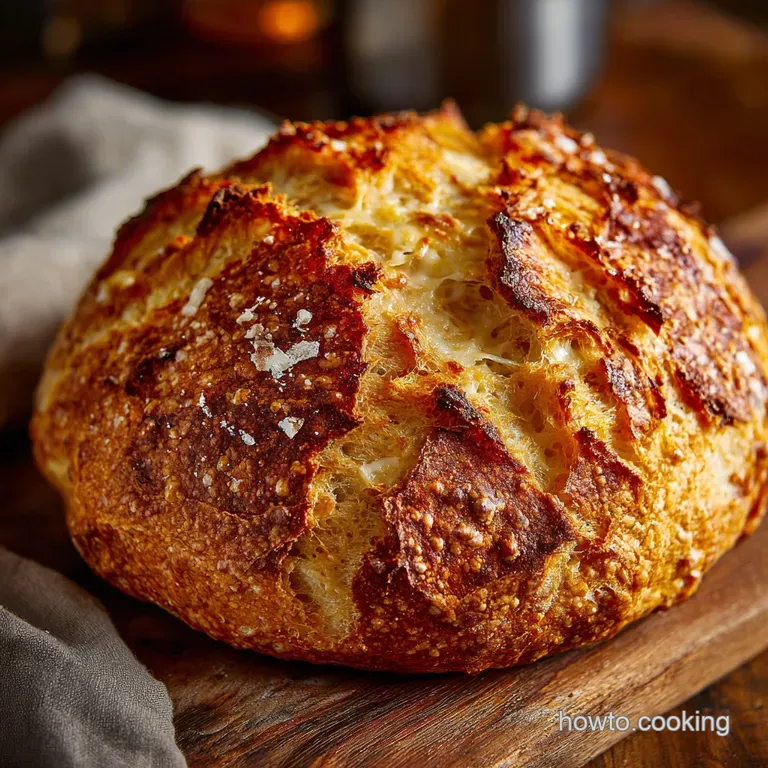
Unlocking the Secret of Rustic Asiago Cheese Bread
If there is one smell that can stop me dead in my tracks, it’s the intense, yeasty musk of baking bread, especially when it’s laced with sharp, nutty Asiago. This isn’t the polite, buttery aroma of brioche; this is primal baking, a deep, savoury scent that promises a thick, chewy interior nestled inside a crust so aggressively crisp you’ll need headphones to eat it politely.
It’s just heavenly.
Seriously, you might think making a great Homemade Asiago Cheese Loaf is complicated all those proofing stages and temperature checks but trust me, this recipe is incredibly forgiving and mostly just requires patience.
We are leveraging simple ingredients and instant yeast to get massive, artisan flavor without the decade long commitment to a sourdough starter. This is the Easy French Bread Recipe approach, Italian style.
We’re not messing around with fancy gadgets or complex folds here; we're focusing on the foundational techniques that guarantee a perfectly tangy, pepper flecked crumb every time.
So grab your flour, get ready to get your hands sticky, and let’s crack on with the ultimate guide to Rustic Asiago Bread .
The Science of Texture: Why This Asiago Bread Recipe Cracks
Achieving the perfect bread texture crisp outside, pillow soft inside is absolutely mandatory for a high ranking Asiago Cheese Bread Recipe . I’ve learned these tricks the hard way, usually by creating dense, heavy bricks.
Now I know the structure is all about timing and chemistry.
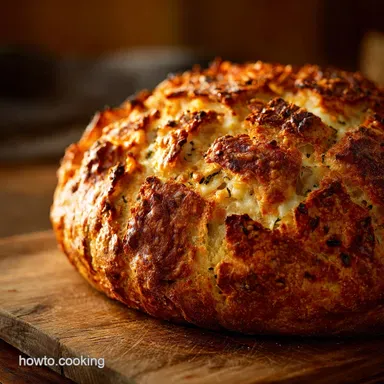
What Makes This Asiago Bread Rustic?
Rustic loaves, or pane rustico , are intentionally uneven, which is brilliant because it means less stress for the baker. We are aiming for an open crumb structure and a slightly unpredictable crust that tears wonderfully when pulled apart.
The large pockets of air inside are directly related to the high heat and steam we introduce during the first part of the bake.
Instant Yeast vs. Sourdough: Flavor Development Explained
While sourdough delivers that signature tang, we can mimic complex flavor using instant yeast by simply lengthening the bulk fermentation. Instead of rushing the first rise, letting the dough take its sweet time ( 90 minutes minimum!) allows the gluten to relax and the flour to develop deeper, nuttier flavors.
This is the "slow and steady wins the flavour race" motto.
The History Behind Black Pepper in Italian Pane
The black pepper isn't just a garnish; it is absolutely essential to this loaf. Historically, adding black pepper to Homemade Asiago Cheese Loaf helped cut through the richness of the hard cheese.
The coarse grind provides necessary aroma and a spicy burst that prevents the final loaf from feeling too heavy or cheesy.
Understanding Hydration Levels for a Pillowy Interior
This dough is mixed at a hydration level slightly above 70%, meaning we use a good amount of water relative to the flour. That high hydration is the secret to a beautifully pillowy, open interior crumb.
If the dough feels too sticky initially, resist the urge to dump in tons of extra flour; slightly sticky is exactly what we want.
The Role of Asiago in Gluten Structure
Here is a rookie mistake I made for years: dumping the grated Asiago Cheese in right at the start. Cheese contains fat and moisture, and both are enemies of gluten development early on.
Crucially, we knead the dough until it’s smooth first , and only then do we gently fold in the cheese and pepper. This ensures the gluten network is already strong enough before the fat tries to sabotage it.
The Key to the Satisfyingly Crisp Crust
The maillard reaction is our friend, and it needs high heat to shine. We preheat the oven aggressively to 450°F (230°C) and rely entirely on initial steam for the first 15 minutes of the bake.
The steam keeps the crust soft long enough for the loaf to achieve maximum oven spring before drying out and setting into that gorgeous, crackly shell.
Essential Components: Ingredients for Authentic Asiago Bread
Baking is chemistry, and using the right components truly matters, especially when dealing with bold flavors like aged cheese. Don't cheap out on the core items.
Choosing the Right Asiago: Vecchio vs. Fresco
For this Homemade Asiago Cheese Loaf , you must use aged Asiago, often labeled Vecchio . Aged Asiago has less moisture and a much sharper, nuttier flavor that won't disappear during baking.
Fresh Asiago ( Fresco ) is delicious, but it melts into an oil slick too easily and can result in that dreaded "cheesy bottom" we are trying to avoid.
Flour Types: Why Bread Flour is Recommended
Bread flour has a higher protein content (usually 12% to 14%) than all-purpose flour. This extra protein translates directly into stronger gluten. Since cheese is heavy and disruptive, we need that extra structural integrity to help the dough rise high and keep that open, airy crumb structure.
Preparing the Black Pepper: Coarseness Matters
Use freshly ground peppercorns from a mill, or even better, lightly crush them in a mortar and pestle. Fine, pre-ground pepper just dusts the bread and doesn't offer that aromatic burst we are looking for. You want little volcanic specks of heat throughout the loaf.
Alternative Cheeses and Pepper Substitutes
Don't have Asiago? No stress. There are great alternatives that deliver a similar salty, sharp punch.
| Ingredient Needed | Preferred Substitute | Why it Works |
|---|---|---|
| Asiago Cheese | Aged Pecorino Romano | Ultra salty and sharp, excellent melt resistance. |
| Bread Flour | All-Purpose Flour | Will work fine, just expect a slightly less lofty loaf. |
| Black Pepper | White Pepper or Chili Flakes | White pepper for a subtle spice; chili flakes for visible heat. |
| Instant Yeast | Active Dry Yeast | Remember to proof it in the water first for 10 minutes! |
Chef's Note: If you swap the cheese, ensure it is hard and aged. Soft cheeses like mozzarella or Havarti will turn the interior soggy and weigh down the dough substantially.
step-by-step Baker's Guide: Making the Perfect Loaf

I highly recommend weighing your ingredients, particularly the flour; baking accuracy is everything. Once you have the weights measured, the rest is just following simple steps.
Mixing the Dough: The Importance of the Initial Shaggy Mass
First, combine the flour, salt, and yeast in your bowl. Whisk them well to distribute the yeast evenly. Add the lukewarm water all at once and mix until a sticky, shaggy mass forms, where there are no pockets of dry flour left. Now, step away.
Letting the dough rest for 10 minutes (the autolyse phase) lets the flour soak up the water before you start the active kneading.
First Proofing: The Slow Fermentation Method
This bulk fermentation stage is where the magic happens and flavor truly builds. After kneading until the dough is smooth and elastic it should stretch thin enough to see light through it without tearing gently incorporate the cheese and pepper. Place it into an oiled bowl and cover it tightly.
Let it double in size, which usually takes 90 minutes in a warm kitchen.
Shaping the Loaf: Achieving a Tight Surface Tension
Once proofed, gently turn the dough onto a lightly floured counter. We want to be delicate here, preserving as many internal air bubbles as possible. Press the air out very gently, then pre-shape it into a rough ball and rest it for ten minutes.
For the final shape, pull the edges of the dough underneath itself, using the stickiness of the bottom to seal the seam tightly. A tight surface tension on the top ensures a beautiful, controlled oven spring.
Baking Rituals: Scoring and Steaming the Oven
Preheat your oven with your baking surface (stone or tray) already inside; heat retention is key. Just before sliding the loaf into the oven, score it once or twice with a super sharp blade. This controls where the steam escapes and creates a beautiful pattern.
Now, the steam: carefully pour a cup of boiling water into the empty tray you placed on the bottom rack. That immediate burst of steam is what locks in the moisture and makes your crust shine.
Achieving Perfection: Troubleshooting and Expert Baking Tips
Even the most experienced bakers run into issues. Here are the things that always seemed to trip me up, and how to conquer them.
Dough Won't Rise: Yeast Activation Checks
If your dough is sitting there like a lump after an hour and a half, the yeast is probably dead. Did you use water that was too hot? Anything over 120°F (50°C) is lethal to yeast cultures.
If your kitchen is simply too cold, move the bowl into a turned off oven with just the oven light on; that provides the perfect low heat environment for proofing.
Avoiding the "Cheesy Bottom": Preventing Melted Cheese Burn
This is a common disaster! If the grated Asiago is placed too close to the bottom surface of the loaf, it melts, oozes onto the parchment paper, and burns into a hard, black glue. Ensure you tuck the cheese fully into the dough during the folding stage, keeping it away from the bottom edges.
If you see any loose cheese when shaping, just brush it off.
The Internal Temperature Check for Doneness
If you are unsure if your bread is baked through, rely on a digital thermometer. For a dense, rustic bread like this Asiago Cheese Bread , the internal temperature should reach 200°F (93°C) to 210°F (99°C). If it's done, the crust will also sound hollow when you tap it firmly.
Keeping the Crust Crisp: Storage and Freezing Asiago Loaves
The best part of this Rustic Asiago Bread is that satisfying crust, but it's the first thing to degrade. Proper storage is vital if you aren't eating the whole loaf right away (which, frankly, you probably should).
short term Storage: Maintaining Freshness
Never, ever store fresh bread in the refrigerator; it accelerates staling dramatically. For short term storage (1 2 days), keep the loaf cut-side down on a cutting board, or loosely wrapped in a clean linen tea towel.
Avoid plastic bags if you want the crust to remain crisp; they trap moisture, turning the crust rubbery.
How to Properly Slice and Freeze Bread for Longevity
If you plan to keep the loaf for more than a couple of days, freezing is the way to go. Let the loaf cool completely, then slice it into thick pieces. Wrap the slices tightly in plastic wrap, and then put that bundle into a heavy duty freezer bag.
Slicing first means you can pull out exactly how many slices you need, rather than thawing the whole thing.
Reheating and Reviving Stale Asiago Bread
To revive stale slices or reheat frozen ones, the toaster oven is your best friend. Toast the slices lightly until they are crisp again. If you have half a loaf that's gone a bit hard, preheat your oven to 350°F (175°C), lightly spritz the outside of the loaf with water, and bake for 5– 10 minutes.
The moisture turns to steam, softening the crumb and revitalizing the crust beautifully.
Pairing Perfection: What to Serve with Asiago and Pepper Bread
Because this Homemade Asiago Cheese Loaf has such a robust flavor, it stands up brilliantly to equally bold pairings. It’s too assertive for delicate jams, but it shines with sharp, savoury accompaniments.
This bread is essential for any dipping scenario. Slice it thick and use it as the perfect vessel for rich olive oil and balsamic vinegar. If you are serving a salad course, the sharp, peppery bread pairs unbelievably well with bright, acidic greens you should definitely try it alongside a big bowl of my Cranberry Walnut Salad Recipe: Elevated with Whipped Goat Cheese . The tartness cuts through the cheese beautifully.
Finally, for an easy appetizer, nothing beats serving warm slices next to a creamy, savory spread. This bread is sturdy enough to hold a big scoop of my famous Cranberry Jalapeno Cream Cheese Dip: 15 Minute Holiday Appetizer without falling apart. It’s rustic, simple, and exactly what good food should be.

Recipe FAQs
Why is my Asiago Bread too dense and not rising properly?
This usually indicates an issue with yeast activity or over flouring during the kneading process. Ensure your water temperature is accurately measured between 105 115°F (40 46°C) to properly activate the instant yeast without killing it.
Also, be careful not to incorporate too much extra flour during kneading, as this tightens the gluten structure too much, preventing a light rise.
Can I substitute the Asiago cheese with Parmesan or cheddar?
While you can substitute, the bread's core flavor profile will change; Asiago offers a distinct nuttiness and sharp tang that Parmesan mimics best. If substituting, use an equal weight of high-quality aged Parmesan for a similar robust depth.
Avoid high moisture cheeses like fresh mozzarella or mild cheddar, as they release too much liquid and negatively affect the crumb structure.
How do I ensure my bread develops that signature crispy, rustic crust?
Achieving a proper crust requires steam during the initial baking phase, which allows for maximum oven spring before the surface dries out. Place a shallow pan on the bottom rack of your oven while preheating, and pour a cup of hot water into it immediately after placing the dough inside.
This surge of steam keeps the outer layer malleable, resulting in a crisp, satisfying shell.
What is the best way to store the bread, and can I freeze leftovers?
Store leftover bread at room temperature, wrapped tightly in a linen cloth or brown paper bag; avoid plastic wrapping, as it traps moisture and softens the desired crisp crust. To freeze, slice the cooled loaf completely, wrap the slices tightly in foil, and place them in a freezer bag for up to three months.
Thaw individual slices and reheat briefly in a toaster oven or broiler.
My cheese leaked out and burned on the bottom of the oven. What went wrong?
This common issue occurs when the cheese is shredded too finely or mixed in too close to the surface of the dough, allowing it to melt and escape during baking. Ensure your Asiago is roughly diced or coarsely shredded rather than grated, and work diligently to keep the pieces embedded primarily within the internal dough structure during the folding process.
Can I incorporate other flavors, like herbs or garlic, into this recipe?
Yes, herbs like dried rosemary, thyme, or oregano (about 1 2 tablespoons total) pair beautifully with Asiago and can be added with the black pepper. If you desire garlic flavor, use three cloves of mashed roasted garlic rather than raw, folding it in during the final stretch and fold stage to avoid inhibiting the yeast.
I only have all-purpose flour. Will that work instead of bread flour?
While all-purpose flour can be used, it has a lower protein content (gluten) than bread flour, meaning your loaf will likely be slightly less airy and voluminous. If using all-purpose, consider reducing your liquid content by about 2 tablespoons to compensate for the lower absorption rate.
The final texture will still be delicious but slightly less chewy.
Rustic Asiago Cheese Bread Loaf
Ingredients:
Instructions:
Nutrition Facts:
| Calories | 727 kcal |
|---|---|
| Protein | 28.2 g |
| Fat | 20.1 g |
| Carbs | 100.5 g |
