30-Minute Lorac Cookies: Sweet and Chewy Delights
- Get Ready for Some Yummy Cookies!
- A Dash of History and Popularity
- How Difficult Can It Be?
- Why You’ll Love These Cookies
- Your Go-To Guide for Essential Baking Ingredients
- The Art of Professional Cooking: Essential Steps to Bake Delicious Lorac Cookies in 30 Minutes
- Pro Tips & Secrets
- Perfect Presentation
- Storage & Make-Ahead
- Creative Variations
- Complete Nutrition Guide
- Wrapping It Up With a Sweet Bow
- Frequently Asked Questions
- 📝 Recipe Card
Get Ready for Some Yummy Cookies!
Have you ever had one of those days where you just need something sweet? oh my gosh, i totally have! picture this: you're lounging on the couch, flipping through netflix, and all of a sudden, a craving for cookies hits you like a freight train.
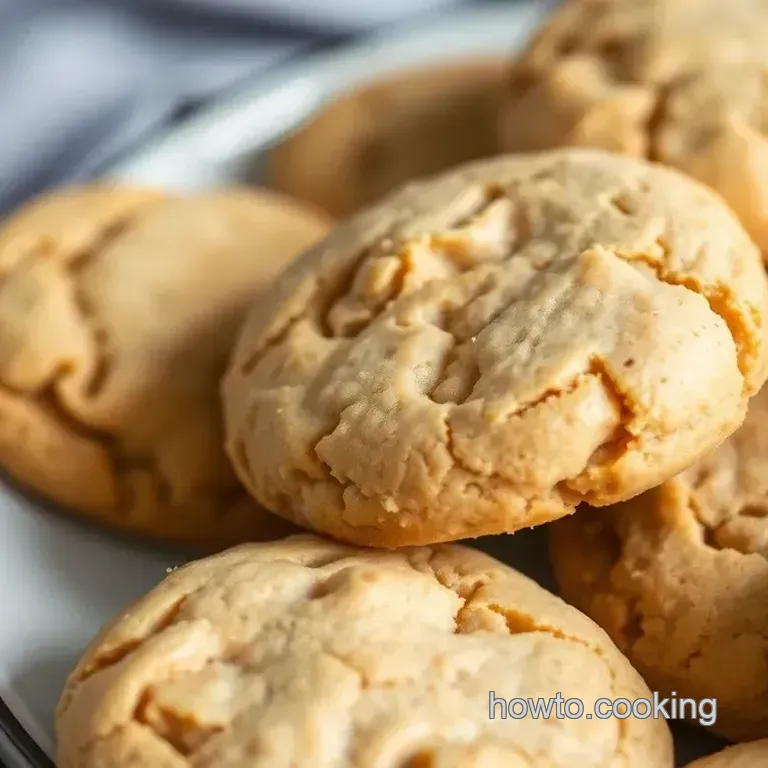
The good news? you can bake delicious lorac cookies in 30 minutes . yes, that’s right crispy edges, chewy centers, and all that scrumptious vanilla flavor.
Trust me, once you try this recipe, it'll become your go-to quick cookie recipe.
A Dash of History and Popularity
So, lemme throw some cookie trivia your way! the lorac cookie, while not as famous as its chocolate chip sibling, has roots that are just as deep in the cookie universe.
It’s all about those classic flavors with a nutty twist that keep people coming back for more. these cookies are kinda like a warm hug on a plate, perfect for sharing even though you might want to keep ‘em all to yourself!
Fast forward to today, and these cookies are totally in vogue! everyone's looking for easy cookie baking that doesn’t require a phd in the kitchen.
Whether you’re knocking on the door of a potluck or just want a sweet treat after dinner, these cookies hit the spot.
Plus, it only takes 30 minutes from start to finish. who doesn’t love quick baking ideas ?
How Difficult Can It Be?
Honestly, if you can mix ingredients in a bowl, you can handle this recipe. it’s rated as easy , making it perfect for beginners who want to rock their baking game or for seasoned bakers looking to whip up something fast.
With just the right balance of fun and technique, you’ll find yourself in sweet cookie heaven before you know it!
And let’s talk about time 10 minutes for prep, about 15 minutes in the oven, and you’re looking at a total of just 30 minutes ! plus, you get around 24 cookies out of this, so you can share, or just stash a few away for those late night netflix binges.
No judgments here!
Why You’ll Love These Cookies
First off, let’s get to the good stuff health benefits. now, i’m not saying these cookies are health food , but they do have some perks! they contain real ingredients like butter and eggs, which means you’re avoiding a lot of chemical laden store-bought stuff.
And if you want to make them a bit healthier, go ahead and swap out the sugar or add some oats just think of it as a more wholesome dessert idea!
These cookies shine at family gatherings or simple weeknight dinners. they’re family friendly recipes that you can enjoy with the kiddos too! you know what’s even better? baking with kids can turn into an awesome bonding experience, plus they love the chance to mix and scoop.
And hey, these cookies offer cookie variations maybe you want to throw in some chocolate chips or nuts. customize to your heart's content!
The chewy texture is probably one of the best parts; they have that perfect cookie texture that everyone craves. and between the warm vanilla notes and nutty flavors, it just feels like comfort food at its finest.
Trust me, once they come out, your kitchen will smell amazing!
So, what do you need to make these delicious treats? Let’s talk ingredients…
Your Go-To Guide for Essential Baking Ingredients
So, you're ready to crank up the oven and bake delicious lorac cookies in 30 minutes ? awesome! but before you dive into that sugary goodness, let’s chat about some essential ingredients and equipment that'll make your baking journey not just easier but downright fun.
Grab a snack and settle in; we’re about to transform those pantry staples into cookie magic!
Premium Core Components: The Building Blocks
First up, let’s get down to the nitty gritty of basic baking ingredients.
1. butter : aim for 1 cup (230g) of unsalted butter, softened. quality matters go for grass fed if you can! this creaminess is key for that chewy texture we all love.
Store it in the fridge, but let it sit out for 30 minutes before using. it’s all about that room temp life!
2. sugars : you'll need 1 cup (200g) granulated sugar and 1 cup (220g) packed brown sugar. granulated sugar gives a great crunch, while brown sugar adds that deep, caramelized flavor.
Store them in airtight containers. did you know brown sugar can harden? toss a slice of bread in there to keep it soft life-saver!
3. flour : grab 3 cups (360g) of all-purpose flour. check that it’s fresh; if it's been chilling in your pantry for ages, it might have lost its oomph! when in doubt, a whiff should tell you if it’s still good.
4. Eggs : Two large eggs are your golden ticket. Fresh eggs equal richer flavor. Crack ‘em and let them sit out with the butter.
5. Baking Soda & Salt : Use 1 teaspoon of each . Make sure your baking soda isn’t past its prime; you wanna trigger those cookies to rise!
Signature Seasoning Blend: Spice It Up
Now, onto those flavor boosters!
1. Vanilla Extract : Two teaspoons adds a breathtaking aroma it's the star of the show! Don’t skimp; use the real deal, not imitation.
2. optional mix-ins : ah, the fun part! think chocolate chips (definitely at least 1 cup ), nuts, or even oats.
Throw your favorite in there for a unique twist. if you want those chewy oatmeal cookies, swap some flour for rolled oats!
Smart Substitutions: Roll with It
We all know life happens, right? Here's how to swap things out when you're in a pinch:
- Butter : Can't do dairy? Use coconut oil for a nut-free cookie option.
- Sugar : Try honey or maple syrup for a lightly sweet cookie alternative. Just reduce the flour a bit!
Kitchen Equipment Essentials: Tools of the Trade
Before you preheat that oven, let’s make sure you’ve got the right tools on hand.
1. Mixing Bowls : You’ll want at least two one for wet, one for dry.
2. Electric Mixer : Totally optional. If you don’t have one, your arm will get a workout, and that’s totally fine!
3. Baking Sheets : Prepare those pans with parchment paper. Trust me, it’ll save you from a sticky situation.
4. Cookie Scoop : A game changer for portioning the dough. If you don’t have one, a good old tablespoon will do the job!
Baking Tips for Success
Ok, let's chat strategy!
- Room Temperature Ingredients : Always use room temp eggs and butter for a smoother mix. Cold butter=hard cookies.
- Mixing : Don’t overmix once the flour goes in. We want tender cookies, not hockey pucks!
Time to Make Those Cookies!
Now that you know your ingredients and equipment, it’s time to whip up those Lorac Cookies. With just 30 minutes to go from measuring to munching, you’ll soon have an amazing homemade cookie feast ready to enjoy! And trust me, baking with kids? It's hilarious and unforgettable!
So, grab your apron, get those ingredients ready, and let's make some magic happen! whether it’s for a cozy night in or a last minute treat for the family, these cookies are bound to impress.
Happy baking, friends!
The Art of Professional Cooking: Essential Steps to Bake Delicious Lorac Cookies in 30 Minutes
Baking cookies shouldn’t be rocket science. whether you’re a kitchen newbie or a seasoned chef, having some professional cooking techniques can level up your game.
Today, i’ll share not only how to bake delicious lorac cookies in 30 minutes , but also some essential preparation steps that make the process so much smoother.
Let’s get rolling!
Essential Preparation Steps
Before we dive into the mixing and baking, let’s talk about one word that’ll change your cooking life forever: mise en place .
It’s a fancy french term, but it just means “everything in its place.” gather all your ingredients before you start.
This makes the process way less chaotic sort of like pre-gaming before a concert!
Next is time management . set a timer for each step. baking isn’t just about throwing stuff in a bowl; it’s about timing.
For the lorac cookies, your total prep and baking time gets crunched into 30 minutes flat if you handle things right.
Organization strategies are key, too. keep your measuring cups and spoons handy. label ingredients if you need to, and have a trash bowl ready to toss any debris.
Trust me, a clean workspace makes for a happy baker and less stress!
Let’s not forget safety. When you’re dealing with hot ovens and sharp knives, always watch where your hands are. A burnt finger is a small price for success, but let’s not pay that price if we don’t have to!
step-by-step Process for the Perfect Cookie
Ready to get baking? Here’s a step-by-step guide that’ll make your Lorac cookies shine.
Preheat the Oven : Start by preheating your oven to 350° F ( 175° C) . This gets the magic started.
Cream the butter and sugars : in a bowl, cream 1 cup (230g) of softened butter , 1 cup (200g) of granulated sugar , and 1 cup (220g) of brown sugar .
Use an electric mixer for this, or just a good old whisk if you want that arm workout. you're looking for a light and fluffy texture here.
Add Eggs and Vanilla : Beat in 2 large eggs and 2 teaspoons of vanilla extract until it’s combined. This is where the magic scent starts to waft through your kitchen!
Dry ingredients : in a separate bowl, whisk together 3 cups (360g) of flour, 1 teaspoon of baking soda , and 1 teaspoon of salt .
Slowly add this to your wet mixture. here’s a tip: don’t overmix! just combine until you can’t see the flour anymore.
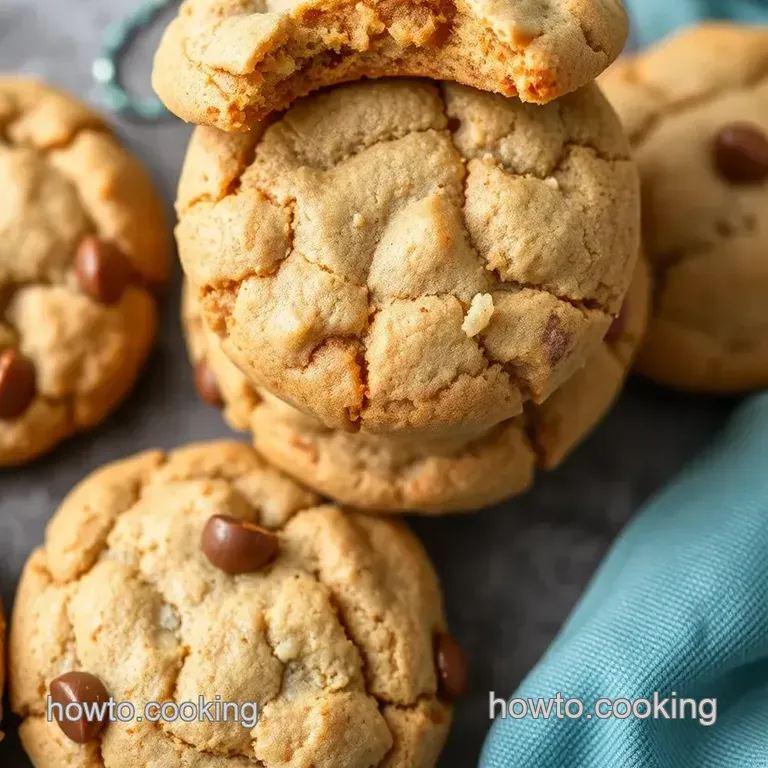
Mix in Goodies : Fold in 1 cup (175g) of chocolate chips and 1 cup (100g) of chopped walnuts if you want that nutty crunch.
Scoop the Batter : Drop the dough on parchment lined baking sheets, about 2 inches apart .
Bake away : pop them in your preheated oven for 12- 15 minutes . watch them like a hawk! they should be golden around the edges but still soft in the middle.
Cool Down : Let them chill on the baking sheet for 5 minutes before transferring to a wire rack. This is crucial for that chewy texture we all crave.
Expert Techniques for Cookie Success
Let’s level up! A few expert techniques can make your cookies even better:
Room Temperature Ingredients : Make sure your butter and eggs are at room temperature. They mix better and give you that perfect cookie texture.
Chill for Chewiness : If you have a little time to spare, chilling the dough before baking can boost that chewy texture to a whole new level.
Check Oven Temperatures : Ever wonder why your cookies turn out different every time? Use an oven thermometer to get an accurate reading.
Success Strategies
Now, let’s chat about common mistakes. Overmixing dough can lead to tough cookies, which nobody wants. Also, don’t forget to taste your cookie dough. It should never taste like cardboard!
To make your life easier, why not think of make-ahead options ? you can prep the dough a day in advance and let it chill in the fridge.
Meanwhile, know that you can swap ingredients. want to skip the nuts? go for it! prefer peanut butter instead of butter? heck yes!
Be creative with cookie variations . Think oatmeal, or maybe even throw in some dried fruits for a twist.
So, there you have it, my friend! with these professional cooking tips, you'll be well on your way to whipping up these rustic and scrumptious lorac cookies in no time.
Stick around for additional information to keep your baking journey rolling!
Pro Tips & Secrets
Baking cookies isn't just about following the steps it's like a dance where you need a bit of flair! so let's dive into some insider secrets to help you bake delicious lorac cookies in 30 minutes that will have everyone raving.
First, get your room temperature ingredients in check. soften that butter and eggs for your dough. it makes a difference, trust me! when you whip them together, the end result is a fluffy, chewy cookie that just melts in your mouth .
And here's a little hack: if you forgot to take your butter out in advance, pop it in the microwave for about 10 seconds.
Just be careful not to melt it.
Need a time saver? skip the chilling time! most cookie recipes suggest chilling dough for improved texture, but for these yummy lorac cookies, you can dive right in after mixing.
Think of it as a creative way to expedite your quick dessert recipe , especially if little helpers are waiting to gobble them up!
Perfect Presentation
Now let's talk about making those cookies instagram worthy. plating doesn't have to be complicated! serve your cookies on a bright, colored plate to make those golden edges pop.
Think color combos! a lovely red plate showcases your cookies beautifully!
Garnish? how about a light dusting of powdered sugar or a drizzle of melted chocolate? if you're feeling fancy, toss some chopped nuts on top for that wow factor.
Remember, first impressions matter, even for cookies!
Storage & make-ahead
Once you whip up a batch of these scrumptious cookies, you want to keep that freshness, right? Store them in an airtight container at room temperature for about 5-7 days if they last that long!
Want to make these cookies ahead? no problem! you can prepare the dough, scoop it onto a baking sheet, and pop it in the freezer.
Once they're frozen, transfer the dough balls into a zip-top bag. when you're ready for a quick cookie fix , just bake them straight from the freezer just add an extra minute or two to the baking time.
Creative Variations
Let’s get adventurous! don't be afraid to play with your flavors. these chewy cookies are a blank canvas! swap out the chocolate chips for m&ms or even dried fruit for a fun twist.
If you love oatmeal, toss in some rolled oats to give them extra heartiness!
Got dietary restrictions? use a nut-free cookie option by omitting the walnuts or swapping them for pumpkin seeds. you can also try a dairy-free baking substitute coconut oil steps in perfectly as a butter replacement.
Complete Nutrition Guide
While indulging in these cookies, it’s good to know what's in them. each cookie comes in at about 150 calories , with 2g of protein and some delightful healthy fats.
Balance is key, though; eat in moderation if you can! if you're tracking sugars, remember they do pack a sweet punch.
If you want to get specific, consider using cookie ingredient substitutions like coconut sugar or almond flour for lighter options. And hey, don’t forget portion guidance seriously, those servings add up!
Wrapping It Up With a Sweet Bow
So there you have it! with a little love, creativity, and these helpful tips, you too can bake delicious lorac cookies in 30 minutes that are both a treat for the taste buds and the eyes.
Whether you’re baking with kids or simply treating yourself, these cookies are sure to bring smiles. don’t stress about perfection; just make it fun and enjoy the process.
Happy baking, my friend!
Frequently Asked Questions
How can I Bake Delicious Lorac Cookies in 30 Minutes?
To bake delicious Lorac cookies in 30 minutes, start by preheating your oven, then mix your ingredients according to the recipe's steps. Prepare the dough in about 10 minutes, and bake for 12-15 minutes. Just be sure to have all your ingredients measured out and ready for a smooth baking experience!
What can I substitute if I don’t have walnuts for the Lorac Cookies?
If you don’t have walnuts, you can either omit them entirely or substitute them with your favorite nuts such as pecans or almonds. Alternatively, you could also use sunflower seeds for a nut-free option or even add in some shredded coconut for extra texture and flavor!
How should I store my Lorac Cookies after baking?
After baking, let the cookies cool completely, then store them in an airtight container at room temperature for up to a week. For longer storage, you can freeze them in a freezer safe bag for up to three months. Just make sure to separate each cookie with parchment paper if you’re stacking them in the container!
Can I make the dough ahead of time?
Yes, you can make the Lorac cookie dough ahead of time! You can chill the dough for up to 24 hours in the fridge before you bake it. For longer storage, scoop the dough onto a baking sheet, freeze them until firm, and then transfer the cookie dough balls into a freezer bag.
You can bake them straight from the freezer, just add an extra minute or two to the baking time.
What variations can I try for the Lorac Cookies?
You can get creative with your Lorac cookies by adding ingredients like rolled oats for an oatmeal chocolate chip cookie twist, or swapping chocolate chips for M&M candies for a colorful treat. Additionally, you can substitute half of the butter with peanut butter for a delightful nutty flavor.
The possibilities are endless!
What are the nutritional considerations for these cookies?
A single Lorac cookie contains about 150 calories, 2g of protein, and 7g of fat, with 22g of carbohydrates. If you're concerned about sugar, consider using coconut sugar or reducing the overall sugar amount.
For a healthier option, you can also make substitutions like using whole wheat flour or adding more oats to increase fiber content.
Bake Delicious Lorac Cookies In 30 Minutes
Ingredients:
Instructions:
Nutrition Facts:
| Calories | 150 |
|---|---|
| Protein | 2g |
| Fat | 7g |
| Carbs | 22g |
| Fiber | 1g |
| Sugar | 10g |
| Sodium | 120mg |
