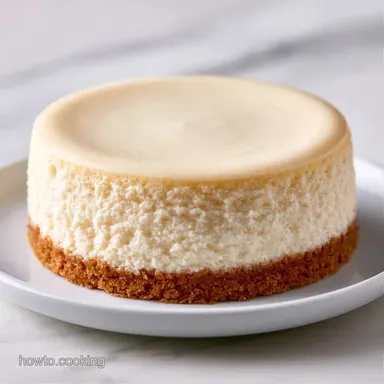
Classic No Bake Cheesecake: Creamy and Smooth
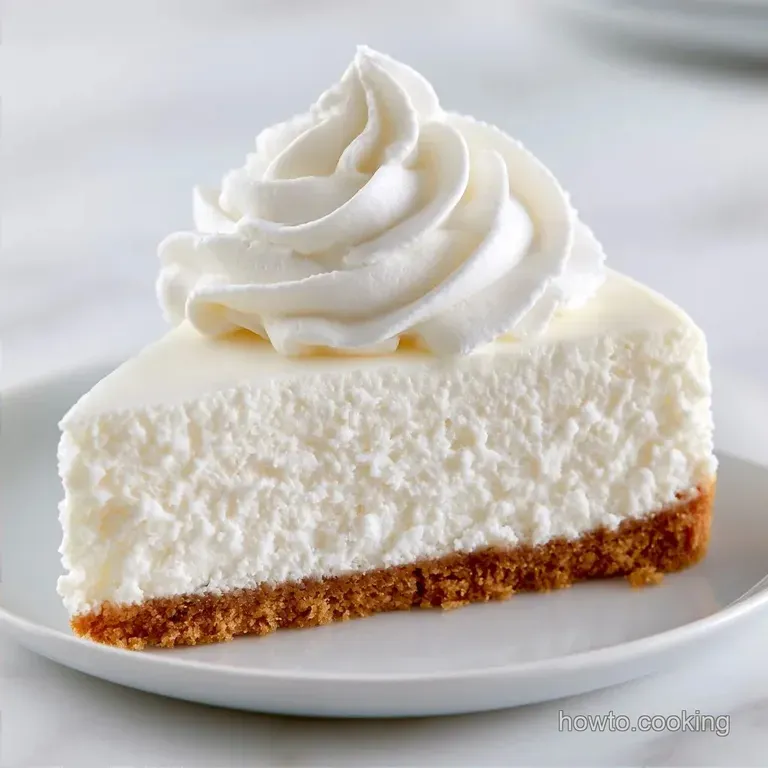
- Time: 20 min active + 6 hr chilling
- Flavor/Texture Hook: Bright lemon acidity paired with a crisp, buttery crust
- Perfect for: Warm-weather gatherings or novice bakers
You don't need gelatin or specialized equipment to ensure your cheesecake holds its form. While many assume baking is the only way to achieve firmness, that often results in frustrating surface cracks.
I once believed no-bake recipes were merely "mousse cakes" that slumped as soon as they were cut. However, I discovered the secret lies entirely in the cream's preparation.
This Classic No Bake Cheesecake maintains a high profile and yields sharp slices. It is a crowd-pleasing dessert that looks elegant despite using simple staples found in most refrigerators.
Classic No Bake Cheesecake Guide
Here are the details. This recipe yields 12 slices. Active prep takes roughly 20 minutes, but you'll need a total of 6 hours and 20 minutes before it's ready to serve, so plan your schedule accordingly.
Avoid the temptation to skip the extended chilling period. The fats in the cream cheese must stabilize during this time, otherwise the dessert will lose its structure.
If you enjoy a denser, more indulgent cake, you may prefer my New York style cheesecake which is baked in the oven. But for something light and refreshing, this recipe is the perfect choice.
| Aspect | Fast No Bake | Classic Baked |
|---|---|---|
| Prep Time | 20 mins | 45 mins |
| Texture | Light and Airy | Dense and Creamy |
| Set Method | Cold Chill | Oven Heat |
The Building Blocks
To keep things budget smart, I recommend using store brand cream cheese. As long as it's full fat, it works just as well as the expensive name brands. Avoid the low-fat versions, as they contain more water and won't set properly.
For the Graham Cracker Crust
- 180g graham cracker crumbs Why this? Provides a salty, crunchy contrast
- 75g unsalted butter, melted Why this? Binds crumbs into a solid base
- 25g granulated sugar Why this? Adds a hint of sweetness
- 1.5g salt Why this? Balances the richness of the cheese
For the Creamy Filling
- 450g full fat cream cheese, softened Why this? The primary structural component
- 100g powdered sugar, sifted Why this? Dissolves faster than granulated sugar
- 240ml heavy whipping cream, chilled Why this? Adds volume and lightness
- 5ml pure vanilla extract Why this? Adds depth and warmth
- 15ml fresh lemon juice Why this? Brightens flavor and helps set
- 2.5g lemon zest Why this? Provides a fresh, citrusy aroma
| Component | Purpose | Substitute Notes |
|---|---|---|
| Cream Cheese | Structure | Mascarpone: Richer, slightly sweeter |
| Heavy Cream | Aeration | Coconut Cream: Nutty, vegan friendly |
| Graham Crumbs | Base | Digestive Biscuits: More buttery, less sweet |
Essential Kitchen Tools
No special equipment is required here. However, a standard 9 inch springform pan is essential, as it lets you release the sides without damaging the cake.
I typically use a hand mixer for the cream, though a stand mixer like a KitchenAid works perfectly as well. Just ensure your mixing bowl is cold; if you have a few minutes, place it in the freezer for 5 minutes before starting.
A basic rubber spatula is your most helpful tool for this process. Use it to gently fold the cream into the cheese. Avoid stirring too aggressively, or you'll deflate the mixture and lose that light, airy texture.
Step by step Process
Time to put everything together. Accuracy is essential here, particularly regarding the temperatures.
Phase 1: Constructing the Base
- In a medium bowl, combine the 180g graham cracker crumbs, melted butter, sugar, and salt until the consistency is like wet sand.
- Using a measuring cup, press the mixture into the bottom of a 9 inch springform pan until it is flat and firmly packed.
- Pop the pan into the freezer for 10 minutes to set. Note: This keeps the crust from blending into the filling.
Phase 2: Whipping the Filling
- Beat the softened cream cheese and powdered sugar on medium-high speed until the texture is entirely smooth.
- Use a spatula to fold in the lemon zest, lemon juice, and vanilla extract until they are thoroughly combined.
- In a separate bowl, beat 240ml of chilled heavy whipping cream until stiff peaks develop. Note: The cream should remain upright when you lift the whisk.
- Slowly fold the whipped cream into the cream cheese mixture in three separate additions using a gentle over-and-under motion until all white streaks disappear.
Phase 3: The Deep Chill
- Spread the filling over the cooled crust and smooth the top until it is even. This completes the assembly of your Classic No Bake Cheesecake.
- Cover with plastic wrap and keep in the refrigerator for a minimum of 6 hours.
- Before opening the latch, run a thin knife around the perimeter until the cake separates easily from the edges.
Chef's Tip: For those magazine-perfect slices, dip your knife in hot water and wipe it clean between every single cut.
How Air Creates Structure
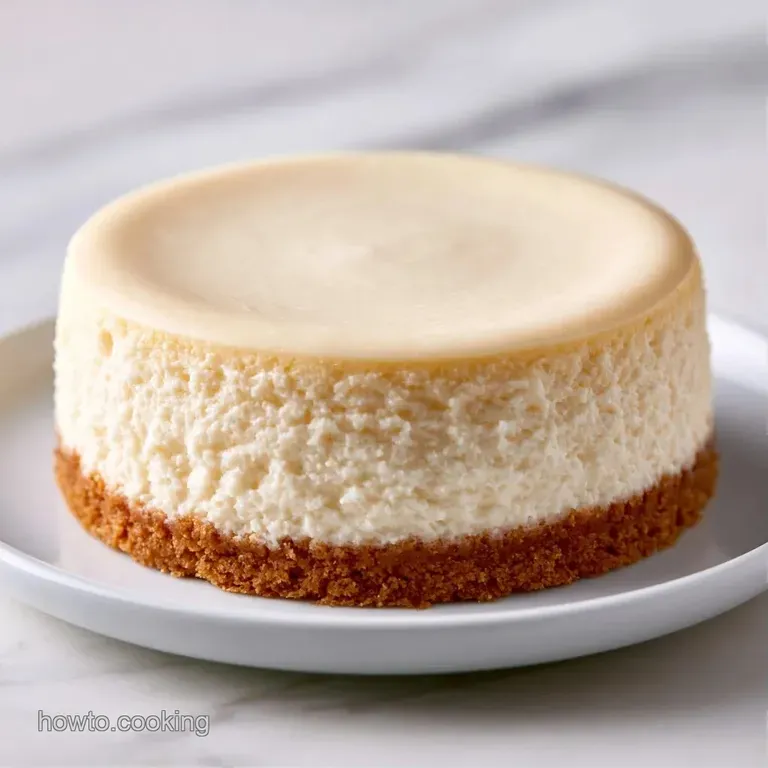
Folding whipped cream into the cream cheese traps air, creating a stable structure without needing heat. The lemon juice then tightens the proteins to keep it from sagging.
This method is different from the denser, baked versions. By avoiding the oven, we keep the flavor fresh and the texture light. If you love this citrusy profile, you should also try my lemon curd cheesecake for an even punchier taste.
- For a firmer set
- chill 12 hours instead of 6.
- For a sweeter crust
- add 10g more sugar.
- For a tangier taste
- add 5ml extra lemon juice.
Troubleshooting Texture Issues
When preparing a Classic No Bake Cheesecake, the most frequent challenges relate to the cake's "set." These issues typically stem from the technique or the chilling environment rather than an incorrect ingredient.
Fixing a Soft Filling
If the cake is too soft to slice, the heavy cream likely wasn't whipped sufficiently or the fridge wasn't cold enough. Avoid adding more sugar; instead, just allow it more time to chill.
Preventing Crust Crumbling
A crust that crumbles usually results from using too little butter or failing to press the crumbs down firmly. Next time, use the base of a heavy glass to pack it in tightly.
Stopping Lumpy Filling
Lumps occur when the cream cheese is too cold. Ensure the cheese is fully softened to room temperature before you begin beating it with the sugar.
| Problem | Fix |
|---|---|
| Filling is runny | Refrigerate for another 2 hours |
| Crust is too sandy | Press firmer with a flat bottomed cup |
| Filling has lumps | Beat cream cheese longer before adding other ingredients |
Storage and Waste Tips
Store the cake in the refrigerator, wrapped in plastic, for up to 5 days. The taste often improves by the second day as the ingredients settle.
For longer storage, freeze individual slices wrapped first in parchment paper and then in foil. They will remain fresh for about 2 months. To serve, let a slice thaw in the fridge overnight instead of using the microwave.
Put any remaining graham cracker crumbs to good use. Stir them with a little melted butter and honey to create a quick granola for your morning yogurt.
Flavor Swaps and Twists
This Classic No Bake Cheesecake is incredibly easy to customize, as the base recipe serves as a versatile foundation.
To add a berry flavor, swirl in raspberry jam or fresh strawberry puree following step 8, using a toothpick to marble the surface. For a tropical variation, replace the lemon juice with lime juice and garnish with fresh mango cubes.
To make this gluten-free, substitute the crust with crushed gluten-free vanilla wafers or a blend of almond flour and sugar. Since the filling is already naturally gluten-free, the process is simple.
| Original Ingredient | Substitute | Why It Works |
|---|---|---|
| Graham Crackers | Digestive Biscuits | Similar crunch, slightly more buttery |
| Lemon Juice | Lime Juice | Similar acidity, adds a tropical note |
| Powdered Sugar | Maple Syrup | Liquid sweetener, adds earthy flavor (Note: may soften the set) |
Best Serving Pairings
A Classic No Bake Cheesecake is rich, so it pairs best with something tart or fresh. I love serving it with a handful of fresh blueberries and a sprig of mint for a pop of color.
If you're serving this for a dinner party, a side of macerated strawberries (just strawberries tossed with a bit of sugar and lime) cuts through the richness of the cream cheese.
For a more indulgent treat, a drizzle of salted caramel or a few shavings of dark chocolate on top works brilliantly. Keep the toppings light so you don't overwhelm the delicate vanilla and lemon notes.
Recipe FAQs
Is it true that Cool Whip can replace heavy cream?
Actually, no. Heavy whipping cream provides the necessary structure for the cake to set properly.
Tip: chill your mixing bowl and beaters for a few minutes before whipping the cream.
What other treats can I make with extra cream cheese?
You can prepare creamy fruit dips or a traditional cheesecake.
Tip: freeze leftover cream cheese in small, wrapped portions to avoid waste.
How to prevent the filling from tasting lumpy?
Beat the softened cream cheese and powdered sugar on medium-high speed until completely smooth.
Tip: let the cheese reach room temperature naturally to ensure it blends easily.
Why does the cake need to chill overnight?
Refrigerating allows the fats to solidify and the flavors to meld together.
Tip: slice the cake with a warm knife for the cleanest edges.
Classic No Bake Cheesecake in 20 Min