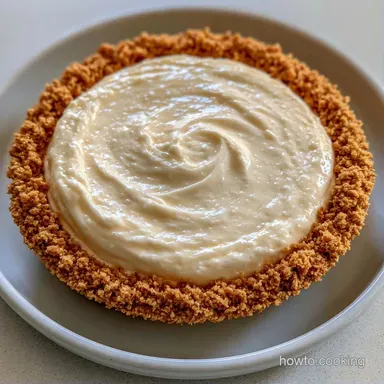
Easy Cream Cheese Pie with Condensed Milk
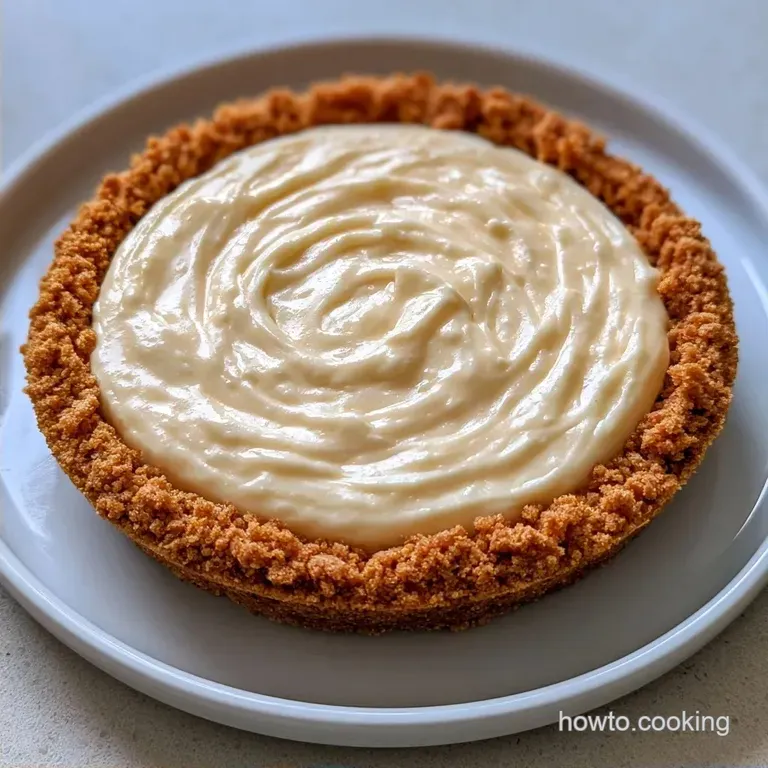
- Time: 15 min active + 4 hours chilling
- Flavor/Texture Hook: Zesty, cloud-like filling paired with a salty-sweet crunch
- Perfect for: Summer potlucks, novice bakers, or a fast weekend treat
The scent of buttery graham crackers always evokes memories of family reunions in the Midwest. One of these pies was a staple on the table, typically sitting in a corner beside a bowl of fresh strawberries.
It's a quintessential "icebox" dessert, designed for those July days when heating up the kitchen feels like an unnecessary hardship.
I once believed that a professional springform pan and a water bath were required to make a quality cheese pie. But in reality, the no-bake version is frequently more appealing because it lacks the heavy, dense feel of a baked cake. It's airy, refreshing, and significantly more foolproof.
The result is a dessert that tastes like a hybrid of cheesecake and mousse. This simple recipe doesn't demand any expert technique, just a hand mixer and a little patience while it chills. Trust me, the waiting is the toughest part.
Making a Simple Easy Cream Cheese Pie
The Stabilizer: Sweetened condensed milk does the heavy lifting here. It provides the sugar and the thickness needed to keep the pie from turning into a puddle without needing eggs or gelatin.
Temperature Control: Using softened cream cheese is a non negotiable. Cold cheese creates tiny, stubborn lumps that no amount of whisking can fix once the milk is added.
Air Incorporation: Folding in the whipped topping at the end keeps the filling light. If you beat it too hard, you'll lose the air bubbles and the texture will feel flat.
I've found that the balance between the lemon juice and the sugar is what makes this work. The acid in the lemon cuts through the heavy fat of the cheese, which stops it from feeling too cloying. If you've ever tried a Classic No Bake Cheesecake, you'll notice this version is a bit more airy and less dense.
Recipe Specs
Here is the logistical breakdown. While the assembly is simple, it's important to be realistic about the overall timeframe.
| Feature | Detail |
|---|---|
| Prep Time | 15 minutes |
| Total Time | 4 hours 15 mins |
| Yield | 8 servings |
| Tool Level | Minimal (Hand mixer) |
Because this recipe doesn't require an oven, the "cook time" is non-existent. However, don't overlook the chilling phase, as this is when the fats solidify to set the structure.
| Method | Texture | Effort | Risk |
|---|---|---|---|
| No Bake | Airy & Light | Low | Very Low |
| Baked | Dense & Creamy | High | High (Cracks) |
If you prefer a DIY approach, you can use a Homemade Heavy Cream hack to whip up your own cream instead of relying on a store-bought version.
The Essential Ingredients
I prefer to mise en place all my ingredients first. It's a nightmare to realize you've run out of butter while you're in the middle of prepping the crust.
| Ingredient | What It Does | Best Swap |
|---|---|---|
| Cream Cheese | Gives it tang and stability | Mascarpone (creamier, milder) |
| Condensed Milk | Acts as sweetener and thickener | Evaporated milk + powdered sugar |
| Graham Crumbs | Forms the foundation | Digestive biscuits |
| Whipped Topping | Provides an airy feel | Stiffly beaten heavy cream |
The Full List:
- 1.5 cups graham cracker crumbsWhy this? For that traditional honey-wheat taste.
- 1/3 cup granulated sugarWhy this? Gives the base a sweet crunch.
- 6 tbsp unsalted butter, meltedWhy this? Holds the crumbs together.
- 8 oz cream cheese, softenedWhy this? The main ingredient for the filling.
- 1 can (14 oz) sweetened condensed milkWhy this? Thickens the mixture with sweetness.
- 1 tsp vanilla extractWhy this? Balances the acidity of the cheese.
- 1 tbsp fresh lemon juiceWhy this? Brings a zesty note to offset the fat.
- 1 cup whipped topping, thawedWhy this? Gives the filling a light, mousse-like consistency.
Basic Tools You'll Need
This recipe requires only basic equipment. As long as you have a mixer and some mixing bowls, you're ready to go.
- 9 inch pie plate: Use a standard pie dish instead of a deep-dish cake pan.
- Hand mixer: A stand mixer works, but a hand mixer is more convenient for a batch of this size.
- Rubber spatula: Essential for the folding process.
- Measuring cup: Use the flat bottom to press the crust into place.
Pro Tip: Stirring by hand with a whisk is possible if you don't mind the extra effort. Just ensure the cream cheese is very soft for this method to work.
How to Build Your Pie
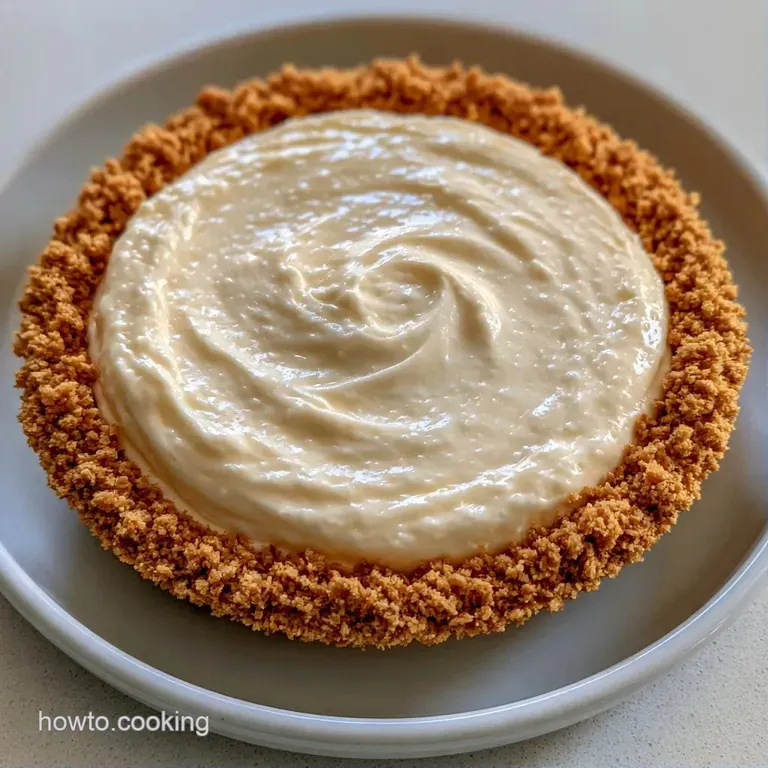
Begin by following these directions carefully, paying particular attention to the cooling times.
Phase 1: Creating the Golden Crust
- Combine the graham cracker crumbs and sugar in a medium-sized bowl.
- Mix in the melted butter until the consistency is similar to wet sand.
- Transfer the crumbs to a 9 inch pie plate. Press the mixture firmly against the base and up the sides using a flat-bottomed tool. Note: Ensure it is firm enough to hold its shape, but not packed so tightly that it becomes rock hard.
- Chill the crust in the freezer for 10 minutes to set.
Phase 2: Mixing the Cream Cheese Filling
- Whip the softened cream cheese on medium-high speed until the mixture is light and airy.
- Slowly incorporate the sweetened condensed milk, beating until the consistency is smooth and glossy.
- Mix in the lemon juice and vanilla extract.
Phase 3: Final Assembly and Chilling
- Carefully incorporate the whipped topping using a gentle folding technique. Use a "cut and fold" method, slicing through the center and lifting the bottom layer over the top. Note: Avoid over-mixing so you don't deflate the air.
- Pour the mixture over the chilled graham cracker crust and level the surface with your spatula.
- Wrap the pie in plastic and refrigerate for at least 4 hours to allow it to set.
Precision Checkpoints:
- Crust Temp: Freezer for exactly 10 minutes.
- Pan Size: 9 inch pie plate.
- Set Time: Minimum 4 hours in the fridge.
Fixing Common Texture Issues
Issues with an Easy Cream Cheese Pie are typically caused by the mixing method or the temperature of the ingredients.
Filling feels grainy
This typically occurs if the cream cheese was too cold at the start. The fat fails to emulsify with the milk, resulting in small beads of cheese. You can try whisking the mixture vigorously by hand for a few minutes to smooth it out, though this is often difficult to fully reverse.
Pie is too soft
If your slices are slumping, the pie hasn't had enough time to set. In a crowded or warmer fridge, 4 hours might not be sufficient. Allow it to chill for another 2 hours.
Crust is crumbling
This is usually due to a lack of butter or the base not being pressed firmly into the pan. Next time, use the bottom of a heavy glass to pack the crumbs in tightly.
| Problem | Fix |
|---|---|
| Lumpy Filling | Make sure cheese is fully room temperature |
| Slumping Slices | Chill for an extra 2-4 hours |
| Crumbling Base | Press more firmly with a measuring cup |
Swapping and Tweaking Ingredients
Feel free to customize this recipe based on the ingredients you have on hand.
- For a firmer consistency
- chill for 6 hours rather than 4.
- For a tangier flavor
- stir in 1 additional tsp of lemon juice.
- For a crispier base
- bake the prepared crust at 350°F for 8 minutes, then allow it to cool fully.
To create a fruit-inspired version, simply spoon some canned blueberry or cherry topping over the filling once it has set. This simple addition gives the Easy Cream Cheese Pie a more sophisticated look.
| Original Ingredient | Substitute | Why It Works |
|---|---|---|
| Whipped Topping | Heavy Cream | Similar fat levels but with a more natural taste. Note: Must be whipped to stiff peaks |
| Graham Crumbs | Oreos | Introduces a deep chocolate flavor and a darker hue |
| Lemon Juice | Lime Juice | Provides a bright, tropical zest |
Storing and Freezing Tips
Since this recipe contains whipped topping and cream cheese, it must be kept refrigerated.
Store the pie in the fridge for a maximum of 3 days. I suggest using a pie carrier or sealing it tightly with plastic wrap to stop it from absorbing "fridge smells" from leftovers or onions.
This dessert keeps in the freezer for as long as 2 months. Wrap it securely in foil, then add a layer of plastic wrap. When you're ready to serve, move it to the refrigerator to thaw slowly for about 6 hours. Avoid thawing it on the counter, as condensation can form and make the crust soggy.
To prevent waste, you can combine any leftover melted butter or graham cracker crumbs with a little honey and bake them into small clusters for a quick snack.
Serving and Garnishing Ideas
The way you slice this pie matters. To get those clean, professional looking wedges, dip your knife in hot water and wipe it clean between every single cut.
The Fresh Look Top each slice with a single fresh raspberry or a slice of strawberry. A sprinkle of lemon zest over the top adds a pop of color and a fresh scent that hits you before the first bite.
The Decadent Drizzle Melt a tablespoon of chocolate chips with a splash of cream and drizzle it in thin lines across the top. This turns the Easy Cream Cheese Pie into something a bit more indulgent.
If you're serving this at a party, leave it in the fridge until the very last second. The colder it is, the better the texture holds up under the lights. Enjoy your treat!
Recipe FAQs
How to make a simple cream cheese pie?
Beat softened cream cheese until fluffy and gradually mix in the sweetened condensed milk.
Tip: Use a hand mixer on medium-high speed to ensure a smooth texture.
What other items can I make with cream cheese?
You can use your cream cheese to make a savory dip for appetizers.
Tip: Always soften cream cheese first to avoid lumps in any mixture.
Is it true this dessert requires baking?
Actually, no. This dessert sets completely in the refrigerator over 4 hours.
Tip: Don't skip the chilling time or the slices will lose their shape.
Can this pie be stored in the freezer?
Wrap the pie tightly in foil and plastic to store for up to 2 months.
Tip: Thaw it slowly in the fridge for 6 hours to keep the crust crisp.
Does freezing the crust before filling damage it?
This one's false: freezing the crust for 10 minutes helps it hold its shape.
Tip: Press the crumbs firmly into the sides using a measuring cup.
Which method prevents the filling from deflating?
Fold in the whipped topping using a gentle cut-and-fold motion.
Tip: Use a rubber spatula rather than a whisk to maintain the aeration.
Easy Cream Cheese Pie with Condensed Milk