Doctored Oreo Cupcakes: Moist and Rich
- Time: Active 15 minutes, Passive 20 minutes, Total 35 minutes
- Flavor/Texture Hook: Deep cocoa richness with a satisfying cookie crunch
- Perfect for: Birthday parties, office potlucks, or family weekend treats
- Mastering the Ultimate Oreo Cupcakes Doctored Cake Mix Recipe
- Why These Additions Create Bakery Style Texture
- Essential Recipe Specs and Performance Benchmarks
- Understanding the Role of Every Single Component
- Minimal Tools for Maximum Baking Success
- Executing the Perfectly Doctored Oreo Cupcake Method
- Troubleshooting Your Cookies and Cream Creations
- Creative Twists to Customize Your Cupcake Batch
- Preservation Secrets for Long Lasting Freshness
- Finishing Touches for a Professional Visual Appeal
- Recipe FAQs
- 📝 Recipe Card
Mastering the Ultimate Oreo Cupcakes Doctored Cake Mix Recipe
The kitchen smells like a dream right now that heavy, dark aroma of Dutch processed cocoa and sweet vanilla cream. I remember the first time I brought these to a family reunion. My sister in-law, who usually only eats organic kale, actually asked for a second one because of that "hidden" cookie at the bottom.
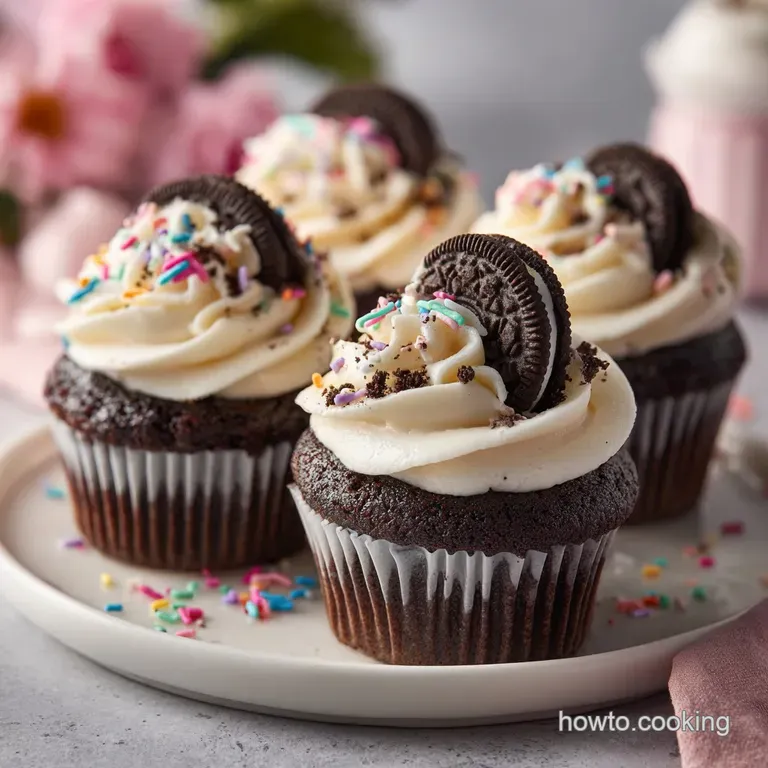
There’s something so satisfying about hearing that slight snap of the Oreo base when you peel back the liner. It's a small detail, but it makes the whole experience feel intentional and high end.
You don't need a pastry degree to make something that tastes like it came from a boutique shop window. We’re using a shortcut today, but we’re doing it with confidence and a few wholesome additions that change everything.
By the time we're done, the crumb will be so moist it almost feels like a truffle, and the frosting will have that signature cookies and cream speckled look that everyone loves. Trust me, once you see how the batter hugs that whole cookie at the bottom, you’ll never go back to plain liners again.
This recipe is about reclaiming your time without sacrificing the quality of your bakes. We've all had those dry, crumbly cupcakes from a box that taste like nothing but sugar. We are fixing that today. We are going to build layers of flavor, from the crunchy foundation to the silky, pulverized cookie frosting.
Let’s get the oven preheating because these are going to disappear faster than you can say "cookies and cream."
Why These Additions Create Bakery Style Texture
Moisture Retention: The instant pudding mix acts as a humectant, trapping water molecules within the crumb to prevent that dreaded day two dryness.
Acidic Balance: Adding sour cream introduces a slight tang that cuts through the sugar while the extra fat ensures a velvety mouthfeel.
Protein Structure: Using four eggs instead of the box recommended three provides more lecithin, which creates a stronger, more stable emulsion for a taller rise.
Fat Density: Replacing water with whole milk and vegetable oil increases the richness, giving the sponge a weightier, more luxurious bite.
| Method | Texture Outcome | Preparation Time | Best For |
|---|---|---|---|
| Traditional Box | Light, airy, often crumbly | 30 minutes | Budget snacks |
| Doctored Mix | Dense, moist, velvety | 35 minutes | Birthdays/Events |
| From Scratch | Complex but temperamental | 1 hours 30 mins | Pro bakers |
When you use a doctored approach, you're essentially using the cake mix as a pre measured flour and cocoa base. The magic happens when we ignore the instructions on the back of the box. By increasing the fat content through whole milk and sour cream, we mimic the fat to flour ratios found in professional recipes. If you're looking for another reliable treat, my Chocolate Cupcakes use similar moisture locking techniques to ensure every bite stays lush for days.
| Ingredient | Science Role | Pro Secret |
|---|---|---|
| Instant Pudding Mix | Starch Gelatinization | Adds "squish" and weight to the crumb. |
| Full Fat Sour Cream | Fat & Acidity | Tenderizes gluten for a softer bite. |
| Whole Oreo Cookie | Structural Base | Prevents the bottom from becoming soggy. |
The whole cookie at the bottom isn't just a gimmick; it acts as a thermal barrier. It absorbs some of the initial heat from the pan, allowing the batter to rise steadily around it without the bottom of the cake burning.
This creates a "shatter" effect when you bite into it crispy on the bottom, silky in the middle.
Essential Recipe Specs and Performance Benchmarks
For the most consistent results, we need to focus on three specific checkpoints. First, your oven must be truly at 350°F (175°C) before the tins go in.
Second, your butter for the frosting must be soft enough that a finger leaves an easy indentation, but not so warm that it’s greasy. Finally, the internal temperature of a finished cupcake should hover around 205°F if you’re using a probe, though the toothpick test is our classic go to.
We are aiming for exactly 24 cupcakes here. If you find you have extra batter, don't overfill the liners. Keep them at 3/4 full so they have room to dome gracefully without spilling over the edges and creating "muffin tops." The bake time is a tight window of 18-20 minutes overbaking by even two minutes can start to dry out the edges, so set that timer early.
| Original Ingredient | Substitute | Why It Works |
|---|---|---|
| Whole Milk | Buttermilk | Adds more tang and even more tenderness to the gluten. |
| Vegetable Oil | Melted Butter | Provides a richer, more dairy forward flavor. |
| Sour Cream | Greek Yogurt | Same acidity and fat levels; slightly more protein. |
If you decide to use buttermilk, just keep in mind it might react more vigorously with the leaveners in the mix, potentially giving you a slightly higher dome. I usually stick with whole milk for this specific recipe because it keeps the chocolate flavor clean and front facing.
Understanding the Role of Every Single Component
- 15.25 oz chocolate cake mix: This is our structural foundation, providing the flour, leavening, and cocoa. Why this? It ensures a consistent crumb and saves time on measuring dry ingredients.
- 3.9 oz instant chocolate pudding mix: The secret to that "melt in-your mouth" texture. Why this? It adds extra cornstarch and sugar for a denser, fudgier result.
- 1 cup whole milk: Provides the liquid needed to hydrate the starches. Why this? The fat in whole milk creates a richer flavor than water.
- 0.5 cup full fat sour cream: Our primary tenderizing agent. Why this? Adds moisture without making the batter too thin or runny.
- 0.5 cup vegetable oil: Ensures the cupcake stays moist even when refrigerated. Why this? Oil stays liquid at room temperature, keeping the cake soft.
- 4 large eggs: The "glue" that holds everything together. Why this? Extra eggs provide structure and a beautiful golden richness to the crumb.
- 1 tsp pure vanilla extract: A background note that makes chocolate taste more like chocolate. Why this? Rounds out the sweetness of the box mix.
- 24 whole Oreo cookies: The surprise crunch at the very bottom.
- 12 Oreo cookies, coarsely chopped: These add "texture pockets" inside the cake itself.
- 1 cup unsalted butter, softened: The base of our silky cookies and cream frosting.
- 4 cups powdered sugar, sifted: Provides sweetness and stability to the buttercream.
- 0.25 cup heavy cream: Thins the frosting to a pipeable consistency while adding silkiness.
- 10 Oreo cookies, finely pulverized: The flavor powerhouse for the frosting. Why this? Must be dust fine to avoid clogging your piping tips.
Every ingredient has been selected to counteract the common flaws of a box mix. We are essentially rebuilding the cake from the inside out. The addition of the chopped cookies into the batter provides a delightful variation in texture you'll get soft sponge followed by a slightly softened, chocolatey cookie bit.
Minimal Tools for Maximum Baking Success

You don't need a kitchen full of gadgets for this. A standard stand mixer makes life easier, especially for the 2 minute beat time required to aerate the batter, but a sturdy hand mixer works just as well. I actually prefer a hand mixer for the frosting so I can feel the consistency as I add the heavy cream.
It gives you a bit more control over the final "fluff" factor.
A wide star tip (like a Wilton 1M) is your best friend here. Because we’re adding pulverized cookies to the frosting, a small tip will clog instantly, leading to a messy explosion of buttercream.
Use a food processor to get those 10 cookies into a fine dust if you see even a tiny chunk of cream filling, keep pulsing. If you don't have a food processor, a heavy rolling pin and a sturdy freezer bag will do, but you really have to put some muscle into it to get that dust like consistency.
Finally,, make sure you have a cooling rack. Letting the cupcakes sit in the hot metal tin for too long after they come out of the oven will cause them to keep cooking, which dries them out. We want them out of the tin and onto the rack within 5 minutes.
This stops the "carryover cooking" and keeps that crumb exactly where we want it: moist and velvety.
Executing the Perfectly Doctored Oreo Cupcake Method
1. Preparing the Foundation
First, preheat your oven to 350°F (175°C). Line two 12 cup muffin tins with your favorite paper liners. Now, for the best part: drop one whole Oreo cookie into the bottom of each liner. Make sure it sits flat.
Note: This creates a sturdy base that prevents the cake from sticking to the liner.
2. Executing the Doctored Cake Mix Oreo Cupcakes
In your mixer bowl, combine the chocolate cake mix, instant pudding mix, milk, sour cream, oil, eggs, and vanilla. Start on low for 30 seconds to avoid a "flour puff" in your face. Then, crank it up to medium and beat for a full 2 minutes.
You will see the batter become glossy and thick.
3. Mastering the Bake
Take those 12 coarsely chopped Oreos and fold them in by hand with a spatula. Don't use the mixer here; we want chunks, not gray batter. Divide the batter evenly, filling each liner 3/4 full. Bake for 18-20 minutes until the tops spring back when lightly touched.
Let them cool completely.
4. Whipping the Oreo Frosting Recipe for Cupcakes
While the cakes cool, cream your softened butter for 3-5 minutes. It should turn almost white. Gradually add the powdered sugar, heavy cream, and the second teaspoon of vanilla. Beat on high until it’s light and voluminous.
Note: Longer beating means more air, which makes the frosting less "heavy."
5. The Final Presentation
Fold in your finely pulverized Oreo dust. If it looks too thick to pipe, add one more tablespoon of cream. Fit your piping bag with a wide tip and swirl the frosting onto the cooled cakes. Watch for that beautiful speckled effect as the frosting spirals up.
Troubleshooting Your Cookies and Cream Creations
Why Your Cupcakes Sunk in the Center
It is incredibly frustrating to pull a tray out only to watch the middle collapse. This usually happens if you beat the batter at too high a speed for too long, incorporating too much air. That air expands in the oven, then the structure fails as it cools.
Another culprit is opening the oven door too early that blast of cold air can shock the rising cake.
Solving the "Oily Wrapper" Issue
If you notice the paper liners are greasy or peeling away, it's often due to moisture trapped between the cake and the tin. Make sure you remove the cupcakes from the pan almost immediately (give them 5 minutes to set).
If they sit in the tin, steam builds up, which releases the oils from the batter and saturates the paper.
| Problem | Root Cause | Solution |
|---|---|---|
| Frosting is grainy | Sugar wasn't sifted | Sift sugar and beat butter for longer before adding. |
| Cupcake is dry | Overbaked | Check with a toothpick at 17 minutes next time. |
| Liners are peeling | Too much steam | Remove from tin 5 minutes after baking. |
Common Mistakes Checklist
- ✓ Ensure eggs are at room temperature to help the emulsion form properly.
- ✓ Don't skip the pudding mix; it’s the primary source of that bakery texture.
- ✓ Pat the bottom of the muffin tin if you see air bubbles in the batter before baking.
- ✓ Wait until the cupcakes are completely cold to the touch before frosting, or it will slide right off.
- ✓ Pulverize the cookies for the frosting until they look like dark sand to avoid clogging.
Creative Twists to Customize Your Cupcake Batch
If you’re feeling adventurous, there are so many ways to play with this base. For a seasonal twist, try using the "Mint Oreo" variety. The cooling mint against the rich chocolate cake mix recipe is a classic pairing that feels very sophisticated.
You can even add a drop of peppermint extract to the frosting to lean into that flavor profile.
The Golden Oreo Twist
Swap the chocolate cake mix for a vanilla or yellow mix, use vanilla pudding, and use Golden Oreos throughout. This creates a "creamsicle" style flavor that is much lighter and perfect for summer garden parties. If you want to try a different base entirely, my Vanilla Cupcake Recipe provides a fantastic, light crumb that works beautifully with the Golden Oreo substitution.
The "Death by Chocolate" Version
For the true chocoholics, use a "Triple Chocolate" cake mix and add half a cup of mini chocolate chips to the batter along with the chopped Oreos. This makes the cupcake incredibly dense and decadent. I’d suggest serving this one with a glass of cold milk to balance the intensity.
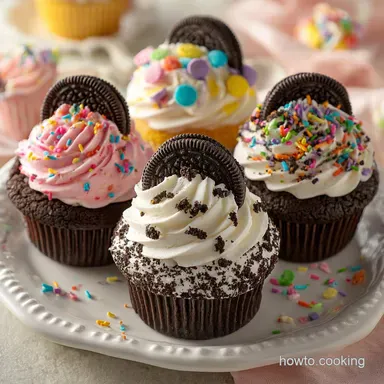
Chef's Tip: If you want an even more professional look, take a mini Oreo and place it at a 45 degree angle into the top of the frosting swirl. It gives the cupcake height and tells everyone exactly what's inside.
Preservation Secrets for Long Lasting Freshness
Because of the high moisture content from the sour cream and pudding, these cupcakes stay fresh longer than most. You can keep them in an airtight container at room temperature for up to 3 days. However, if your kitchen is particularly warm, the buttercream might soften too much.
In that case, the fridge is your friend, but bring them back to room temperature for 20 minutes before serving so the butter in the frosting can soften again.
Freezing and Reheating Guide
You can actually freeze these! If you're planning ahead, freeze the unfrosted cupcakes. Wrap each one tightly in plastic wrap and place them in a freezer bag for up to 2 months. To thaw, just leave them on the counter for an hour.
If they are already frosted, place the whole container in the freezer for an hour to "flash freeze" the frosting, then wrap them carefully.
Zero Waste Tips
Don't throw away those leftover Oreo crumbs or the broken pieces at the bottom of the bag. I keep a "crumb jar" in my pantry for exactly this reason. Those extra bits are incredible when sprinkled over vanilla ice cream or folded into a morning bowl of yogurt.
If you have extra frosting, it makes a killer filling for graham cracker sandwiches.
Finishing Touches for a Professional Visual Appeal
The "swirl" is where most people get nervous, but it’s all about consistent pressure. Start in the center of the cupcake, move to the outer edge, and spiral inward and upward. Stop squeezing before you lift the tip away to get that nice point at the top.
The pulverized cookie dust in the frosting gives it a natural "stone" look that is very trendy right now.
If you don't have piping bags, don't sweat it. A large freezer bag with the corner snipped off works in a pinch. You won't get the ridged edges of a star tip, but a smooth, round mound of cookies and cream frosting is just as inviting.
Sprinkle some extra cookie dust on top for a "sooty" cocoa finish that looks like it came from a high end bakery.
- If you want a crunchier top: Sprinkle extra chopped Oreos on top of the frosting right after piping.
- If you want a cleaner look: Stick to just the pulverized dust in the frosting and one single mini Oreo on top.
- If you want a "lava" effect: Push a small piece of a chocolate bar into the center of the batter before baking.
There is nothing quite like the confidence you feel when you peel back that liner and see a perfectly baked cupcake. Whether it's for a birthday or just a Tuesday treat, these cupcakes prove that you don't need to spend hours measuring flour to create something wholesome and flavorful.
Now, go grab a glass of milk and enjoy the fruits of your very minimal labor!

Recipe FAQs
How to add Oreos to box cake mix?
Place a whole Oreo at the base of your liner before adding batter, then fold chopped cookies directly into the mixture. This ensures a crunchy base and a soft, chocolatey texture throughout the cupcake.
How to make box cake mix taste like homemade cupcakes?
Substitute water for whole milk and add sour cream to the batter. These additions increase the fat content, resulting in a richer, denser crumb that mimics bakery style quality.
Can I bake Oreos into cupcakes?
Yes, baking Oreos into the batter is the secret to this recipe. Using both whole cookies at the bottom and chopped pieces folded into the batter creates distinct layers of flavor and texture.
How to make the best cupcakes out of cake mix?
Beat your batter on medium speed for exactly two minutes after initial mixing. This technique builds the necessary structure for a moist cupcake, similar to the precision needed for a dreamy American buttercream when balancing sweetness and texture.
Is it true I should stir the chopped Oreos in with a mixer?
No, this is a common misconception. You must gently fold the 12 coarsely chopped cookies into the batter by hand to prevent them from breaking down into fine crumbs and muddying your chocolate base.
How to ensure the frosting has a smooth, creamy consistency?
Cream your softened butter for 3 to 5 minutes until it turns pale and fluffy before adding other ingredients. This aeration process is essential for creating the light, professional grade texture required for piping.
How to tell when the cupcakes are finished baking?
Insert a toothpick into the center of the cupcake; it is done when it comes out clean. Bake your cupcakes at 350°F (175°C) for 18-20 minutes for the most consistent results.
Doctored Oreo Cupcakes
Ingredients:
Instructions:
Nutrition Facts:
| Calories | 412 kcal |
|---|---|
| Protein | 3.8 g |
| Fat | 21.8 g |
| Carbs | 53.2 g |
| Fiber | 1.4 g |
| Sugar | 39.1 g |
| Sodium | 345 mg |
