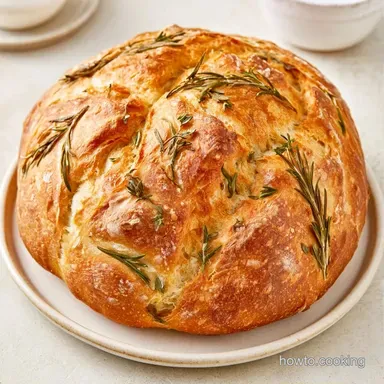
Dutch Oven Herb Bread with Fresh Rosemary
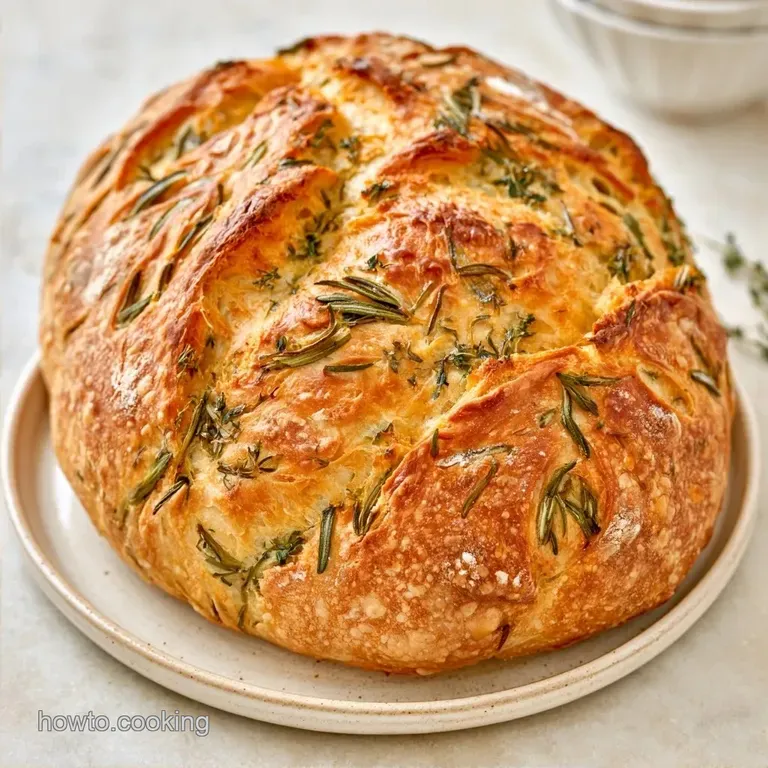
- Time: 15 min active + 16 hours 30 mins total
- Flavor/Texture Hook: Mahogany crust with an airy, herb flecked center
- Perfect for: budget-friendly weekend baking or a cozy dinner side
Dutch Oven Herb Bread
The sound of a fresh loaf crackling as it cools on the counter is one of the most satisfying things in a kitchen. I used to think that kind of crust was only possible in those massive stone ovens in Europe, but it turns out a simple heavy pot does the same thing.
When you lift that lid, the smell of roasted garlic and rosemary hits you immediately, filling the whole house.
The hero here is the bread flour. While all purpose flour is great for cakes, it just doesn't have the muscle for this kind of bread. Bread flour has a higher protein content, which means it builds a stronger network of gluten.
This is what allows the loaf to hold those big air bubbles and stand tall instead of flattening into a pancake.
You're going to get a loaf that looks like it came from a fancy bistro but costs pennies to make. We're focusing on simple, wholesome ingredients and a process that lets time do the hard work. No fancy equipment, just a pot and some patience.
Why This Method Works
Steam Trapping: The heavy lid keeps the water evaporating from the dough inside the pot. This keeps the surface moist, which allows the bread to expand fully before the crust sets.
Long Fermentation: Letting the dough sit for 12 to 18 hours allows the gluten to align itself naturally. If you like the idea of a slower process, my honey sourdough loaf is another great option for patience based baking.
High Initial Heat: Starting at 450°F creates an immediate burst of energy. This pushes the dough upward rapidly, creating that open, airy crumb.
What Each Ingredient Does
| Ingredient | What It Does | Best Swap |
|---|---|---|
| Bread Flour | Provides structural strength | All purpose flour (Note: Loaf will be denser) |
| Instant Yeast | Lifts the dough quickly | Active dry yeast (Note: Must bloom in water first) |
| Warm Water | Activates yeast and hydrates flour | Warm milk (Note: Softer crust, richer flavor) |
| Fresh Rosemary | Adds piney, aromatic notes | Dried rosemary (Note: Use 1 tsp per tbsp fresh) |
Recipe Specs
This is an affordable approach. You'll only need basic staples rather than pricey additives.
- To get a crispier crust
- Bake with the lid off for an additional 5 minutes.
- For a softer center
- Substitute the water with 1/4 cup of warm milk.
- For a stronger garlic flavor
- Double the minced garlic and press it in deeper.
Chef Note: Resist the urge to add more flour if the dough feels sticky. A wet consistency is key to achieving those large, airy holes inside the loaf.
Equipment Needed
You can achieve great results at home with just a few key tools. A 5 or 6 quart cast iron Dutch oven is the preferred option, though any heavy, oven safe pot with a tight lid serves well.
Prepare a spacious mixing container and a durable spoon or spatula. Parchment paper is essential here to stop the dough from sticking and to make transferring the loaf much safer. Finally, use a razor blade or sharp knife to score the top.
Steps to Bake It
Phase 1: The Easy Mix
- Whisk together the bread flour, fine sea salt, and instant yeast in a large bowl.
- Stir in the warm water until a shaggy, sticky dough forms and no dry flour remains. Note: It should look messy, not smooth.
- Gently fold in the chopped rosemary and thyme using a spoon.
- Cover the bowl tightly with plastic wrap and let it rest at room temperature for 12 to 18 hours until the dough doubles in size and bubbles appear on top.
Phase 2: Shaping and Preheating
- Preheat the oven to 450°F (230°C) with the empty Dutch oven inside. Note: The pot needs to be scorching hot.
- Turn the dough onto a floured surface. Gently fold the edges toward the center to form a round boule.
- Coat the top of the loaf with olive oil and press the minced garlic into the surface.
- Let the dough rest on parchment paper for 30 minutes.
Phase 3: The Artisan Bake
- Carefully remove the hot Dutch oven from the oven. Lift the parchment paper and lower the dough into the pot.
- Use a knife to score a deep 'X' or a long slash across the top.
- Cover with the lid and bake for 30 minutes.
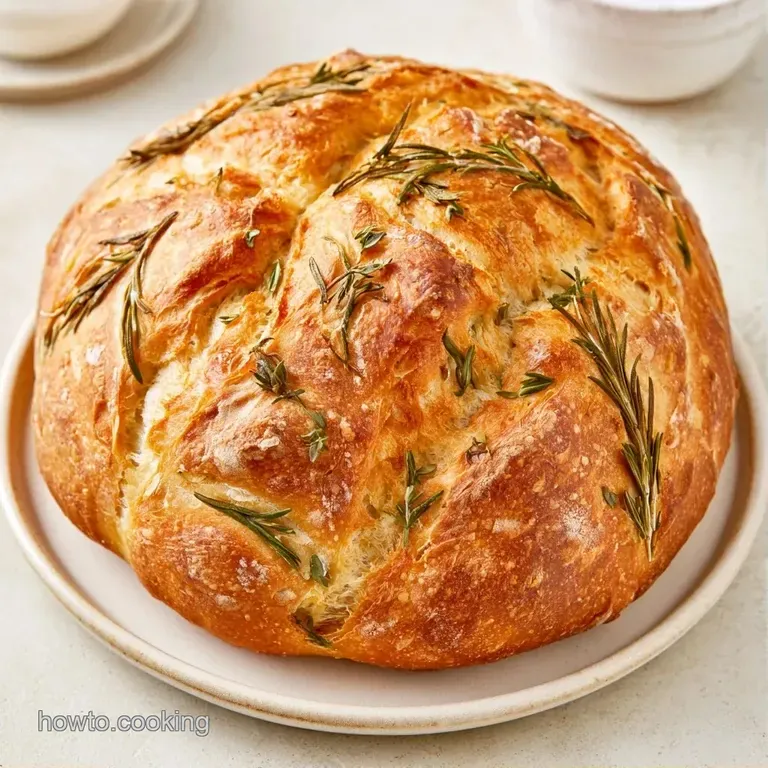
- Remove the lid and bake for another 15 minutes until the crust is a deep mahogany brown.
Fixing Common Loaf Issues
It's easy to get discouraged if your first loaf doesn't look like a photo, but bread is just a series of reactions. Usually, a "failed" loaf still tastes great as toast.
If your loaf didn't rise, the culprit is almost always the yeast. If the water was too hot, it killed the yeast. If the water was too cold, it just took too long to wake up. Check your expiration dates.
Another issue is a burnt bottom. This happens if your pot has a very thin base. Placing a baking sheet on the rack below the pot can help deflect some of the direct heat.
Bread Not Rising
This happens when yeast is inactive or the room is too cold. Ensure your water feels warm but not hot.
Burnt Bottom Crust
Direct heat from the oven element can scorch the base. Use a lower rack or a baking sheet underneath.
Soft Crust
This usually means the oven wasn't hot enough or the lid was removed too early.
| Problem | Fix |
|---|---|
| Flat Loaf | Check yeast freshness and water temp |
| Burnt Base | Move pot to a middle rack |
| Gummy Interior | Bake 5 minutes longer after removing lid |
Adjusting the Recipe Size
If you're baking for a crowd or just yourself, you can change the scale. Just remember that bread is sensitive to volume and heat.
For a half batch: Use a smaller 2 or 3 quart pot. Reduce the baking time by about 20%. If the recipe calls for an egg (in other variations), beat one and use half.
For a double batch: Don't try to fit two loaves in one pot. Bake them in separate pots or in batches. Lower the oven temperature to 425°F and extend the bake time by 10 minutes to ensure the centers are cooked through.
Since we're talking about methods, here is how this compares to a quick mix version.
| Feature | Long Ferment (This Recipe) | Quick Mix |
|---|---|---|
| Prep Time | 15 min active | 30 min active |
| Texture | Airy and open | Denser, more uniform |
| Flavor | Complex and nutty | Simple, yeasty |
| Effort | Very low (time does it) | High (requires kneading) |
Storage and Waste Tips
Fresh bread is best eaten within 24 hours. After that, the starches begin to crystallize and it gets hard. To keep it fresh, store the loaf in a paper bag. Avoid plastic bags for the first day, as they trap moisture and make the crust soft.
If you can't finish it, slice the bread and freeze the slices in a sealed freezer bag for up to 3 months. Toast them straight from the freezer for that fresh baked taste.
For zero waste, don't toss the ends or stale pieces. Turn them into homemade croutons by tossing them with olive oil and salt, then baking at 350°F for 10 minutes. You can also use stale bread to make a garlic bread pudding.
Serving the Fresh Bread
Let the loaf rest for at least 30 minutes before cutting into it. If you slice too soon, the steam escapes, which can leave the inside gummy.
This bread pairs wonderfully with a cheesy accompaniment, such as a classic Rotel dip. The spicy, creamy flavors contrast beautifully with the earthy herbs in the loaf.
For an easy breakfast, toast a slice and top it with smashed avocado and a pinch of flaky sea salt. The garlic in the crust provides a savory depth, so you won't need any extra seasoning.
Different Flavor Ideas
Feel free to adjust the herbs to change the flavor profile of your Dutch Oven Herb Bread; the base dough is quite flexible.
For a cheesy version: Fold in 1/2 cup of cubed Gruyère or shredded sharp cheddar during the final mixing stage. This creates savory, fried cheese pockets on the bottom of the crust.
For an Italian twist: Swap the thyme and rosemary for dried basil and oregano. Stir in some red pepper flakes with the flour for a hint of heat.
If you prefer a dairy-free option, this recipe already fits the bill. Just make sure you use a high-quality olive oil. For a deeper, nuttier flavor, you can use melted browned butter instead, though this does add dairy.
Lastly, if you enjoy this process, try adding a tablespoon of honey to your water. It supports the yeast and produces a glossier, darker crust.
Recipe FAQs
What are common Dutch oven bread mistakes?
Skipping the preheat of the pot is a frequent error. The high heat is necessary to create the steam that helps the loaf rise.
Is it true you need a professional steam oven for a crispy crust?
No, this is a common misconception. A Dutch oven traps steam naturally to achieve the same professional result.
Which flour is best for this recipe?
Bread flour is the ideal choice. Its higher protein content provides the structure needed for a chewy texture and high rise.
Do you leave the lid on or off during baking?
Keep the lid on for the first 30 minutes and remove it for the final 15 minutes. This captures steam first to help the bread grow and then browns the crust.
Does this recipe use yeast?
This bread uses instant yeast to create the rise. This crusty loaf pairs perfectly with a bowl of lasagna soup for a full meal.
How to make a simple herb loaf?
Whisk the flour, salt, and yeast before stirring in water and herbs. Let the dough rest overnight for a simple, hands off process.
Dutch Oven Herb Bread