The Ultimate Fudgy Brownie Truffles a Nobake Decadence
Transforming Brownies: The Art of the Fudgy, Bite Sized Core
There are few culinary transformations as satisfying as turning a humble sheet of brownies into elegant, portable Brownie Truffles . This process elevates the texture and concentrates the flavor, resulting in one of the most intensely decadent Yummy Desserts To Make .
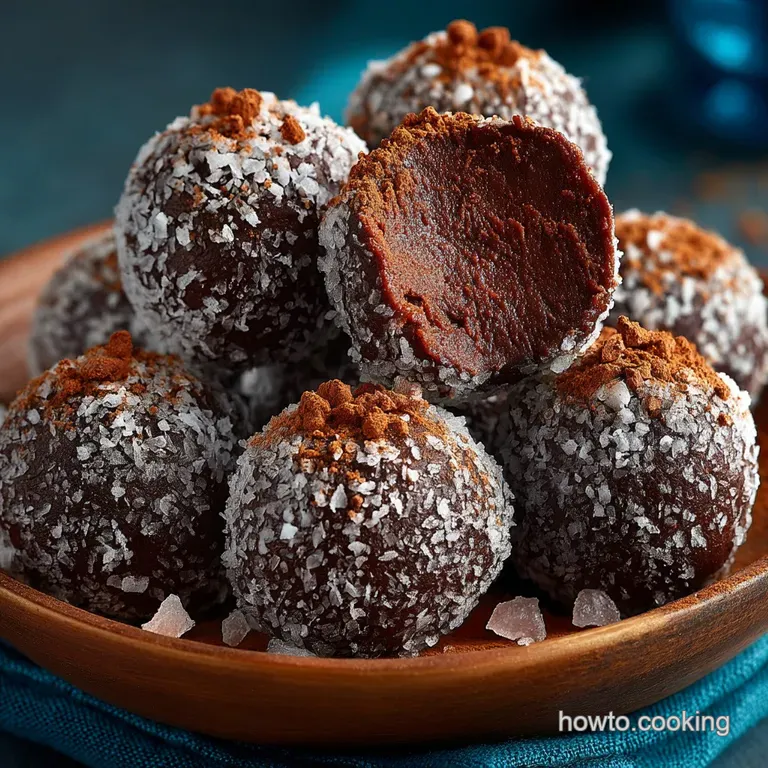
While a traditional brownie is wonderful, these bite sized spheres offer a perfect contrast: a dense, fudgy interior encased in a crisp chocolate shell. This ultimate Brownie Truffles Recipe is designed to maximize richness and minimize effort, ensuring professional results without requiring professional skills.
Why "No-Bake" Doesn't Mean Less Decadent
The beauty of this method lies in efficiency. The term brownie truffles no bake refers only to the assembly stage; the hard work of baking the base is already complete.
By using a pre-baked, fudgy brownie, we skip the complexities of traditional truffle making which often require tempering and intense chilling. This recipe capitalizes on existing richness, making it an ideal way to use brownie truffles with leftover brownies .
The sheer concentration of the cocoa solids, combined with the creamy binder, means that despite the simplified preparation, the final result is far richer than most baked goods.
Defining the Perfect Texture: Fudgy vs. Cakey Base
The foundation of a great truffle is critical. To achieve the signature dense, chewy core, you must start with a dense, fudgy brownie base (roughly the size of an 8x8 inch pan, about 500-600g).
Cakey or airy brownies will absorb too much of the liquid binder, resulting in a soft, unstructured center that crumbles easily. The density of the preferred base allows the ganache to integrate, forming a stiff, malleable dough that holds its shape beautifully when rolled, creating the resilient structure necessary for clean dipping.
The Secret Ingredient for Max Chocolate Intensity
While you may have seen quick methods floating around, the best Brownie Truffles rely on a simple yet effective binder: a rich, small batch ganache. To create this core intensity, we heat just 1/4 cup (60 ml) of heavy cream until simmering, pouring it over 4 ounces (115g) of finely chopped dark chocolate (ideally 60 70% cocoa solids).
This high ratio of chocolate to cream ensures that the binder sets up extremely stiff, allowing us to roll tightly packed balls. A touch of pure vanilla extract and a tiny pinch of salt stirred into the ganache are essential additions, balancing the sweetness and deepening the overall chocolate flavor profile.
The Essential Pantry Checklist for Achieving Ultimate Brownie Truffles
Successfully crafting these delicious spheres requires careful attention to ingredient quality and having the right tools on hand. Since the Brownie Truffles are meant to be a showcase of rich chocolate flavor, every component matters.
Ingredients Required for the Intense Ganache Binder
As noted, the base requires a dense, cooled brownie (an 8x8 batch). For the crucial binder, the ganache demands high-quality dark chocolate and heavy cream. Note that while this recipe focuses on the dark chocolate ganache, a popular alternative, often sought by those aiming for quicker assembly, involves skipping the ganache entirely and making brownie truffles with cream cheese and a small amount of powdered sugar to achieve a quick, tangy binding agent.
However, the ganache method provides superior richness and stability.
Upgrading Your Chocolate Coating: Choosing the Right Melt
The coating is just as important as the core, providing the perfect "snap." For the best results and a beautiful shine, avoid standard chocolate chips. Instead, invest in 12 ounces (340g) of high-quality dark, milk, or white chocolate wafers or finely chopped baking bars.
If you are struggling with dipping consistency, incorporating just one teaspoon of neutral fat like coconut oil or shortening into the melted chocolate is an expert technique that thins the coating slightly, ensuring a smooth, thin shell rather than a thick, clumsy layer.
Beyond the Bowl: Essential Tools for Precision Rolling
To handle the 30 to 36 truffles this recipe yields, certain equipment simplifies the process significantly. A parchment paper lined baking sheet is mandatory for both the chilling and setting stages, preventing sticking.
Crucially, a small cookie scoop (1 or 1.5 inches) is recommended for portioning the mixed dough, guaranteeing uniform size. Uniformity isn't just aesthetic; it ensures consistent setting times and a polished finish, which is particularly important if you are preparing a large batch for holiday gifting, perhaps as brownie truffles christmas treats.
Finally, specialized dipping tools or a standard sturdy dinner fork combined with a skewer will be necessary for mastering the chocolate coating phase.
Related Recipes Worth Trying
- Easy No Bake Orange Creamsicle Truffles Recipe — Whip up these vibrant No Bake Orange Creamsicle Truffleseasy zesty and just like your favorite childhood ice cream The perfect quick candy recipe
- Velvet Raspberry White Chocolate Truffles Recipe Effortless — Whip up these elegant Homemade Raspberry White Chocolate Truffles They boast a silky ganache centre and vibrant fruit flavour Easy recipe alert Try this...
- NoBake Raspberry Cheesecake Truffles Recipe Easy Dessert — Whip up these unbelievably creamy Raspberry Cheesecake Truffles without turning on the oven They taste just like a classic raspberry swirl cheesecake Get...
Assembly Required: A step-by-step Guide to Crafting Chocolate Gold
The total preparation time for these elegant treats is approximately two hours, with most of that dedicated to hands off chilling. Following these precise steps will guide you through turning the humble crumbs into sophisticated chocolate confections.
From Crumb to Core: Achieving the Perfect Binding Consistency
Begin by crumbling the fully cooled brownie base thoroughly into a large mixing bowl, ensuring no sizable lumps remain. Separately, prepare the ganache by heating the heavy cream and pouring it over the chopped dark chocolate, allowing the residual heat to work its magic for two to three minutes before whisking to a smooth, glossy consistency.
Once the vanilla and salt are stirred in, pour the warm ganache over the crumbs. Mix this quickly and deliberately, ideally with a sturdy spatula or gloved hands, until the mixture transforms into a cohesive, dense dough. It must be stiff enough to be rolled without sticking excessively to your hands.
The Crucial Chill: Firming Up the Truffle Centers
Using the small cookie scoop, portion the dense mixture onto the prepared parchment lined sheet. Roll each portion swiftly into tight, smooth balls. Heat transfer from your hands must be minimized to maintain the core’s structure.
Immediately place the tray into the refrigerator for the first, mandatory chill, which should last 45 to 60 minutes. This firming stage is vital, as a cold, solid core is the secret to preventing the truffle from collapsing or dissolving when dipped into the warm melted chocolate.
Mastering the Dip: Techniques for a Smooth, Even Coating
Once the cores are firm, it is time to melt the 12 ounces of coating chocolate gently, incorporating the optional teaspoon of fat for ideal viscosity. Working quickly, remove the chilled truffles from the fridge in small batches.
Drop one truffle into the melted chocolate, submerge it completely using a fork or dipping tool, then gently tap the fork against the edge of the bowl. This technique allows excess chocolate to drip off, preventing puddles and ensuring a sleek, thin shell.
Setting the Stage: Drying and Decoration Tips
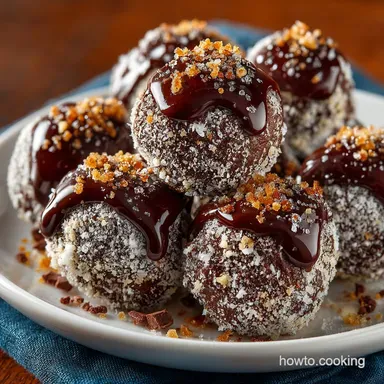
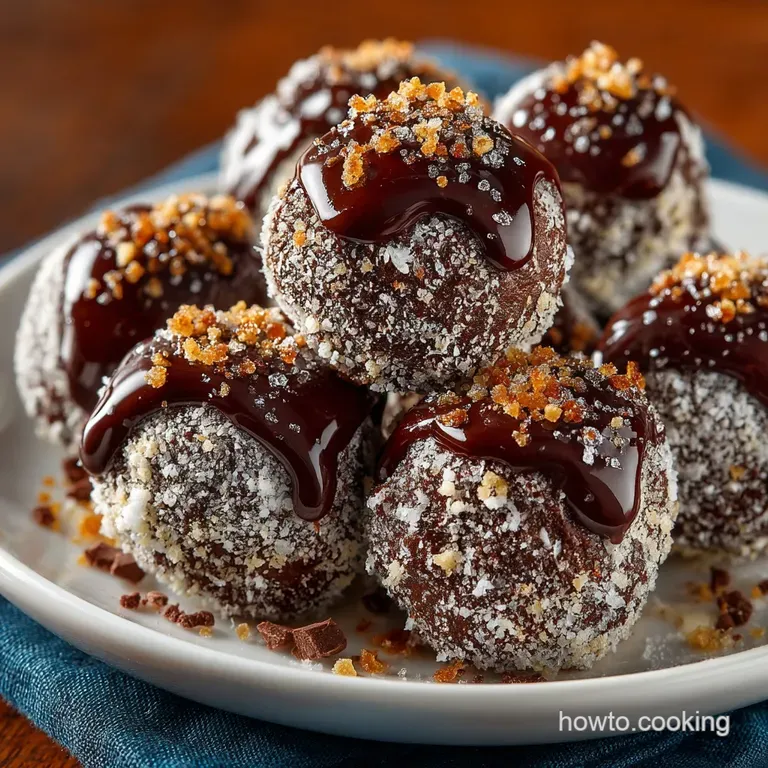
Return the freshly dipped truffles to the parchment paper. If you plan to use garnishes like flaky sea salt or sprinkles, they must be applied immediately within thirty seconds before the chocolate sets.
For a simple cocoa finish, you can either roll the uncoated chilled balls directly in unsweetened cocoa powder, or wait until the dipped chocolate shell has fully set before dusting.
The final step involves returning all coated truffles to the refrigerator for a final 30-minute set, which yields the satisfying, crisp shell that makes these Brownie Truffles so exquisite.
Expert Tips for Success, Storage, and Customizing Your Next Batch
Mastering Brownie Truffles involves preparation, patience, and a few insider tricks to ensure that every truffle comes out perfectly smooth, making this an Easy Brownie Truffle Recipe for consistent results.
Troubleshooting Common Mistakes (Cracks, Sticky Hands, and Melting)
The most common frustration is cracking in the chocolate shell. This usually occurs because the melted chocolate is too hot, causing the cold truffle core to expand upon contact. Ensure your melting chocolate is only warm, not piping hot.
If you struggle with the mixture sticking to your palms during rolling, wear food safe plastic gloves; they dramatically reduce heat transfer and keep the mixture cool. If the cores begin to soften mid-dip, utilize the "double chill method" place the entire tray back into the freezer for ten minutes to restore firmness.
Storage Mastery: Keeping Brownie Truffles Fresh for Weeks
One of the great advantages of making Brownie Truffles is their excellent shelf life. They maintain peak freshness and texture when stored in an airtight container in the refrigerator for up to two weeks.
If you are preparing a large quantity well in advance, they freeze beautifully for up to two months. Simply ensure they are in a tightly sealed container to prevent freezer burn. When ready to serve, thaw them slowly in the refrigerator overnight before bringing them to room temperature for optimal flavor.
Flavor Twists: Alcohol Infusions and Citrus Zest Variations
While the classic Brownie Truffle Recipe is magnificent on its own, their versatility allows for endless customization. For a truly sophisticated, adult treat, infuse the ganache binder with flavor by adding 1 tablespoon (15ml) of dark rum or brandy alongside the vanilla.
This creates an exciting depth that is perfect for holiday entertaining. Alternatively, for a lighter, seasonal variation, stir in the finely grated zest of one orange or a drop of peppermint oil a simple change that completely re-envisions the dessert.
Whether you opt for a simple dark chocolate finish or a complicated flavor twist, these truffles remain a superb example of confectionery excellence.
Recipe FAQs
My mixture is too sticky to roll! What have I done wrong with my Brownie Truffles?
Don't panic! This usually means the ganache binder was slightly too generous, or the brownies were already quite moist. Think of it like a sticky wicket you need more grip! Pop the entire bowl back in the fridge for a good 30 minutes, or if they are truly unmanageable, mix in a spoonful of cocoa powder or finely crushed digestives (Hobnobs work brilliantly) to absorb the excess moisture.
Do I have to bake the brownies myself, or can I cheat a bit with a packet mix or shop bought ones?
Absolutely, you can cheat no one’s judging here! Using high-quality, shop bought brownies saves a lot of faff and is a great shortcut. The main thing to ensure is that the brownies are very dense and fudgy, not light and cakey, as the density is what gives the truffles their perfect chew.
If you use a boxed mix, aim for the fudgy version rather than the cakey one!
My chocolate coating is thick and messy! Any tips for a smooth, professional finish?
Achieving that smooth, snappy shell requires two things: cold truffles and thin chocolate. Ensure your truffles are stone cold from the fridge, and melt your coating chocolate very gently, perhaps over a Bain marie, rather than aggressively in the microwave.
A proper tip is stirring in a small teaspoon of coconut oil or shortening to the melted chocolate; it improves the flow beautifully and gives a fantastic shine!
Once they're dipped and set, how long can these keep? Are they freezer friendly?
These truffles are delightfully durable. Store them in an airtight container in the fridge, and they’ll be perfect for up to two weeks ideal for preparing ahead of a bank holiday gathering! For long term storage, you can freeze the undipped truffle balls for up to three months.
Just remember to thaw them in the fridge overnight before you dip and coat them.
What can I add to jazz these up? I want flavour variations beyond just plain chocolate.
Oh, this is where the fun begins! For a festive, adult twist, stir 1 tbsp of spiced rum or proper Irish cream liqueur into the ganache binder before mixing it with the crumbs. Alternatively, for simple finishes, roll the chilled truffles in finely crushed pistachios, instant espresso powder, or even a dusting of good quality salted caramel powder before the final dip.
Fudgy Nobake Brownie Truffles Recipe