Irresistible Red Velvet Cake Delight

Look into into Red Velvet Cake Delight
So, let me start with a little confession. i remember the first time i dug into a piece of red velvet cake at my grandma's birthday party.
I was like, "whoa, what is this magical dessert?" seriously, the color, the texture it felt like a taste bud explosion! if you’re curious how to make red velvet cake , you’re in for a treat.
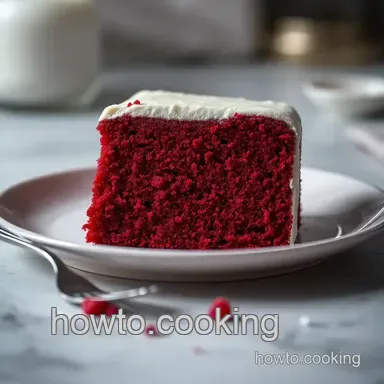
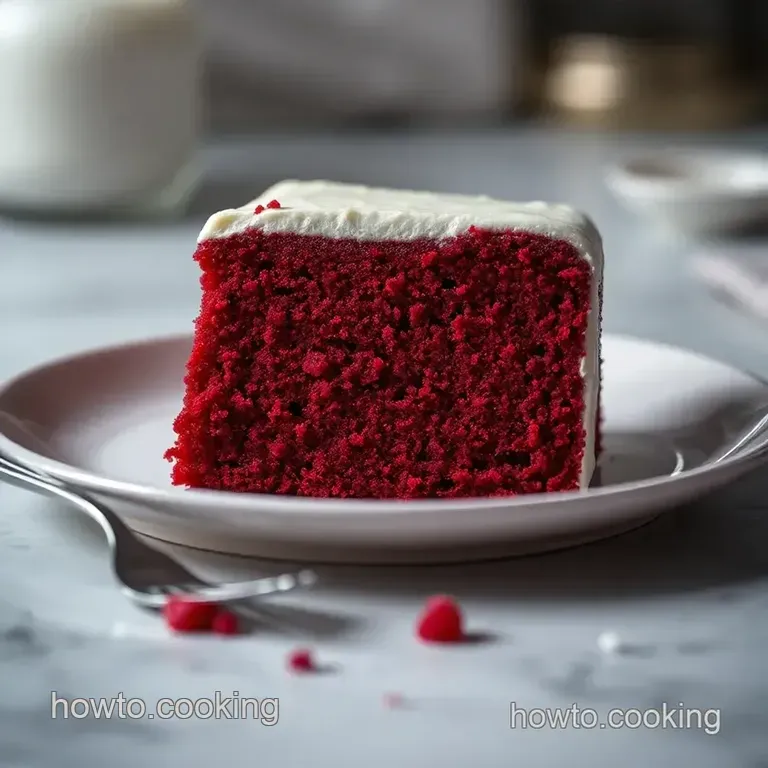
This cake brings a rich cocoa flavor wrapped in that iconic soft velvet feel, topped off with dreamy cream cheese frosting.
Talk about a show stopper!
A Sweet Slice of History
Red velvet cake has its roots in the southern united states. it’s more than just a dessert; it’s a part of family gatherings and celebrations.
This cake is medium level in terms of difficulty don’t worry, it’s harder to make a great lasagna! you'll spend about 20 minutes prepping and 30 minutes in the oven .
In total, expect to spend roughly 1 hour to whip up 8 slices of pure joy!
Why This Cake Rocks
One bite, and you'll see why this is the ultimate crowd pleaser. red velvet cake isn’t just pretty; it’s packed with flavor.
The buttermilk gives it a tangy kick that balances the sweetness like a mini fiesta in your mouth. perfect for birthdays, anniversaries, or even “just because” days this cake’s got versatility written all over it!
What makes it sing, though, is that unique combination of the rich cocoa and the tangy cream cheese frosting. honestly, every layer feels like a warm hug.
It’s great for cozy family meals or even when you need to impress a date. imagine slicing into that fluffy layer cake and having everyone gasp at how stunning it looks.
Get Ready for the Main Event!
Alright, let’s talk ingredients! you’ll need some all-purpose flour , granulated sugar , and a pinch of cocoa powder to kick things off.
The secret? good ol’ buttermilk and red food coloring really steal the spotlight. oh, and don’t forget the cream cheese frosting that stuff is like icing on the cake (literally!).
Feeling adventurous? try swapping in almond extract for a fun twist or even a dash of espresso powder to jazz it up.
With my tips and tricks, you'll be a pro at making this classic dessert.
So, roll up your sleeves and let’s bake something delicious together! Whether you're seasoned or just starting out, you'll crush this recipe and have folks raving about your real red velvet cake recipe ! Get ready to impress!
Ingredients & Equipment for the Perfect Red Velvet Cake
Ahhh, the allure of a real red velvet cake recipe ! this southern classic is not just about its deep red color but that oh-so-fluffy frosting that makes your heart sing.
So, let’s dive into what you'll need to make this dreamy cake happen!
Main Ingredients
For the Cake:
- 2 ½ cups (312 g) all-purpose flour (Use bleached for that extra fluff)
- 1 ½ cups (300 g) granulated sugar (Sweetness, baby!)
- 1 tsp (5 g) baking soda (This will give your cake that oomph!)
- 1 tsp (5 g) salt (A must for balance)
- 1 tsp (5 g) cocoa powder (Just a hint for that subtle chocolate flavor)
- 1 ½ cups (360 ml) vegetable oil (Trust me, this keeps it moist)
- 1 cup (240 ml) buttermilk, room temperature (Adds that necessary tang)
- 2 large eggs, room temperature (For binding)
- 2 tbsp (30 ml) red food coloring (The star of the show!)
- 1 tsp (5 ml) vanilla extract (A classic flavor enhancer)
- 1 tsp (5 ml) white vinegar (Don’t skip this for that soft texture)
For the Cream Cheese Frosting:
- 8 oz (226 g) cream cheese, softened (Yum!)
- ½ cup (115 g) unsalted butter, softened (Make sure it’s soft for easy mixing)
- 4 cups (480 g) powdered sugar (Sweeten it up!)
- 1 tsp (5 ml) vanilla extract (Because why not?!)
Seasoning Notes
To create that luscious flavor, a little sprinkle of cocoa powder is essential. it’s like a secret handshake for your taste buds! and don’t forget about the vanilla extract in both the cake and the frosting the real mvp here.
If you’re out of something, don’t sweat it. you can swap buttermilk for regular milk mixed with a splash of vinegar.
Need a vegan option? use flax eggs or applesauce for the eggs.
Equipment Needed
Now let’s talk tools. You won’t need a whole kitchen arsenal to whip up this beauty:
- 2 9 inch round cake pans (This is where the magic happens)
- Mixing bowls (You know, to avoid a flour explosion)
- Hand mixer or stand mixer (Whipping up that frosting should be a breeze)
- Rubber spatula (Essential for getting every last bit of that batter)
- Cooling racks (We don’t want soggy bottoms)
- Measuring cups and spoons (Accuracy is key, folks!)
So, what do you say? ready to dive into learning how to make red velvet cake ? trust me, once you nail this recipe, you’ll be cuttin’ into a red velvet layer cake for every occasion.
Whether it’s a special birthday or just a tuesday pick-me-up, you’ll totally enjoy impressing friends and family alike.
Cooking is all about joy and who doesn’t want a little piece of happiness on their plate? Happy baking!
Cooking Method: The Essence of How to Make Red Velvet Cake
Making a real red velvet cake is like stepping into a cozy southern kitchen. you know the one warm vibes, sweet aromas, and maybe a little bit of blues playing in the background.
Before you dive in, let's chat about the essentials.
Prep Steps: Getting Ready to Rock and Roll
First things first mise en place ! this fancy french term just means getting everything organized and ready to go before you start baking.
Grab your ingredients and tools so you don’t find yourself frantically searching for baking soda halfway through mixing. trust me; i’ve been there!
For some super effective time saving organization tips , measure out all your dry ingredients into one bowl and your wet in another.
It cuts down on chaos and keeps you focused. bonus: your kitchen stays cleaner!
Oh, and a quick safety reminder —don’t forget to let that oven preheat to 350° F (that’s about 175° C if you’re feeling international). A hot oven means a perfectly baked cake!
Step-by-step Process: Baking Made Simple
- Preheat the oven to 350° F ( 175° C) . Grease and flour two 9 inch round cake pans.
- Mix Dry Ingredients: In a bowl, sift together 2.5 cups of flour , 1 tsp baking soda , 1 tsp salt , and 1 tsp cocoa powder . Set that aside.
- Combine Wet Ingredients: In a big bowl, whisk together 1.5 cups of vegetable oil , 1.5 cups of sugar , 1 cup of buttermilk , 2 large eggs , 2 tbsp of red food coloring , 1 tsp vanilla , and 1 tsp vinegar . Mix until smooth like a good Southern breeze!
- Combine Mixtures: Gradually add the dry ingredients to the wet. Just mix until combined overmixing is the enemy of that fluffy texture we all love.
- Divide and Bake: Pour the batter into those pans and bake for 25- 30 minutes . Use that toothpick test you want it to come out clean but slightly moist.
- Cool Cakes: Let the cakes chill in the pans for about 10 minutes , then pop them onto cooling racks until they're completely cool.
- Frosting Time: Whip together 8 oz cream cheese and ½ cup unsalted butter until smooth. Gradually add 4 cups of powdered sugar and 1 tsp vanilla . Chill it a bit if it’s too runny.
- Assemble and Eat: Layer your cakes, spreading that fluffy frosting in between and all over the sides. You just made a classic red velvet layer cake , and I want to give you high fives right now!
Pro Tips: Masterful Baking Secrets
Now before you run off baking, here are some pro tips !
- Always use room temperature ingredients . This helps you get that silky, fluffy texture.
- Avoid overmixing! It’s tempting to keep stirring, but a tender crumb is what we’re after!
- If you can, make your cake a day ahead. It tastes better the next day!
When you finally slice into that vibrant beauty, you’ll see why this is one of those velvet cake recipes we hold dear.
And honestly, if you mess up, no worries! just call it a “bolo red velvet” and pretend it was meant to be a torte cupcake style.
That’s the joy of baking, folks! look into into your kitchen and embrace the adventure. happy baking! you’re going to love this indulgent treat for all your special occasions or just because you deserve it.
Recipe Notes for Your Delicious Red Velvet Cake
Serving Suggestions
Oh my gosh, let’s talk presentation! when you're ready to serve your real red velvet cake , you want it to look as good as it tastes, right? a simple way to elevate your plating is by adding fresh strawberries or raspberries on the side.
They add a pop of color and a zesty contrast to the cake's rich sweetness. and hey, a scoop of vanilla ice cream never hurt anyone who doesn't love that creamy goodness melting into delicious layers of red velvet layer cake ?
As for beverages, a nice cup of coffee or a buttery chardonnay completes the treat. There’s just something about that combo that makes everything feel super fancy even if it’s just a Tuesday night!
Storage Tips
Now, we all know that life can get a little hectic, and sometimes cake doesn’t get eaten right away. if you have leftover cake (if, and that’s a big if, because it’s so tasty), simply cover the sliced pieces with plastic wrap or place them in an airtight container.
You can store it in the fridge for about 3-4 days .
Want to keep it longer? freeze that beauty! just wrap it well in plastic, then pop it into a zip-top freezer bag.
It’ll last up to 3 months . when you're ready to dive back in, let it thaw overnight in the fridge, then bring it to room temperature for best results.
Variations
Feeling adventurous? try switching up some ingredients! if you're looking for a twist, add a teaspoon of almond extract for a surprising flavor that complements the cocoa so well.
Have gluten sensitivities? no problem! just swap in gluten-free flour in your velvet cake recipes , and you’ll still have a winner.
Consider adding a seasonal twist, too! During fall, how about tossing in some pumpkin or cinnamon? It would be the perfect way to enjoy a bolo red velvet with a cozy vibe!
Nutrition Basics
Okay, let’s get real for a second. a slice of this tasty cake packs about 400 calories , with a decent dose of carbohydrates and a bit of protein.
Yes, it’s indulgent, but it’s also a treat meant for special occasions, right? the key health perk here is the real ingredients like eggs and buttermilk, which add beneficial nutrients.
So, enjoy a slice of this red velvet cake recipe without too much guilt. Share it at your next gathering or keep it all to yourself. No judgement here!
In conclusion, whether you're crafting this stunning torte cupcake for a party or just because you want a treat (you totally deserve it!), just remember: have fun with it! cooking is as much about the journey as it is about the destination.
So go ahead, follow these notes, and impress everyone with your marvelous fluffy frosting ! happy baking!
Frequently Asked Questions
How to make red velvet cake moist?
To ensure your red velvet cake is moist, the key is in the balance of wet ingredients. Using buttermilk and vegetable oil adds richness and moisture. Don’t forget to avoid overmixing your batter, as this can lead to a dry texture. A toothpick should come out clean but moist when testing for doneness!
Can I make red velvet cake ahead of time?
Absolutely! You can bake the cake layers in advance and store them at room temperature (wrapped in cling film) for up to two days, or freeze them for up to three months. Just be sure to frost the cake closer to serving time to keep the layers fresh and delicious.
What can I substitute for buttermilk in red velvet cake?
If you don't have buttermilk on hand, you can easily create a substitute. Simply mix one tablespoon of white vinegar or lemon juice with enough milk to make one cup, let it sit for about 10 minutes. This will give you a similar acidity needed for the cake!
How to make red velvet cake from scratch without food coloring?
You can achieve a natural red hue by using beet juice as a substitute for food coloring. Just make sure to purée the beets and strain the juice before adding it to your batter. It'll not only add colour but provide a lovely, subtle sweetness too!
What’s the best way to store leftover red velvet cake?
Store any leftover red velvet cake in an airtight container at room temperature for up to two days. If you have leftovers with frosting, refrigerate them to keep the cream cheese frosting stable. Just remember to take it out an hour before serving to allow it to come to room temperature!
How to decorate red velvet cake?
There are many fun ways to decorate your red velvet cake! Use cream cheese frosting to create smooth edges and top with fresh berries or edible flowers for a fancy touch. You can even sprinkle some crushed nuts or add a drizzle of chocolate for added flair. Let your creativity shine!
Irresistible Red Velvet Cake Delight