Cloud Nine Chocolate Peanut Butter Swirls Easy Nobake Candy
- Nostalgia Meets No-Fuss: Why This Cool Whip Candy Shines
- Unveiling the Creamiest No-Bake Confection Ever Created
- Assembling Your Dream Batch of Cool Whip Candy Components
- The Essential Toolkit for Perfect Candy Formation
- The Seamless Step-by-Step Guide to Sculpting Your Swirls
- Achieving the Ideal Chill Factor for Firmness
- Pro-Tips for Next-Level Cool Whip Candy Flavor Enhancements
- Longevity and Freshness: Storing Your Homemade Treats
- Recipe FAQs
- 📝 Recipe Card
Nostalgia Meets No-Fuss: Why This Cool Whip Candy Shines
There’s a certain magic wrapped up in the flavors of our childhood, isn't there? It’s the taste of simple ingredients coming together to create something far greater than the sum of their parts.
Today, we’re diving headfirst into the glorious world of Cool Whip Candy , a confection that perfectly captures that sentiment. This isn't your grandmother's overly fussy fudge; this is an elevated, incredibly smooth, and utterly decadent Cool Whip Candy Recipe that requires zero actual baking skill.
If you've been searching for satisfyingly sweet, perfectly portioned treats that come together in minutes, this Easy Cool Whip Candy is about to become your new go-to dessert in the rotation of Easy Candy Recipes .
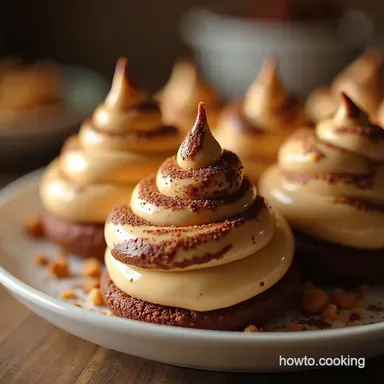
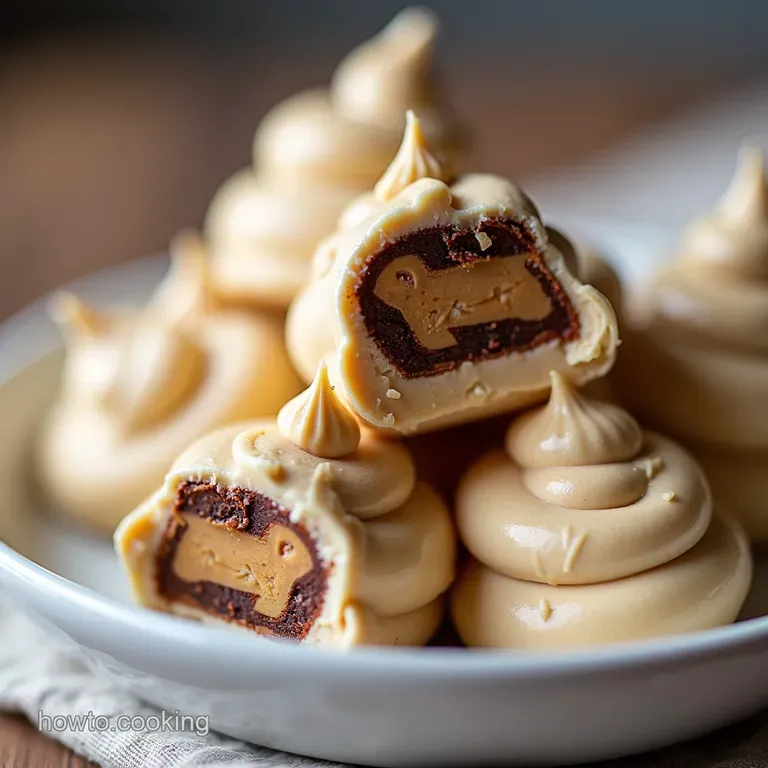
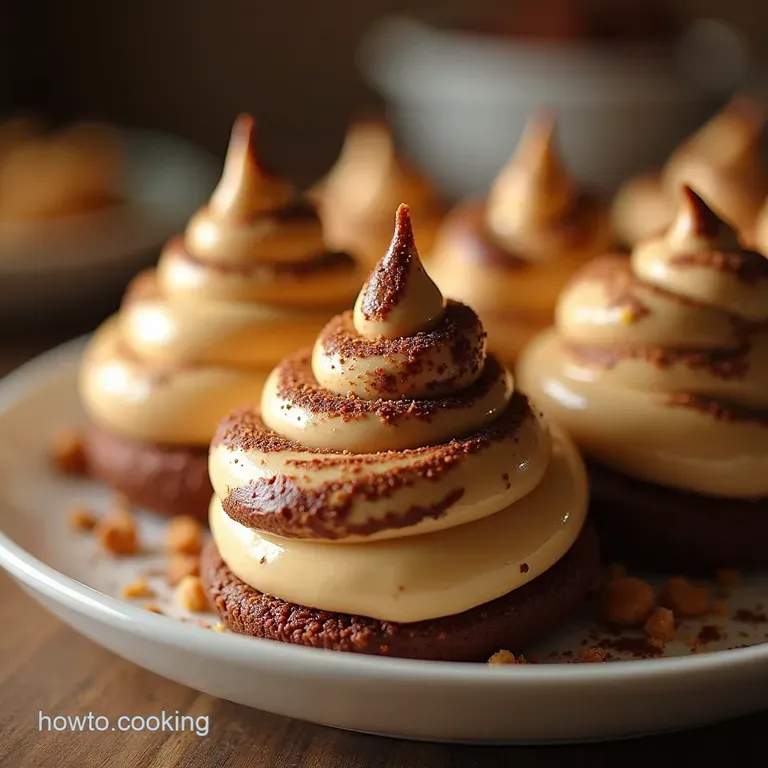
Prepare yourself for the "Cloud Nine Chocolate Peanut Butter Swirls," a testament to how wonderful Cool Whip Desserts can truly be when handled with a little care.
Unveiling the Creamiest No-Bake Confection Ever Created
Forget the need for sugar thermometers or complicated tempering techniques. This recipe is the definition of No Bake Cool Whip Candy . We are aiming for a delightful balance: a rich, salty peanut butter core cushioned by ethereal whipped topping, all sealed under a crisp layer of dark chocolate.
The active preparation time is astonishingly short mere minutes making this the ideal solution when a sweet craving strikes unexpectedly, or when you need a large batch of treats ready for an impromptu gathering.
These Cool Whip Candy Bars deliver intense flavor without the commitment of long cooking times.
The Magic Behind the Melt-In-Your Mouth Texture
The secret sauce here lies in the interaction between the ingredients chosen for the creamy base. We start with a full 8-ounce container of thawed Cool Whip, which provides the necessary lightness and volume. This is perfectly balanced with one cup of creamy peanut butter.
Crucially, you must select a standard, shelf stable peanut butter rather than a natural, runny variety. The stability of the commercial brands ensures that when combined with the required two cups of sifted powdered sugar, the mixture holds its structure beautifully as it chills, resulting in that distinctive, melt-in-your mouth texture that defines Homemade Cool Whip Candy .
Elevating Childhood Favorites: A Sophisticated Swirl
While we’re keeping things straightforward, we aren't sacrificing elegance. The final presentation involves a decadent topping of melted semi sweet chocolate chips, made glossy with just a tablespoon of unsalted butter. This isn't just functional; it's textural contrast.
The firm snap of the chocolate layer against the yielding, creamy filling beneath elevates this from simple snack to proper confectionery. It’s the kind of simple elegance that makes this recipe a standout, especially when presented around the holidays as Christmas Cool Whip Candy .
Zero Ovens Required: Instant Gratification Guaranteed
The sheer convenience of this recipe is perhaps its greatest selling point. With only about 20 minutes of active prep time, followed by crucial chilling, this is instant gratification, dessert style.
If you’re hosting a summer barbecue or simply don't want to add heat to your kitchen, these Cool Whip Candy 3 Ingredients (if you count the core components loosely) offer incredible payoff for minimal effort. It’s the ultimate stress free sweet treat.
Assembling Your Dream Batch of Cool Whip Candy Components
Before we begin the assembly process, understanding the components is key to success. Our blueprint calls for two distinct layers: the ethereal peanut butter filling and the rich chocolate shell.
For the base, you will need that standard 8-ounce tub of thawed whipped topping, one cup of creamy peanut butter (the non-natural kind is vital here), two cups of sifted powdered sugar to provide structure, and a teaspoon of high-quality vanilla extract to deepen the flavor profile.
The topping is straightforward: a 12-ounce bag of semi sweet chocolate chips melted gently with one tablespoon of butter for a perfect sheen.
The Essential Toolkit for Perfect Candy Formation
To ensure your batch of Cool Whip Candy sets up perfectly in an 8x8 inch pan, specific tools make the job smoother. You'll need the pan itself, of course, lined meticulously with parchment paper that overlaps the edges these overhangs become your lifting handles later.
A large mixing bowl is necessary for incorporating the creamy base, ideally one that can handle a sturdy spatula or an electric hand mixer if you prefer speed over stirring. Finally, since the chocolate topping requires gentle heat, have a microwave safe bowl ready for short bursts of melting power, or a small saucepan if opting for the double boiler method.
Precision Measurements: What You Absolutely Need
While this is a forgiving recipe, precision in the base mixture prevents weeping or crumbling later. Ensure your powdered sugar is measured correctly two cups is the perfect amount to stabilize the moisture from the peanut butter and whipped topping.
Similarly, resist the urge to add extra peanut butter; sticking to the one-cup measure maintains the desired density required for firm slicing later.
Navigating Substitutions for dairy-free Dreams
For those accommodating dietary needs, this recipe happily adapts. If you need to skip dairy, substitute the Cool Whip with a reputable coconut or almond based whipped topping available in the freezer section. When tackling the chocolate layer, sourcing high-quality dairy-free chocolate chips is straightforward today.
The main challenge is ensuring your nut-free alternative is as creamy; SunButter often works beautifully as a direct replacement for the peanut butter binder.
Selecting the Right Peanut Butter Consistency for Success
I cannot overstate the importance of the peanut butter selection for these No Bake Cool Whip Candy bars. Natural peanut butters, which separate into oil and solids, introduce too much liquid oil into our delicate whipped base.
This excess oil will separate during chilling, resulting in a weeping, sloppy texture rather than the clean, firm square we desire. Stick to the classic, emulsified, creamy variety for the smoothest possible foundation.
Related Recipes Worth Trying
- The Best Marshmallow Whip Cheesecake Recipe Baked Fluff Topping — Master this decadent Marshmallow Whip Cheesecake featuring a creamy filling and an irresistible toasted topping Get the foolproof recipe now
- Cloud Nine Feta My Everything Whipped is Better Secret — Everything whipped is better isnt it My easy Whipped Feta Dip with Lemon Herbs is a Mediterranean delight Perfect for summer snacking Get the recipe
- Cool as a Cucumber Cottage Cheese Salad Recipe Quick Easy — Whip up this cool creamy cottage cheese cucumber salad in minutes A healthy highprotein lunch or side Get my simple recipe perfect for picnics
The Seamless step-by-step Guide to Sculpting Your Swirls
The process flows logically from building the base to sealing it with chocolate. First, prepare your lined 8x8 pan. Next, in your large bowl, thoroughly combine the thawed whipped topping, peanut butter, sifted powdered sugar, and vanilla. This needs to be mixed until perfectly uniform no streaks allowed.
Then, transfer this heavy but airy mixture into the prepared pan, using a damp hand or spatula to press it down firmly and evenly. This base needs to chill for about an hour before proceeding. While that’s setting, gently melt your chocolate chips and butter together until luxuriously smooth.
Pour this chocolate mixture evenly over the chilled peanut butter layer. If desired, sprinkle immediately with a whisper of flaky sea salt before returning the entire pan to the refrigerator for its final, long chill.
Achieving the Ideal Chill Factor for Firmness
Chilling is not optional; it is the curing process for this no-bake creation. Proper timing and technique during the cooling phases ensure your finished Cool Whip Candy Bars hold their shape when cut and served.
Phase One: Creamy Base Activation
After pressing the peanut butter mixture into the pan, that initial one-hour chill is critical. This allows the fats in the peanut butter and the stabilizers in the whipped topping to firm up slightly, creating a stable platform.
If you pour the warm, melted chocolate onto a soft, room temperature base, the layers will inevitably merge, destroying the defined look we are striving for.
Folding Techniques That Prevent Deflation
When mixing the base, if you opt to use a hand mixer, keep the speed low to medium. Over mixing can cause the air incorporated into the whipped topping to deflate prematurely. If using a spatula, be methodical and ensure everything is incorporated without aggressively beating the mixture.
We want to maintain as much of that airy volume as possible to keep the final texture light.
The Art of Layering the Chocolate and Peanut Butter Ribbon
Once the base is firm, pour the melted chocolate over it slowly and deliberately. Use a small offset spatula to gently guide the chocolate to the edges, but avoid aggressively spreading it, as this can disturb the chilled peanut butter layer underneath.
The goal is a smooth, clean separation between the creamy layer and the hard chocolate shell.
Slicing Strategies for Picture Perfect Portions
Cutting these squares requires a specific approach to maintain those clean lines. After the minimum three hour chill or ideally, overnight remove the entire candy slab from the pan using the parchment paper handles. Place it on a sturdy cutting board.
The best technique is to use a large, sharp knife dipped in hot water and wiped dry between every single cut . This prevents the warm knife from dragging the chocolate or squishing the soft filling, yielding those professional looking portions.
Pro-Tips for Next Level Cool Whip Candy Flavor Enhancements
To push your Homemade Cool Whip Candy beyond the standard, consider small additions during the base mixing stage. A teaspoon of espresso powder dissolved into the vanilla extract adds a lovely depth that complements both chocolate and peanut butter beautifully.
Alternatively, adding a quarter cup of finely chopped peanuts directly into the peanut butter mixture adds a satisfying, traditional crunch element to this otherwise smooth treat.
Longevity and Freshness: Storing Your Homemade Treats
Proper storage is key to maintaining the integrity of your Cool Whip Candy . Since this confection relies on stabilized whipped topping, refrigeration is mandatory. Store the cut squares in an airtight container layered between sheets of wax paper to prevent sticking.
They will keep wonderfully fresh in the refrigerator for up to one week.
Fantastic Flavor Twists: Additions Beyond the Classic Duo
While the chocolate and peanut butter swirl is iconic, don’t hesitate to experiment. For a vibrant, festive twist perfect for Christmas Cool Whip Candy displays, try swirling in a few drops of pure peppermint extract into the peanut butter layer before chilling, and use white chocolate instead of semi sweet for the topping.
Another fun option is mixing in orange zest into the base for a bright, citrusy counterpoint to the richness.
Troubleshooting Common No-Bake Consistency Issues
If your Cool Whip Candy Recipe turned out too soft, the most likely culprit was insufficient chilling time or using natural peanut butter. Next time, add an extra hour to the final chill period.
If the base mixture seemed too thin when mixing, you may have used Cool Whip that was too warm or melted; ensure it’s properly chilled but completely thawed before incorporating the sugar.
Freezing Your Cool Whip Candy for Extended Enjoyment
These treats freeze surprisingly well, making them excellent candidates for advance holiday preparation. Place the cut squares in a single layer in a freezer safe container, separated by wax paper. They can be frozen for up to three months.
To serve, simply transfer the desired amount to the refrigerator for about 30 minutes to thaw slightly, allowing the chocolate to soften just enough for that perfect bite.
Serving Suggestions for Holiday Gatherings
When presenting these delightful squares, consider dusting them lightly with a fine layer of cocoa powder just before serving for an added touch of sophistication. They pair exceptionally well with robust black coffee or a simple glass of cold milk, living up to their reputation as one of the most beloved and effortlessly achievable Cool Whip Desserts available today.
Recipe FAQs
Can I make this Cool Whip Candy ahead of time, or does it need to be eaten right away?
Absolutely, this recipe is perfect for prepping ahead! Once fully set, these swirls can be stored in an airtight container in the refrigerator for up to a week. They often taste even better on day two when the flavours have really settled in, much like a good trifle.
My peanut butter layer seems runny after I mixed it will my Cool Whip Candy still set?
If your base is runny, it’s usually down to using natural peanut butter or the Cool Whip not being fully thawed. Ensure you use a stable, processed peanut butter and give it another good chill; if it's still too soft after chilling, you might have to settle for a slightly softer, ganache like texture instead of firm squares.
I'm avoiding nuts. What's a good substitution for the peanut butter in this recipe?
No worries, we can easily pivot away from peanuts! For a great textural swap, try using smooth Biscoff/Cookie Butter, or for a seed alternative, SunButter (sunflower seed butter) works brilliantly. You might want to slightly reduce the powdered sugar if your substitute is sweeter than standard peanut butter.
How should I store leftovers, and can this be frozen?
For short term storage, keep them in a sealed container in the fridge; they should last a week. Yes, these freeze surprisingly well! Cut them into squares before freezing, place them between layers of parchment paper in a freezer safe container, and they’ll keep for up to three months.
Just thaw them in the fridge before serving.
The chocolate topping split when I tried to melt it what went wrong?
Oh dear, that’s frustrating, sounds like you introduced a bit of water or overheated it! Chocolate hates steam or direct high heat. Next time, melt it very slowly in short bursts in the microwave, or use a double boiler, ensuring no water condensation can drop into the chocolate bowl.
A tablespoon of extra butter or oil can sometimes save slightly split chocolate by re-emulsifying it.
Nobake Cool Whip Candy