Spooktacular Halloween Cupcakes: a Hauntingly Delicious Treat
- Get Ready to Bake Spooktacular Halloween Cupcakes!
- Essential Ingredients Guide for Halloween Baking
- Mastering the Art of Professional Cooking for Halloween Cupcakes
- Pro Tips & Secrets for Spooktacular Halloween Cupcakes
- Perfect Presentation: Halloween Style
- Complete Nutrition Guide
- In a Nutshell: Happy Baking!
- Frequently Asked Questions
- 📝 Recipe Card
Get Ready to Bake Spooktacular Halloween Cupcakes!
Oh my gosh, there’s something about halloween that brings out the kid in all of us. i still remember the first time i tried to throw a halloween party.
I went all out decorations, spooky music, and of course, halloween cupcakes ! picture this: cupcakes with rich chocolate frosting and a sprinkling of spooky decorations that i swear could jump off the plate! i was a hot mess trying to balance everything, but those cupcakes? total showstoppers!
They flew off the table faster than a ghost at midnight.
Let’s look into into the Recipe Overview
Halloween cupcakes have an incredible history. you know, the whole tradition of baking goodies during this season has roots in ancient harvest festivals.
Nowadays, these cupcakes aren’t just tasty, they’re downright iconic! everyone loves a good halloween treat, right?
Now, don’t get me wrong; whipping up a batch of dirt and worm cupcakes or halloween brownie cupcakes might seem a bit daunting at first, but trust me! the prep time is only about 20 minutes , with another 20 minutes in the oven.
Not bad for a spooktacular result! it’s definitely a medium difficulty-level project, perfect for a little kids' baking fun, too!
Regarding costs, you can squeeze out about 12 cupcakes for under $15. It’s an affordable way to sprinkle some joy into your Halloween festivities!
Why Make Halloween Cupcakes?
There are so many advantages to making your own halloween treats. first off, there are health benefits well, sort of. you can control the ingredients, so feel free to sneak in some healthier options.
And let’s be real: homemade always tastes better than store-bought!
Moreover, these cupcakes are a canvas for your creativity. Want to dress them up like little monsters with Halloween Oreo Cupcakes inspiration? Go for it! Have a bit of fun with edible googly eyes and colorful sprinkles!
Plus, they’re the perfect treat for any Halloween gathering, whether it’s a kids’ party or an adult bash trust me, they’ll appeal to all ages!
And let’s talk versatility. if you’re into a little playful horror, you can make mud cupcakes with worms or even dirt worm cupcakes the options are endless! they can even be made gluten-free or dairy-free with a few simple swaps.
You know what they say, “a little flexibility goes a long way!”.
Time to Gather Your Ingredients!
So, what do you need to whip up these bad boys? let’s discuss what goes into making these scrumptious cupcakes! you’ll be using simple pantry staples like flour, sugar, eggs, and all that jazz.
But the real magic happens with the chocolate frosting . oh man, that rich, creamy goodness is what dreams are made of!
Grab your mixing bowls and an electric mixer (or good ol’ elbow grease!), and let’s get ready to channel our inner baking ghosts!
In the spirit of Halloween, don’t forget to add your own twist with decorations, candies, or anything spooky you can think of. Seriously, the more creative, the better!
Alrighty, my fellow bakers, it’s time to make those hauntingly delicious cupcakes come to life! Happy baking, and may your Halloween be filled with delicious treats and lingering laughter. 🍬
Essential Ingredients Guide for Halloween Baking
Alright, folks! if you’re diving into the world of halloween cupcakes , you’re in for a treat! whether you're aiming for those spooky mud cupcakes with worms or classic dirt and worm cupcakes , having the right ingredients is key.
Let’s break it down!
Premium Core Components
When it comes to your Halloween baking, quality ingredients make a world of difference. Here’s what you need to consider:
Detailed Measurements : Pay attention! Use 1 ½ cups (190g) of all-purpose flour for your base. Don’t forget the ½ cup (120ml) of milk. Precision is everything!
Quality Indicators : Look for flour that feels smooth and springy. Check your butter; if it’s soft but not melted, you’re golden. Oh, and those eggs? Fresh is best!
Storage guidelines and shelf life : keep your flour in a cool, dry place, and it should last for about a year.
But seriously, check a bit sooner, especially if you’re baking with kids!
Freshness Tips and Selection Criteria : Always sniff your ingredients! If something smells funky, toss it out. And for frosting, use fresh cocoa powder for that rich, chocolatey goodness.
Signature Seasoning Blend
While the cupcakes themselves are the star, don’t forget to spice things up a bit!
Essential Spice Combinations : For an autumn twist, mix some cinnamon with chocolate. Trust me; it takes those Halloween Brownie Cupcakes to another level.
Herb Selections and Pairings : You won’t need herbs here (unless you’re feeling wild), but a sprinkle of sea salt can enhance that chocolate flavor like nobody’s business.
Flavor Enhancers and Aromatics : Vanilla extract is a must! It rounds out the sweetness beautifully.
Regional Variations and Alternatives : If you're feeling adventurous, try a little cayenne in your chocolate that's a twist straight from the Southwest that’ll surprise your taste buds!
Smart Substitutions
Okay, life happens, right? Maybe you run out of something mid-recipe don’t panic!
Common Alternatives : If you’re short on eggs, use ¼ cup of applesauce for each egg in your recipe. It keeps things moist and adds sweetness!
Dietary Modifications : Need it gluten-free? Swap that all-purpose flour for a good gluten-free blend, and you're set!
Emergency Replacements : Out of cocoa powder? Use an equal amount of carob powder. It’s not chocolate, but it’ll do in a pinch.
Seasonal Options : Pumpkin puree can be subbed in for half of your butter for a seasonal touch and extra moisture in your Halloween Treats Cupcakes .
Kitchen Equipment Essentials
You don’t need a fancy kitchen for spooktacular baking; just a few essentials!
Must Have Tools : A reliable muffin tin is non-negotiable. Also, get those cupcake liners don’t be showing off your ugly muffin tins at Halloween parties!
Alternative Equipment Options : No mixing bowl? Grab a big pot and mix it up there! Who said we can’t improvise, right?
Preparation Tips : Always preheat that oven to 350° F ( 175° C) ahead of time. Nothing worse than soggy cupcakes!
Storage Solutions : Store leftover cupcakes in an airtight container, and they’ll last a few days if they last that long!
Now you’re ready to whip up some trouble in the kitchen! get your spooktacular halloween cupcakes prepped, and soon you'll have those halloween oreos cupcakes flaunting their good looks at your halloween bash.
So, roll up your sleeves and let the hauntingly delicious fun begin! stay tuned for the step-by-step instructions that are sure to make your cupcakes the talk of the town! happy baking!
Mastering the Art of Professional Cooking for Halloween Cupcakes
Cooking professionally? It might sound fancy, but trust me, it’s just about some solid prep and good ol’ practice. So, let's dive into some essential steps to whip up those Halloween cupcakes , aka the perfect Halloween treats!
Essential Preparation Steps
First off, let’s talk about mise en place . sounds fancy, huh? it just means getting all your ingredients prepped and ready before you start.
Measure out your flour, sugar, and cocoa. trust me, when you’re knee deep in mixing and frosting, you won't want to stop to grab that half cup of sugar!
Time management is king in the kitchen. set a timer on your phone! for our spooky cupcakes, you’ll need 20 minutes prep and 20 minutes bake time.
Utilize that cooling time too. while the cupcakes chill, you can prep the frosting.
Now, organization! keep your workspace tidy and have everything within arm’s reach. it’s kind of like setting up a haunted house; you know where everything's supposed to go! and let’s not forget safety considerations .
Always be careful with baking tools. i mean, frosting is supposed to be sweet, not sticky from a kitchen accident, right?
Step-by-step Process
- Preheat your oven to 350° F ( 175° C) - that heat is crucial for fluffy cupcakes.
- Mix your dry ingredients. Seriously, whisk that flour, baking powder, and salt together like you’re mixing a spell for Halloween!
- In a separate bowl, cream your butter and sugar until it’s lighter than a ghost. This step is essential; if you skip it, your cupcakes could end up denser than a vampire’s coffin.
- Add your eggs, one at a time, and don’t forget that splash of vanilla because we all want a bit of flavor in our spooky adventure.
- Gradually mix in your dry mixture with milk. It's all about the balance, like a well tied skeleton at a Halloween party.
- Fill those liners about 2/3 full and pop them into the oven. Bake for about 18- 20 minutes . Use the trusty toothpick test; if it comes out clean, you’re good to go!
- Let them cool in the tin for 5 minutes , then transfer them to a wire rack. This part helps avoid any dreaded cupcake mush!
Expert Techniques
Here’s the scoop on professional methods. When you’re frosting, start from the outside and work your way in. It’s kind of like how you handle your Halloween decorations; you need that spooky vibe to build!
Watch out for critical steps like making sure your butter for frosting is soft but not melted. You want a smooth finish, not a pumpkin patch mess!
Now, as for quality checkpoints , always taste your frosting before slathering it on. A little pinch of salt might just enhance that sweetness!
But if things go haywire don’t fret. If your cupcakes come out a bit dry, a drizzle of simple syrup can fix that. Instant rescue!
Success Strategies
Let’s chat about some common mistakes you’ll want to avoid. Like overmixing your batter. Nobody wants dense cupcakes ugh!
Also, don’t rush the cooling process. It’ll ruin all your hard work if your frosting melts into gooeyness. Take the time.
Finally, for those make-ahead options , bake your cupcakes a day early. They chill beautifully in the fridge, just waiting for that monster frosting session the next day!
This Halloween, get ready to impress with those Halloween Oreo cupcakes and Dirt And Worm Cupcakes . Each bite brings joy and a little spook, just like a haunted house should!
So, get your spooky spirits ready to bring these Spooktacular Halloween cupcakes to life! Happy baking, my friends! And remember, the more fun you have, the better those cupcakes will taste.
Stay tuned for additional information on Halloween baking hacks!
Pro Tips & Secrets for Spooktacular Halloween Cupcakes
Oh my gosh, are you ready to conjure up some hauntingly delicious halloween cupcakes? this time of year is just the best for whipping up all sorts of creepy, colorful treats.
Let’s dive into the little secrets and pro tips that’ll make your cupcakes a hit at every halloween gathering.
Chef's Personal Insights
First, here’s a little pro tip from yours truly: always, always use room temperature ingredients . it makes mixing so much smoother and helps your batter rise nicely in the oven, leaving you with fluffy cupcakes.
Oh, and a little whisper about those eggs? crack ‘em in one at a time. helps them blend better. think of it like a mini dance party in your mixing bowl one egg takes the floor, then the next!
Flavor Enhancement Tips
Want to kick those flavors up a notch? try sneaking in a splash of almond extract alongside the vanilla. it adds a touch of warmth that complements the sweetness perfectly, making your cupcakes unforgettable.
Also, if you want to get wild, throw in some mini chocolate chips. who can resist that gooey chocolate goodness?
Storage & make-ahead
One more thing before you go crazy with the frosting: if you’re planning to make your halloween cupcakes ahead of time (totally understandable), make sure to store them carefully.
Keep those beauties in an airtight container at room temperature for up to three days . if you're making them even earlier, you can freeze the unfrosted cupcakes for up to three months.
Just bring them back to room temp before frosting it’s like a little magic trick!
Perfect Presentation: Halloween Style
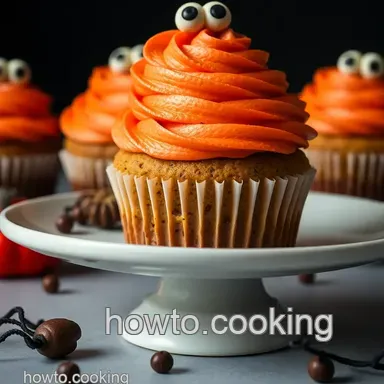
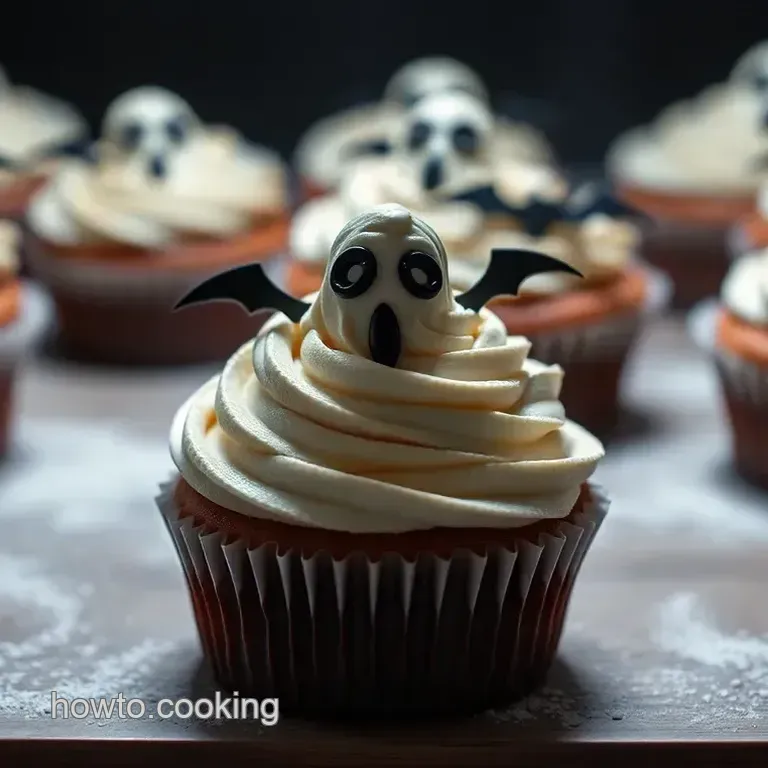
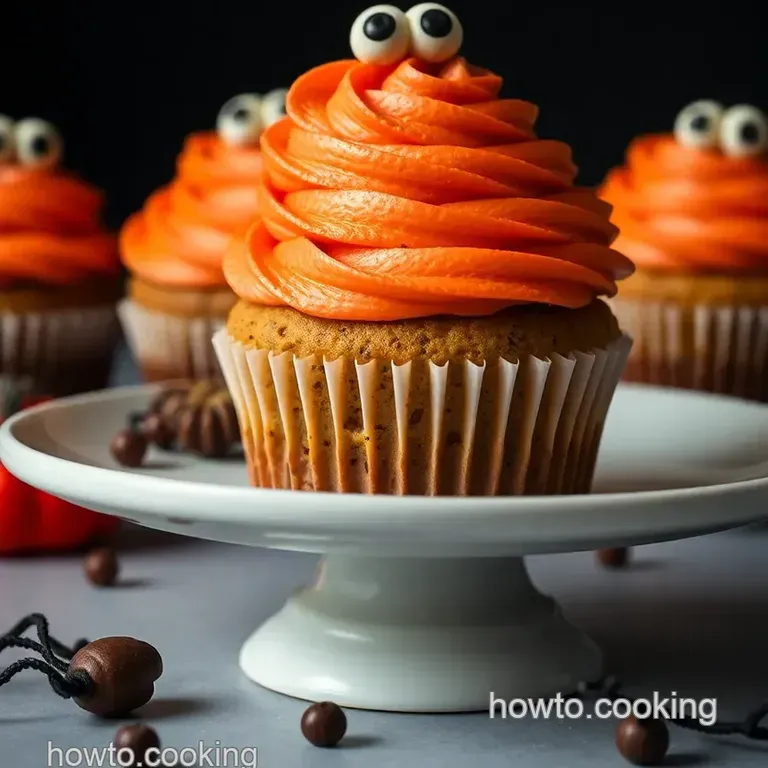
Now let’s sprinkle in some pizzazz! cupcake presentation is where the fun really starts. after you’ve frosted your cupcakes, consider using some halloween themed toppers think little ghosts or jack-o-lanterns.
And don’t forget those large, googly eyes staring up from the frosting; they make the cutest and spookiest touch!
Plating Techniques
When serving, opt for a dark, rustic platter it’ll really make those vibrant colors pop. you could even decorate the platter with fake spider webs for that extra creepy vibe.
Seriously, people love it!
Creative Variations to Spook Things Up
Feeling adventurous? try making dirt and worm cupcakes with chocolate pudding and gummy worms, or swap the vanilla base for halloween brownie cupcakes for a rich twist.
You can also toss in some crushed halloween oreos to really embrace the season. it’s all about making those treats fit your personal flavor profile.
The more creative you get, the more you'll hear, "wow, this is amazing!" from your friends.
Complete Nutrition Guide
Now, i know what you’re thinking: "what about the calories?" let’s break it down! each of these spooktacular cupcakes clocks in around 260 calories .
They aren’t health food, but hey, it’s halloween! keep an eye on portions, though especially with all that rich chocolate frosting.
If you’re counting calories, you might want to limit yourself to one (or two) of these delightful treats.
Dietary Considerations
You can also make dietary modifications . Try using gluten-free flour or a dairy-free butter alternative if you've got friends with dietary restrictions. No trick or treat left behind, right?
In a Nutshell: Happy Baking!
Alright, my friend, i hope you’re now armed with a treasure trove of tips and tricks to whip up some absolutely spooktacular halloween cupcakes ! remember to get a little creative with the flavors, play with presentations, and savor every moment.
Baking should be fun, so don’t stress if things get a little messy spooky kitchens make for great halloween stories!
So, gather up the ingredients, have fun, and may your Halloween festivities be delightfully haunting! Happy baking, and may your cupcakes be the spirit of the night!
Frequently Asked Questions
How do I make sure my Halloween cupcakes turn out fluffy?
To achieve that light and fluffy texture in your Halloween cupcakes, make sure to cream your butter and sugar together until it's pale and fluffy. Also, using room temperature ingredients, like eggs and milk, can truly help with the mixing.
Just remember to avoid over mixing the batter after adding the flour a little lumpiness is okay!
Can I make these Halloween cupcakes in advance?
Absolutely! You can bake the cupcakes a day in advance and store them in an airtight container at room temperature. If you want to frost them later, wait until they're completely cool and then cover them with plastic wrap to keep them fresh.
The frosting can also be made in advance and stored in the fridge; just give it a good whip before using!
What are some fun decoration ideas for Halloween cupcakes?
Let your creativity run wild! Besides edible googly eyes and sprinkles, consider using Halloween themed cupcake toppers, chocolate spiders, or even candy corn. You can also pipe different designs with coloured frosting maybe try some orange and purple swirls? The spookier, the better!
Can I make these Halloween cupcakes gluten-free?
Of course! Just swap out the regular all-purpose flour for a gluten-free flour blend. The texture might vary slightly, but it will still make for delightful Halloween cupcakes. Additionally, ensure your other ingredients, like baking powder and sprinkles, are gluten-free as well.
How should I store leftover Halloween cupcakes?
Store any leftover cupcakes in an airtight container at room temperature for up to 2-3 days. If you've used cream cheese or any perishable frosting, it’s best to refrigerate them.
If you want to freeze them for longer storage, frost them with buttercream and wrap each cupcake in plastic wrap, then place them in a freezer bag they'll be great for a later treat!
What are some nutritional considerations for Halloween cupcakes?
Each cupcake has roughly 260 calories, which includes about 12g of fat and 20g of sugar. If you're trying to make them a little healthier, consider using a sugar substitute or reducing the amount of frosting you use. Additionally, you can also experiment with using whole grain flour for a bit more fibre!
Spooktacular Halloween Cupcakes A Hauntingly Del