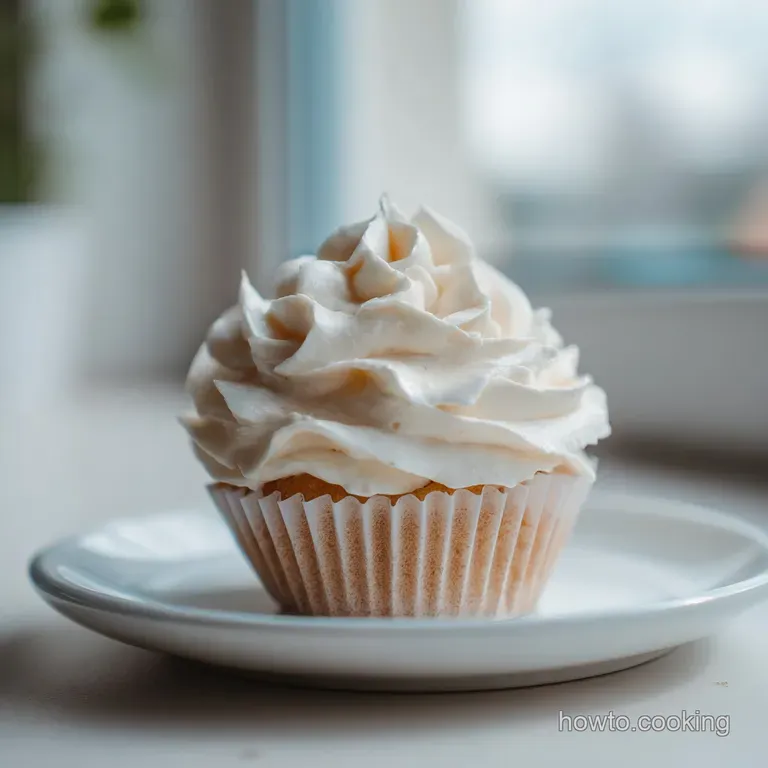
Vanilla Whipped Ganache Frosting: Silky and Stable
- Time: Active 15 minutes, Passive 12 hours, Total 12 hours 15 minutes
- Flavor/Texture Hook: Silky, melt in-the mouth white chocolate with speckled vanilla bean
- Perfect for: High end birthday cakes, delicate cupcakes, or wedding cake fillings
- Achieving the Silky Vanilla Whipped Ganache Frosting
- The Secret Science of Fat Stability
- Essential Measurements for Stable Frosting
- High Quality Ingredients for Better Results
- Essential Kitchen Tools for Smooth Emulsions
- Step by Step Guide to Success
- Fixing Common Ganache Frosting Mistakes
- Smart Guidelines for Scaling
- Debunking Common Frosting Myths
- Creative Flavor Twists for Your Ganache
- Storage and Zero Waste Guidelines
- Delicious Ways to Use This Frosting
- Recipe FAQs
- 📝 Recipe Card
Achieving the Silky Vanilla Whipped Ganache Frosting
I still remember the first time I moved away from standard American buttercream. I was making a cake for a friend who hated "sugary" frostings, and I felt stuck. Then I tried a whipped ganache. The first time I bit into it, it felt like eating a chilled white chocolate truffle that had somehow been turned into a cloud.
It wasn't just sweet, it was rich, complex, and had this incredible speckled look from the real vanilla bean seeds.
The aroma of this vanilla whipped ganache frosting is what gets you first. When you're scraping that vanilla bean, the scent fills the kitchen, and it only gets better once it hits the warm cream.
Most people think ganache is just that heavy, pourable glaze, but when you introduce the right ratio of cold cream and air, it transforms. It becomes this luxurious, velvety medium that makes any homemade cake look like it came from a high end patisserie.
This recipe has become my absolute go to for anything that needs to look elegant. It doesn't have that gritty sugar texture that haunts many frostings. Instead, it relies on the natural structure of cocoa butter and the stability of a little bit of mascarpone.
If you've been looking for a way to make your desserts feel more professional without a ton of extra effort, this is the one. Let's get into how we make this happen.
The Secret Science of Fat Stability
Understanding why this recipe works helps you avoid the common "soup" disaster that happens to many beginners. It isn't just about mixing chocolate and cream, it is about controlling the temperature of the fats.
- Fat Emulsification: The immersion blender breaks the cocoa butter into tiny droplets that are suspended in the cream. This creates a much tighter bond than hand whisking, ensuring the frosting doesn't split later.
- Cocoa Butter Crystallization: White chocolate contains cocoa butter which needs several hours at cold temperatures to set into a solid structure. Without the 8 to 12 hour chill, the frosting will lack the "backbone" needed to hold a peak.
- Protein Reinforcement: Adding mascarpone introduces extra milk solids and fat. This acts like a stabilizer, helping the air bubbles stay trapped when you finally whisk the mixture.
- Thermal Shock Control: By starting with a hot base and gradually adding cold cream, we create a stable base that is ready to be aerated without the risk of the chocolate seizing or becoming grainy.
| Method | Time | Texture | Best For |
|---|---|---|---|
| Whipped Ganache | 12 hours | Silky and light | Elegant layer cakes |
| Traditional Buttercream | 15 mins | Heavy and sweet | Kid's birthday parties |
| Swiss Meringue | 45 mins | Buttery and smooth | Intricate piping work |
This comparison shows why the wait is worth it. While buttercream is faster, it can't match the sophisticated mouthfeel of a real ganache. If you are looking for another light topping, you might enjoy my Vanilla Bean Dream Whipped Cream.
Essential Measurements for Stable Frosting
Precision is your best friend when working with white chocolate. Because white chocolate doesn't have cocoa solids, it behaves differently than dark chocolate. It is much more sensitive to heat and moisture, which is why we weigh everything carefully.
| Component | Science Role | Pro Secret |
|---|---|---|
| White Chocolate | Structural Base | Use a brand with at least 28% cocoa butter (like Valrhona) for the best set. |
| Heavy Cream | Liquid Phase | Ensure it is at least 35% fat; lower fat percentages will not whip properly. |
| Mascarpone | Emulsion Stabilizer | Keep this stone cold until the very moment you blend it into the liquid. |
| Sea Salt | Flavor Enhancer | A tiny 1.5g pinch cuts through the sweetness of the white chocolate perfectly. |
The ratio of chocolate to cream is higher here than in a dark chocolate ganache. This is because white chocolate is softer at room temperature. If we used a 1:1 ratio, it would be far too soft to pipe onto a cupcake.
high-quality Ingredients for Better Results
You can't hide poor quality ingredients in a recipe this simple. Since there is no powdered sugar to mask flavors, every single item needs to be top tier.
- 340g high-quality white chocolate: Look for cocoa butter as the first ingredient, not vegetable oil or sugar. Why this? Higher cocoa butter content ensures the frosting sets firmly and tastes like real chocolate.
- 120ml heavy whipping cream (for heating): This is used to melt the chocolate and infuse the vanilla. Why this? A smaller amount of hot liquid creates a more concentrated chocolate base.
- 240ml heavy whipping cream (kept cold): Added after the emulsion to provide volume. Why this? Cold cream lowers the overall temperature quickly, helping the crystallization process.
- 1 whole vanilla bean: Split and scraped. Why this? Real seeds provide a deeper, more floral aroma than extract alone.
- 1.5g fine sea salt: Just a pinch. Why this? Salt balances the high sugar content inherent in white chocolate.
- 60g cold mascarpone cheese: The secret weapon for stability. Why this? It adds a subtle tang and prevents the ganache from over whipping into butter.
If you cannot find a vanilla bean, you can use 2 teaspoons of vanilla bean paste. It still provides those beautiful black specks without the hassle of scraping the pod. If you're interested in a different style of topping, check out this decadent chocolate ganache for a darker alternative.
Essential Kitchen Tools for Smooth Emulsions
You don't need a professional kitchen, but a few specific tools make this process much more reliable. I used to try making this with just a whisk, and it was never quite as smooth as I wanted.
- Immersion Blender: This is the most important tool. It shears the fat molecules into a perfect emulsion that you just can't get by hand.
- Heat proof Glass Bowl: It allows you to see if any chocolate is stuck at the bottom and retains heat gently.
- Small Saucepan: For heating the cream. A heavy bottomed one prevents the cream from scorching.
- Stand Mixer: While you can use a hand mixer, a stand mixer (like a KitchenAid) gives you better control over the speed during the final whipping stage.
- Fine Mesh Sieve: Optional, but helpful if you want to strain out any large bits of vanilla pod.
Having the right tools ready prevents the chocolate from cooling down too fast before you can blend it. I always set my immersion blender on the counter next to the chocolate bowl before I even turn on the stove.
step-by-step Guide to Success
Follow these steps exactly. The timing of when you add the cold cream and how long you let it sit are the differences between success and a bowl of liquid.
- Prep the chocolate. Place 340g of finely chopped white chocolate and 1.5g of sea salt into a heat proof glass bowl. Note: Fine chopping ensures the chocolate melts evenly without overheating the cream.
- Infuse the cream. In a small saucepan, combine 120ml of heavy cream and the seeds from one scraped vanilla bean. Heat over medium heat until it reaches a gentle simmer.
- Combine. Pour the hot cream directly over the white chocolate. Let it sit undisturbed for exactly 2 minutes. Note: This allows the heat to penetrate the chocolate and melt the cocoa butter gently.
- Emulsify. Use an immersion blender to blend the mixture until it is perfectly smooth and glossy.
- Cool down. Gradually pour in the remaining 240ml of cold heavy cream and 60g of cold mascarpone while continuing to blend.
- Seal and chill. Press plastic wrap directly onto the surface of the liquid. Refrigerate for 8 to 12 hours. until completely cold and slightly thickened.
- Whipped aeration. Transfer the chilled base to a stand mixer with a whisk attachment.
- The final whisk. Whisk on medium high speed for 2 to 3 minutes until the frosting holds stiff, pipeable peaks.
Chef's Tip: Stop the mixer the second you see the whisk leaving distinct trails in the frosting. White chocolate ganache can go from "perfect" to "grainy" in about 15 seconds of over whipping.
Fixing Common Ganache Frosting Mistakes
Even with the best intentions, things can go sideways. The most common issue I hear about is the ganache not thickening up when whipped. This is almost always a temperature issue.
Why Your Ganache is Still Liquid
If you try to whip the ganache before it has spent at least 8 hours in the fridge, it will never hold air. The cocoa butter needs that time to firm up. If you're in a rush, you might be tempted to put it in the freezer, but that can lead to uneven cooling and a gritty texture.
Why Your Frosting Looks Grainy
Graininess happens for two reasons: either the chocolate was scorched when you poured the hot cream, or you over whipped the mixture. If it's over whipped, you've essentially started making white chocolate butter.
| Problem | Root Cause | Solution |
|---|---|---|
| Frosting is runny | Not chilled long enough | Return to fridge for another 4 hours and try again. |
| Tiny lumps of chocolate | Poor chopping or mixing | Warm the mixture slightly and re blend with immersion blender. |
| Frosting splits/curdles | Over whipping | Gently stir in 1 tbsp of cold liquid cream to smooth it out. |
Common Mistakes Checklist
- ✓ Always use a dry bowl for the chocolate (water causes seizing).
- ✓ Never let the cream reach a rolling boil; a simmer is enough.
- ✓ Ensure the plastic wrap touches the liquid to prevent a "skin" from forming.
- ✓ Chill the whisk attachment and bowl before the final whipping for extra stability.
Smart Guidelines for Scaling
If you are making a three tier wedding cake or just a few tiny tartlets, you might need to adjust this recipe.
- Scaling Down: If you only need a small amount, you can halve the recipe. However, it is hard to use an immersion blender on very small volumes. I suggest making the full batch and using the leftovers for truffles.
- Scaling Up: You can easily double or triple this. When doubling, don't double the salt exactly; use about 1.5x the salt (around 2.2g) to keep the balance right. Work in batches for the final whipping to ensure even aeration.
- Whipping Large Batches: If you are using a large stand mixer, keep a close eye on the bottom of the bowl. Sometimes the whisk doesn't reach the very bottom, leaving a layer of un whipped liquid. Use a spatula to fold the mixture halfway through.
Debunking Common Frosting Myths
There are a few "rules" people swear by that aren't actually true when it comes to this specific frosting style.
First, many people think you must use powdered sugar for stability. In this recipe, the cocoa butter and the mascarpone provide all the structure you need. Adding sugar would actually ruin the delicate flavor and make the texture heavier.
Second, there is a myth that you can't fix a broken ganache. If your ganache looks curdled after whipping, you don't have to throw it away. You can gently melt the whole thing down, re emulsify it with the blender, chill it again, and re whip. It takes time, but it saves your ingredients!
Creative Flavor Twists for Your Ganache
Once you have mastered the basic vanilla whipped ganache frosting, you can start playing with the profile.
1. Espresso Bean Infusion
Instead of a vanilla bean, steep 2 tablespoons of cracked espresso beans in the hot cream for 5 minutes, then strain before pouring over the chocolate. This creates a sophisticated mocha white chocolate vibe that is incredible on dark chocolate cake.
2. White Chocolate Matcha
Whisk 1 tablespoon of high-quality ceremonial matcha powder into the hot cream before blending. The earthy bitterness of the green tea balances the sweetness of the white chocolate perfectly. It also turns the frosting a beautiful, vibrant green.
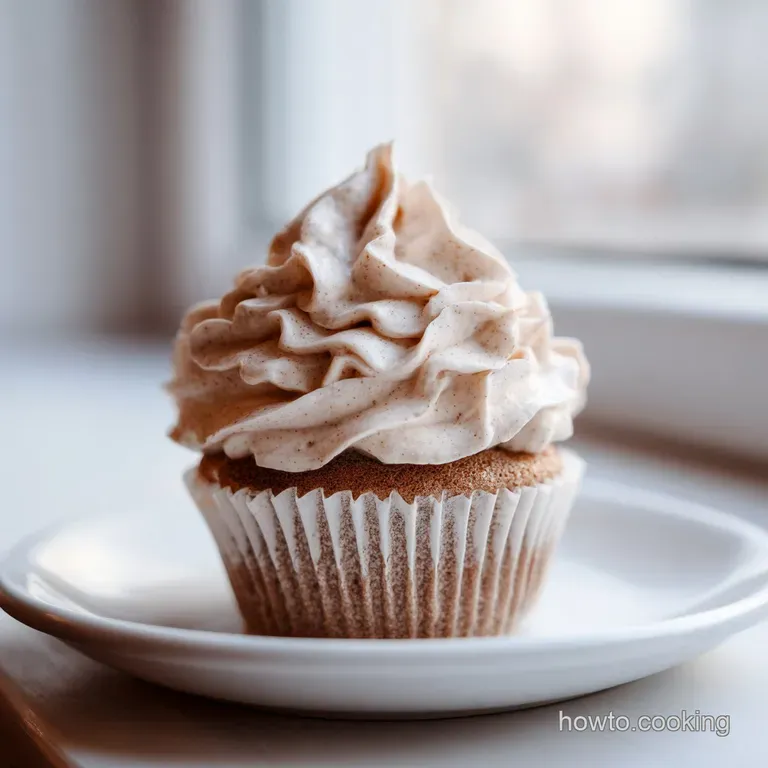
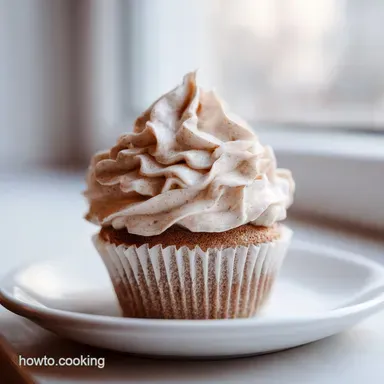
3. Spiced Chai Version
Simmer the cream with a cinnamon stick, two cardamom pods, and a slice of ginger. This creates a warming, spiced frosting that is perfect for autumn desserts or carrot cakes.
Storage and Zero Waste Guidelines
Proper storage is key to keeping that "cloud" texture intact. Because of the high dairy content, this is a fridge only frosting.
Storage: Keep the finished frosting in an airtight container in the fridge for up to 4 days. If you have already frosted a cake, the sugar in the cake actually helps preserve the moisture, but the cake should still be kept refrigerated.
Freezing: You can freeze the liquid ganache base (before whipping) for up to 2 months. Thaw it overnight in the fridge before whipping as directed. I don't recommend freezing the ganache once it has been whipped, as the air bubbles will collapse during the thawing process.
Zero Waste: If you have leftover frosting, don't toss it! You can roll the chilled frosting into small balls and coat them in cocoa powder or crushed nuts to make instant white chocolate truffles. Alternatively, stir a dollop into your morning coffee for a luxurious homemade white chocolate latte.
Delicious Ways to Use This Frosting
This isn't just for cakes! While it's the gold standard for a vanilla bean layer cake, it's versatile enough for many applications.
Try using it as a filling for French macarons. The stability of the cocoa butter makes it a much better choice than standard buttercream, which tends to soften the shells too quickly. It also works beautifully as a dip for fresh strawberries or as a topping for a fruit tart.
If you are looking for a simpler topping for a casual weekend, you might want to try a Simply Sublime Vanilla Icing. But for those moments when you really want to impress, this whipped ganache is the way to go. It turns every bite into a special occasion, and honestly, once you try it, you might never go back to the boxed stuff again.

Recipe FAQs
What is vanilla whipped ganache frosting?
It is a light, airy frosting made by emulsifying hot cream with white chocolate, chilling it, and then whipping it into stiff peaks. The addition of mascarpone and high fat cream creates a texture much silkier than traditional butter based frostings.
Is whipped ganache better than buttercream?
It depends on your preference for sweetness and mouthfeel. While buttercream is sugar heavy and dense, whipped ganache offers a refined, creamy profile that mimics the decadence of our nostalgic treats without the grainy finish of powdered sugar.
What's the difference between whipped ganache and regular ganache?
Regular ganache is a dense, pourable glaze, while whipped ganache incorporates air to become a spreadable, fluffy frosting. The whipped version requires a specific ratio of cold cream and mascarpone to stabilize the structure so it can hold its shape on cakes.
Is there such a thing as vanilla ganache?
Yes, it is simply ganache infused with real vanilla bean seeds. By scraping a whole vanilla bean into the heating cream, you achieve a much deeper, authentic floral flavor than store-bought extracts can provide.
How to fix the ganache if it won't whip into peaks?
Ensure the mixture was chilled for the full 8 to 12 hours before whipping. If the cocoa butter hasn't fully set and reached the proper cold temperature, it will remain liquid regardless of how long you whisk it.
Is it true I can use any chocolate for this recipe?
No, this is a common misconception. You must use high-quality white chocolate with at least 28% cocoa butter content; standard baking chips often contain stabilizers that prevent the ganache from emulsifying properly.
How to store whipped ganache?
Keep it in an airtight container in the refrigerator for up to 4 days. Because it contains a high volume of heavy whipping cream and mascarpone, it is not shelf stable and must be kept cold to maintain its structure.
Vanilla Whipped Ganache Frosting
Ingredients:
Instructions:
Nutrition Facts:
| Calories | 221 kcal |
|---|---|
| Protein | 2.0 g |
| Fat | 17.7 g |
| Carbs | 14.2 g |
| Fiber | 0 g |
| Sugar | 13.8 g |
| Sodium | 45 mg |
