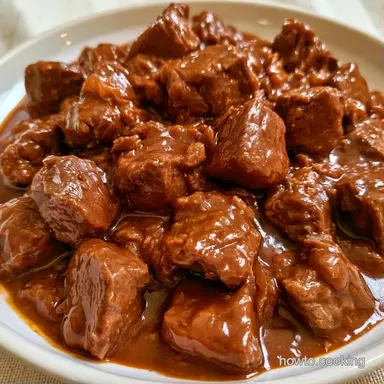
Tender Dutch Oven Beef Tips
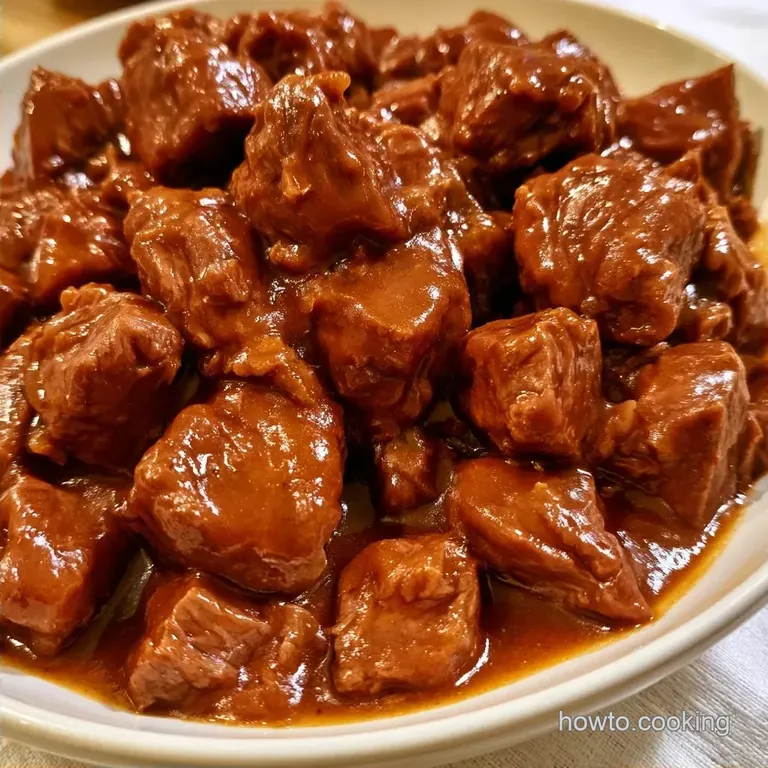
- Time: 30 min active + 1 hour 45 mins baking
- Flavor/Texture Hook: Deep mahogany sear with fork-tender beef
- Perfect for: Family Sunday dinners or cozy weeknight comfort
There is something incredibly satisfying about the sound of beef hitting a scorching hot pot. That loud sizzle is the immediate signal that the pan is ready. For years, I assumed the only way to reach peak tenderness was to let meat languish in a slow cooker for ten hours, but that frequently results in a mushy consistency rather than a proper bite.
You don't need to commit your entire day to get meat that melts in your mouth. A heavy pot and a moderate oven temperature deliver results faster while keeping the flavors concentrated. These Dutch Oven Beef Tips rely on the perfect balance of a hard sear and a gentle simmer.
When you remove the pot from the oven, the scent of garlic and thyme fills the room. The gravy should be dark and lustrous, and the beef should fall apart with minimal pressure from a fork. While the process is straightforward, the specific timing and temperature are what make it successful.
Why This Method Actually Works
The Heavy Sear: Browning the meat in batches creates a crust that tastes deep and savory. If you crowd the pot, the beef steams instead of searing, and you lose that richness.
Chuck Roast Choice: I always use chuck because it has plenty of connective tissue. The oven heat slowly turns that tough stuff into gelatin, which makes the sauce feel rich and the meat tender.
Steady Oven Heat: Unlike the stovetop where the bottom can scorched, the oven surrounds the pot with heat. This ensures the Dutch Oven Beef Tips cook evenly without you having to stir them every ten minutes.
| Method | Total Time | Texture | Best For |
|---|---|---|---|
| Stovetop | 2 hours | Slightly firmer | Quick meals |
| Oven | 2 hours 15 mins | Very tender | Depth of flavor |
This approach is a bit more reliable than the stovetop because you don't have to worry about hot spots on your burner.
What Each Ingredient Brings
The beef takes center stage, and a chuck roast is essential. This hardworking cut requires slow heat to become tender; opting for a leaner piece, such as sirloin, will likely leave the meat dry and rubbery.
The flour coating does more than just aid browning; it remains in the pot to thicken the beef broth as it bakes, removing the need for a separate roux. I prefer low-sodium broth to keep the salt levels in check, especially since the Worcestershire sauce provides its own salty kick.
For the aromatics, carrots and onions offer a natural sweetness that balances the savory beef. Garlic is stirred in last to ensure it doesn't burn or turn bitter during the searing process.
The Grocery List
- 3 lbs beef chuck roast, 1 inch cubes Why this? Rich in collagen for a tender result
- 1/2 cup all-purpose flour Why this? Acts as a natural thickener for the sauce
- 1 tsp salt
- 1 tsp black pepper
- 1 tsp garlic powder
- 2 tbsp olive oil Why this? Resists burning during the high heat sear
- 2 tbsp unsalted butter Why this? Brings a buttery depth to the vegetables
- 1 large yellow onion, diced
- 3 cloves garlic, minced
- 2 large carrots, sliced into rounds
- 2 cups low-sodium beef broth Why this? Helps manage the overall salt level
- 1 tbsp Worcestershire sauce Why this? Enhances the savory umami profile
- 1 tsp dried thyme
- 1 bay leaf
Quick Substitutes:
- Beef Broth: Try chicken broth or a water and bouillon mixture (though the flavor is milder).
- Worcestershire: Soy sauce serves as a great salty, savory alternative.
- Carrots: Parsnips or celery root offer a similar earthy sweetness.
- Thyme: Dried rosemary or oregano work well, but reduce the amount slightly.
Minimal Tools for This Meal
The primary tool you'll need is a 5 to-7 quart Dutch oven. I recommend an enameled cast iron version from brands like Lodge or Le Creuset for its superior heat distribution and effortless cleanup.
Grab a medium mixing bowl for coating the beef and a wooden spoon for deglazing the pot. To avoid scratching the interior of an enameled pot, steer clear of metal spoons or whisks.
Chef's Tip: A heavy, oven safe pot with a secure lid is a great alternative. Ensure the lid fits tightly to prevent the liquids from evaporating too rapidly while roasting.
Key Steps to Follow
Warm the oven. Set it to 325°F (163°C). Note: Preheating ensures the beef doesn't spend too much time in a cold vessel.
Dredge the beef. In a medium bowl, combine the flour, salt, pepper, and garlic powder. Toss the beef cubes until they are evenly coated in the seasoned flour.
Brown in stages. Heat olive oil in your heavy pot using a medium high setting. Sear the beef in 3-4 batches. Cook until each side is a deep mahogany brown, then transfer to a plate. Note: Avoid overcrowding the pot to prevent the meat from steaming.
Soften the vegetables. Reduce heat to medium and melt the butter. Add the diced onion and carrots. Sauté for 5-7 minutes until the onions look translucent and soft.
Sauté the garlic. Add the minced garlic. Stir for 1 minute until you can smell it strongly.
Deglaze the pot. Pour in a small amount of beef broth. Using a wooden spoon, scrape the browned bits off the bottom. Note: These bits hold all the concentrated flavor.
Reunite ingredients. Put the seared beef and any accumulated juices back into the pot.
Add seasonings. Mix in the remaining beef broth, Worcestershire sauce, and dried thyme. Add the bay leaf.
Simmer. Bring the mixture to a light simmer on the stovetop. Cover with a tight fitting lid.
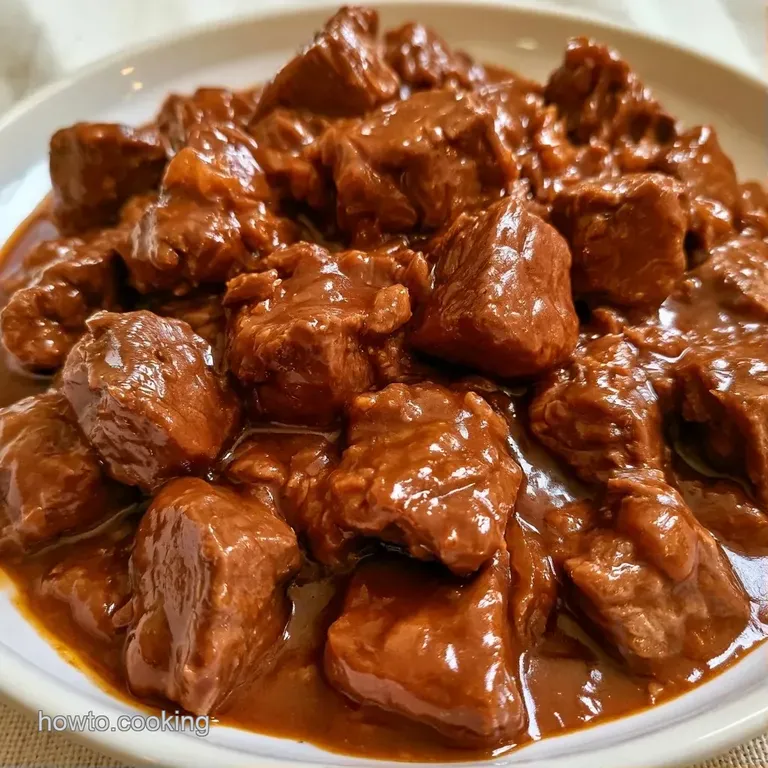
Oven cook. Place the pot in the oven. Bake for 90 minutes until the beef is fork tender and the gravy is thick.
Avoiding Kitchen Disasters
Fixing a Thin Gravy
If you pull the Dutch Oven Beef Tips out and the sauce is too watery, don't panic. Put the pot back on the stove over medium heat and simmer without the lid for 10-15 minutes. The liquid will reduce and thicken up.
If you're in a rush, whisk 1 tbsp of cornstarch with 1 tbsp of cold water, stir it in, and boil for two minutes.
When Meat Stays Tough
If the beef isn't tender after 90 minutes, it usually just needs more time. Every piece of meat is different, and some chuck roasts are tougher than others. Put the lid back on and give it another 15-20 minutes.
The collagen needs to reach a specific temperature to melt, so patience is key here.
Preventing Burnt Bits
If you notice the bottom of the pot is smelling scorched during the sauté phase, add a tablespoon of broth immediately. This lowers the temperature and lifts the food off the bottom. Always make sure your heat is on medium, not high, once the butter and vegetables are in the pot.
Make-ahead and Leftover Tips
These Dutch Oven Beef Tips are even more delicious the following day, as the tastes deepen and intensify while chilling. Keep them in a glass container for up to 4 days.
For reheating, the stove is my preferred method using a low setting. Stir in a bit of water or additional beef broth to thin out the gravy, which thickens considerably in the refrigerator. If using a microwave, ensure the dish is covered to retain moisture.
This recipe freezes beautifully for around 3 months. I suggest freezing in single servings. Let the meat defrost in the refrigerator overnight prior to heating it on the stove.
To minimize waste, collect any remaining beef broth or veggie scraps and place them in a freezer bag. When it's full, simmer the contents with water for a fast homemade stock. If you have an abundance of cooked beef, try turning it into shredded beef enchiladas by shredding the meat and mixing in a spicy sauce.
Perfect Complements
The richness of the gravy means you need something that can soak it up. Mashed potatoes are the gold standard here. I prefer a mix of Yukon Gold and russet potatoes for a texture that is smooth and creamy.
If you want something lighter, steamed green beans or roasted carrots provide a nice snap that balances the softness of the beef. A crusty piece of sourdough bread is also a must for cleaning the plate.
For another comforting meal that uses beef in a different way, you might enjoy a hearty ground beef potato soup, which is great for those nights when you don't have two hours to wait for the oven.
Creative Twists and Swaps
Adding a Red Wine Twist: Rather than using only beef broth, swap one cup for a dry red wine such as Merlot or Cabernet Sauvignon during the deglazing process. This introduces a sophisticated acidity and enhances the color of the Dutch Oven Beef Tips.
Turning it into Dutch Oven Beef Stroganoff: After the beef is cooked, stir in a tablespoon of Dijon mustard and 1/2 cup of full fat sour cream. This converts the gravy into a tangy, creamy sauce. Serve over wide egg noodles rather than potatoes.
For a Low Carb Base: To keep the dish keto friendly, omit the flour dredging. Instead, sear the meat plain and thicken the sauce by simmering it longer or adding a touch of xanthan gum. Serve it over sautéed spinach or cauliflower mash.
Adjusting the Vegetable Mix: While onions and carrots are traditional, I often use pearl onions or sliced celery for a different flavor. Mushrooms are also an excellent choice; just sear them with the beef at the start to achieve a nice brown crust.
Quick Decision Guide for Flavor
- Extra tang? → stir in 1 tsp lemon juice at the end
- Richer color? → swap salt for a dash of soy sauce
- More herbal? → garnish with fresh parsley before serving
This recipe proves that a bit of patience and simple equipment can outperform any high tech gadget. The Dutch Oven Beef Tips turn out rich and satisfying, capturing the true essence of a home cooked meal. Just be sure to sear the meat in batches and let the oven do the hard work. Trust me, it's worth the wait.
High in Sodium
980 mg 980 mg of sodium per serving (43% 43% of daily value)
The American Heart Association recommends a limit of 2,300mg of sodium per day for most adults to maintain heart health.
Tips to Reduce Sodium
-
Swap the Broth-30%
Replace low-sodium beef broth with unsalted beef stock or a combination of water and extra aromatics.
-
Reduce Added Salt-25%
Omit the 1 tsp of salt entirely or reduce it by half; the beef and other seasonings provide natural flavor.
-
Substitute Worcestershire-20%
Swap the Worcestershire sauce for balsamic vinegar or a squeeze of lemon juice to maintain the tangy depth without the salt.
-
Enhance with Herbs
Double the dried thyme or add fresh rosemary and parsley to boost the flavor profile naturally.
Recipe FAQs
How long do I cook beef in a Dutch oven?
Bake for 90 minutes at 325°F. This duration allows the beef to become fork tender while the gravy thickens.
Which cut of beef is best for Dutch oven roast?
Choose beef chuck roast for the best results. Its high connective tissue content melts into gelatin, making the meat tender and the sauce glossy.
What not to cook in a Dutch oven?
Avoid simmering highly acidic foods like vinegar heavy sauces in unenameled cast iron. The acid can strip the seasoning and impart a metallic flavor.
Is it true that the pot itself tenderizes the meat?
Not true. The combination of low heat and trapped moisture is what actually breaks down the tough muscle fibers.
Does a cast iron Dutch oven work for roast beef?
It is an ideal choice for this recipe. The heavy walls maintain a steady temperature for a consistent braise.
Can I make this as a Dutch oven beef stew?
Increase the beef broth and add more carrots to create a soupier consistency. If you enjoyed the one-pot convenience here, see how the same principle works in our creamy one-pot meal.
Why is my meat tough after cooking?
Check that you didn't rush the oven time. Beef chuck requires the full 90 minutes to fully break down and become tender.
Dutch Oven Beef Tips