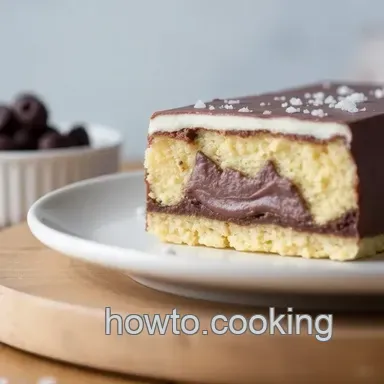
Dark Chocolate Kataifi Bar with Pistachio Cream
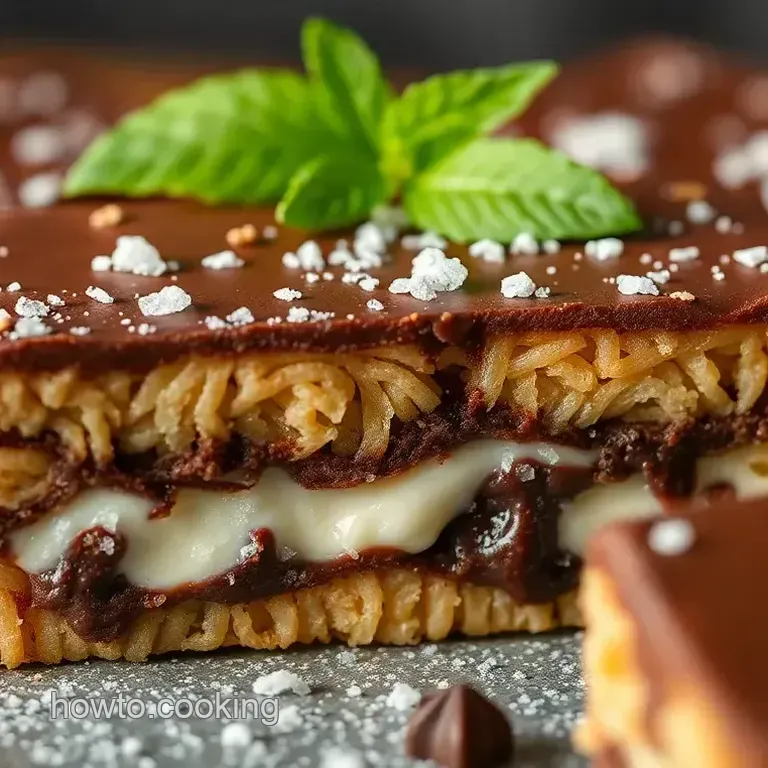
- Time: 25 min active + 2 hr chilling
- Flavor/Texture Hook: Bold cocoa bitterness paired with a resonant, satisfying crunch
- Perfect for: Impressive dessert boards or affordable luxury treats
- Making Your Own Dark Chocolate Kataifi Bar
- What Each Ingredient Does
- Essential Gear for This Bar
- Step-by-Step Assembly Guide
- Solving Common Texture Issues
- Mix It Up
- Adjusting the Batch Size
- Debunking Popular Chocolate Myths
- Storage and Waste Tips
- Perfect Pairings for Dessert
- Recipe FAQs
- 📝 Recipe Card
The aroma of butter browning in a pan is a joy to experience. It evolves from a simple sizzle into a toasted, nutty scent that fills the entire home. This treat starts exactly there, drawing inspiration from Middle Eastern Kunafa, where shredded phyllo dough is fried and sweetened.
Discover how to craft the perfect Melted Dark Chocolate Bar with Kataifi Filling. It takes a classic dessert component and encases it in a modern dark chocolate shell, resulting in a snack that feels opulent but uses everyday pantry staples.
The magic happens with the shatter effect when you bite into it. We aren't aiming for a soft cake, but rather a firm, crispy bar that maintains its shape.
Making Your Own Dark Chocolate Kataifi Bar
Here is why this method is so effective. While it may seem like the pastry does all the heavy lifting, there is a bit of science at play in the pan.
The Toasted Crust: Sautéing the kataifi in butter ensures the pastry stays rigid. This prevents the pistachio cream from seeping in and turning the center soggy.
The Lipid Barrier: The addition of coconut oil to the chocolate and tahini to the filling creates a fat-based shield. This keeps moisture at bay, allowing the crunch to persist for days.
If you enjoy these types of textures, you might also like a Classic No Bake Cheesecake for another wonderful creamy meets-firm contrast.
What Each Ingredient Does
A careful balance of fat and salt prevents the flavors from becoming overly sweet, while the tahini provides a subtle bitterness that grounds the chocolate and pistachio.
| Component | Purpose | Substitute Notes |
|---|---|---|
| Kataifi Pastry | Creates a shatter like crunch | Shredded phyllo dough yields the same effect. |
| Pistachio Cream | Supplies color and richness | Almond butter is a more affordable, nuttier option. |
| Dark Chocolate | Forms the outer shell | Semi sweet chips are sweeter and have less snap. |
| Coconut Oil | Guarantees a smooth melt | Unsalted butter works, though it's less glossy. |
Essential Gear for This Bar
You don't need a professional chocolate lab for this. A simple silicone mold is the best bet because the chocolate pops out without breaking. If you don't have one, a small rectangular plastic container lined with parchment paper works just fine.
I use a non stick skillet for the pastry to avoid clumps, and a glass bowl for the microwave. Just make sure your bowl is bone dry, as a single drop of water can cause the chocolate to seize.
Step-by-step Assembly Guide
Time to get started. Keep a close eye on the pastry, as it can overcook in just 30 seconds once it starts to brown.
1. Toasting the Gold
Melt 42g of unsalted butter in a non-stick pan over medium heat. Stir in 150g of finely chopped kataifi pastry, mixing constantly. Cook until the pastry is deep golden brown and smells nutty, then remove from the heat immediately.
2. Mixing the Core
While the pastry is still warm, fold in 130g of pistachio cream, 15g of tahini, and 1g of sea salt. Stir until it becomes a thick, crunchy paste. Note: The warmth helps the tahini blend smoothly.
3. Melting the Shell
Place 255g of finely chopped dark chocolate and 15ml of coconut oil in a glass bowl. Microwave in 20-second intervals, stirring between bursts, until the mixture is smooth and mahogany colored.
4. Creating the Base
Pour a thin coating of melted chocolate over the bottom and sides of your mold. Tilt the mold to ensure every edge is covered. Tap it against the counter to release air bubbles, then freeze for 10 minutes.
5. Adding the Filling
Spoon the crispy kataifi blend into the chilled shell. Press down gently with a spoon to remove air gaps, leaving a small space at the top for the final layer.
6. The Final Seal
Pour the remaining dark chocolate over the filling. Use an offset spatula to level the top for a flat, glossy finish. Refrigerate for 2 hours until the bar is completely firm.
Solving Common Texture Issues
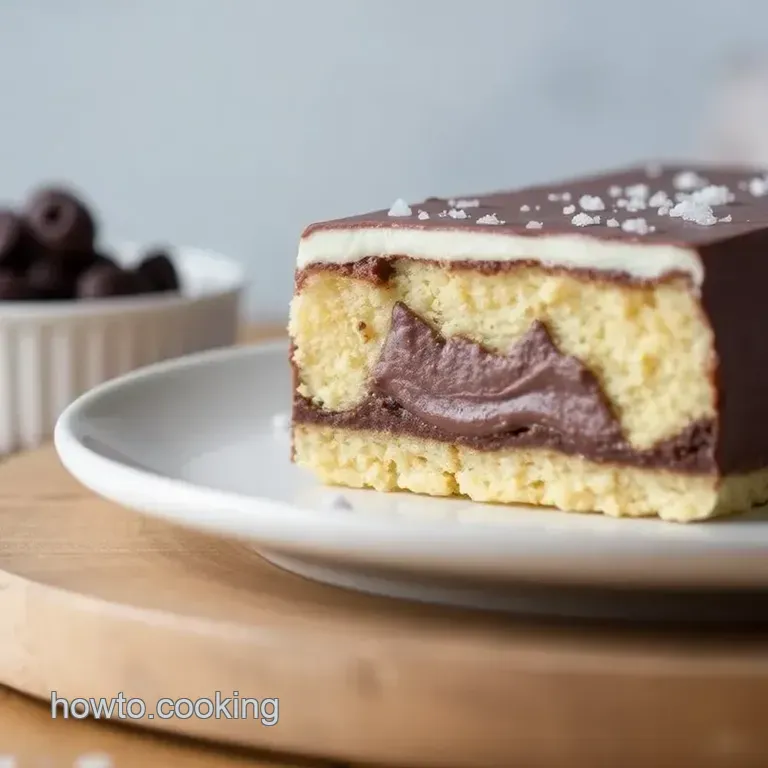
The most frequent complication is "bloom," which are those odd white streaks on the chocolate. This happens when cocoa butter separates due to temperature fluctuations. To prevent this, avoid moving the bar directly from the freezer to a warm counter.
Another issue is a "soft" interior. This usually means the kataifi wasn't toasted sufficiently. If the pastry remains pale, it absorbs the pistachio cream and loses its characteristic snap.
| Problem | Fix |
|---|---|
| White streaks on top | Prevent sudden temperature changes |
| Center feels chewy | Brown the kataifi thoroughly |
| Chocolate shell cracks | Tap the mold to eliminate air bubbles |
Mix It Up
If you're watching your budget, the pistachio cream is usually the priciest part. Switching to a high-quality almond butter or even a cashew butter gives a similar richness for a fraction of the cost.
For a different flavor profile, try adding a pinch of cinnamon to the toasted pastry. This leans more into the traditional Kunafa taste.
Quick Decision Guide:
- Saltier finish? → Add 1g extra sea salt.
- Denser center? → Increase tahini by 5g.
- Slower melt? → Use 70% cocoa chocolate.
Stovetop vs Oven Toasting
I prefer the stove for control, but the oven is better for huge batches.
| Method | Control | Speed |
|---|---|---|
| Stovetop | High | 5-8 mins |
| Oven | Low | 15-20 mins |
Adjusting the Batch Size
When making a half batch of this Dark Chocolate Kataifi Bar, use a smaller mold to ensure the filling is thick enough. If the layer is too thin, you lose the textural contrast. Reduce the chilling time by about 20%, but still give it at least 90 minutes.
For a double or triple batch, I suggest working in two separate bowls of chocolate. If you melt too much at once in the microwave, the edges can overheat and burn while the center stays solid.
Debunking Popular Chocolate Myths
Some people claim you must "temper" the chocolate to get a snap. While tempering is great, the coconut oil in this recipe acts as a stabilizer, giving you a clean break without the stress of a thermometer.
Another myth is that you need fresh, handmade kataifi. Thawed, store-bought shredded phyllo works perfectly as long as you toast it well in butter.
Storage and Waste Tips
Place the Dark Chocolate Kataifi Bar in a tightly closed container within the fridge. This preserves the crunch for about 5 days. For extended storage, use the freezer for up to 2 months; simply let the bar sit at room temperature for 5 minutes before serving.
Avoid tossing any chocolate remnants left in your bowl. Stir in some butter and cream to whip up Chocolate Truffles for a quick extra treat.
Perfect Pairings for Dessert
Given the intensity of the dark chocolate, this bar pairs wonderfully with bitter or acidic flavors. A strong espresso or a tart raspberry tea works well to cut through the rich pistachio cream.
For a dessert platter, serve a few pieces of the bar alongside dried apricots or fresh strawberries. The fruitiness complements the salty notes of the tahini, making the overall taste more balanced.
Recipe FAQs
How to prevent the kataifi from burning?
Stir the pastry constantly over medium heat.
Tip: Remove from heat immediately once the pieces turn deep golden brown.
Is it true I must use a double boiler for the chocolate?
Surprisingly, no. Microwave the chopped chocolate and coconut oil in 20-second bursts.
Tip: Stir well between each interval to ensure a smooth, glossy melt.
Can I substitute the dark chocolate with milk chocolate?
Yes, but the 60% cocoa dark chocolate provides a better balance against the sweet pistachio cream.
Tip: If you prefer a sweeter, denser treat, try our edible cookie dough.
Why is my chocolate shell uneven?
Tilt the silicone mold to ensure the first layer covers every corner thinly.
Tip: Tap the mold on the counter to release any trapped air bubbles before freezing.
How long will these bars last?
They stay crunchy for about 5 days in a sealed container in the refrigerator.
Tip: Let freezer stored bars sit at room temperature for 5 minutes before eating.
Melted Dark Chocolate Bar With Kataifi Fill