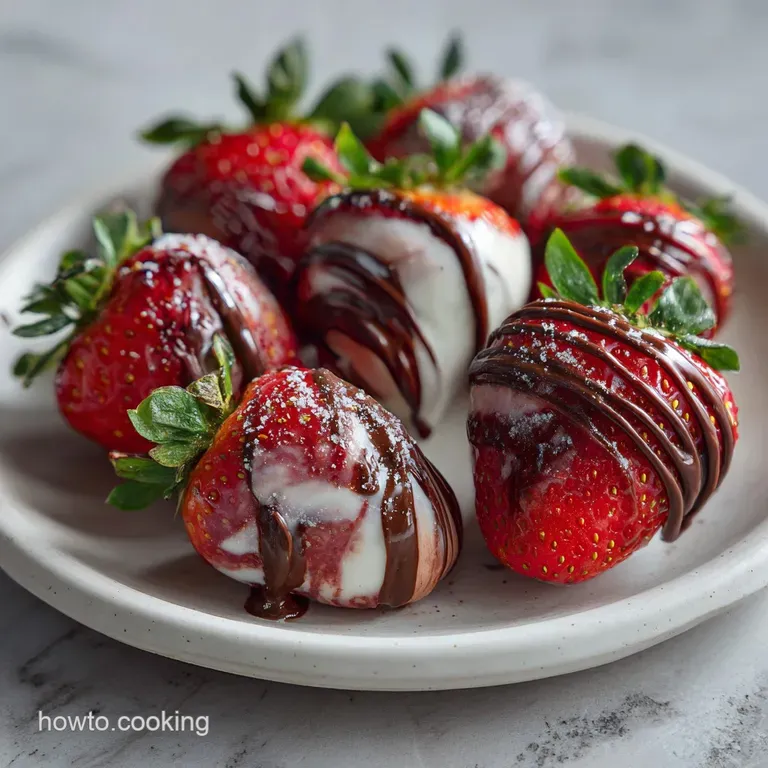
Valentines Treat with Chocolate and Strawberries: Crisp Berry
- Time: Active 10 mins, Passive 5 mins, Total 15 mins
- Flavor/Texture Hook: Crisp chocolate shatter with a succulent, tangy berry finish
- Perfect for: Romantic surprises, family celebrations, or beginner friendly gifting
- Perfecting Valentines Treat with Chocolate and Strawberries
- The Science of Why it Works
- Essential Yield and Timing Metrics
- Selecting High Quality Wholesome Ingredients
- Minimal Tools for Efficient Results
- Reliable Steps for Success
- Avoiding Common Kitchen Disasters
- Wholesome Dietary Swaps and Ideas
- Storage and Zero Waste Methods
- Visual Finishing and Styling Ideas
- Busting Typical Chocolate Myths
- Recipe FAQs
- 📝 Recipe Card
Perfecting Valentines Treat with Chocolate and Strawberries
You know that feeling when you bite into a chocolate covered strawberry and the shell just crumbles everywhere while the berry slides out? I've been there. My first attempt involved a watery mess and chocolate that looked more like gray sludge than a romantic gift.
After a lot of trial and error in my own kitchen, I’ve realized that the secret isn't fancy tools, it’s just a little bit of respect for the science of temperature.
We’re making a Valentines Treat with Chocolate and Strawberries that actually looks like it came from a high end boutique. You don’t need a culinary degree or a marble slab. We are going to focus on creating a stable, glossy coating that clings to the fruit and snaps when you bite it.
It is about building confidence in your technique so you can focus on the person you're sharing these with.
The beauty of this recipe is its simplicity. By using wholesome ingredients and a few specific steps to manage moisture, you will produce a result that is far superior to store-bought versions. Trust me, once you see that first berry set with a mirror like sheen, you’ll never go back to the pre packaged stuff.
Let’s get into the details of how to make this work every single time.
The Science of Why it Works
Understanding how fat and water interact is the key to mastering this dessert.
- Lipid Emulsification: Adding a small amount of refined coconut oil introduces specific fats that lower the melting point and increase the fluidity of the chocolate.
- Hydrophobic Barriers: Chocolate is fat based and naturally repels water; any surface moisture on the fruit will cause the chocolate to "bead" rather than cling.
- Seed Crystallization: Using chocolate chips, which are already tempered, helps the melted mixture "re learn" how to form a stable crystal structure as it cools.
- Hygroscopic Prevention: Cold fruit in a warm room creates condensation, so bringing berries to room temperature prevents the chocolate from seizing.
| Method | Time | Texture | Best For |
|---|---|---|---|
| Stovetop (Double Boiler) | 5 minutes | Ultra glossy and fluid | Large batches with precise control |
| Oven (Low Warm) | 12 minutes | Thick and matte | Hands off prep for very small amounts |
| Microwave | 2 minutes | Reliable and smooth | Quick weeknight treats with minimal cleanup |
Using the stovetop method allows you to watch the chocolate transform, ensuring you don't overshoot the temperature. When I use the oven, I find the dry heat can sometimes make the chocolate a bit more brittle, but it is great if you are multitasking.
Essential Yield and Timing Metrics
Before we start dipping, let's look at the logistics of this batch. Knowing your checkpoints keeps the process stress free.
| Component | Science Role | Pro Secret |
|---|---|---|
| 450g Strawberries | Structural Base | Use berries with long stems for a natural handle and better leverage. |
| 170g Chocolate Chips | Crystalline Coating | Opt for 60% cacao for a balance of snap and sweetness. |
| 5ml Coconut Oil | Viscosity Modifier | Refined oil ensures the chocolate stays thin enough to coat without clumps. |
The coconut oil is my favorite trick. It provides a velvety mouthfeel that mimics the expensive cocoa butter content of professional couverture chocolate.
Selecting high-quality Wholesome Ingredients
For a truly wholesome result, the quality of your fruit is everything. Look for berries that are firm and deeply red all the way to the top. If they are soft or bruised, they will release juice under the chocolate, causing it to slide off within an hour.
I always suggest washing them at least two hours before you plan to start.
- 1 lb (450g) Fresh Strawberries: Choose medium sized berries for the best chocolate to fruit ratio.
- 1 cup (170g) Semi Sweet Chocolate Chips: These provide a reliable snap.
- 1/3 cup (60g) White Chocolate Wafers: Perfect for the decorative drizzle.
- 1 tsp (5ml) Refined Coconut Oil: Use refined so you don't get a coconut flavor.
| Original Ingredient | Substitute | Why It Works |
|---|---|---|
| Semi Sweet Chips | Dark Chocolate (70%) | Less sugar, more intense flavor. Note: Needs slightly more oil. |
| Coconut Oil | Cocoa Butter | The professional standard for a crisp, firm snap. |
| White Chocolate Wafers | Greek Yogurt Bark | A tangy, lower fat alternative for the decorative drizzle. |
If you’re feeling adventurous, you can even use a version of my Sunshine Citrus orange recipe to flavor the white chocolate drizzle with a bit of orange zest for an extra aromatic kick.
Minimal Tools for Efficient Results
You don't need a pantry full of gadgets. A small heat proof glass bowl and a saucepan are your best friends here. The glass allows you to see if the water underneath is simmering too hard, which is a common mistake that leads to scorched chocolate.
You will also need a sheet of parchment paper or a silicone mat. Never use foil, as the chocolate will stick to it like glue and you’ll end up with a mess. A simple fork or a toothpick can help with the drizzling if you don't have piping bags handy. I personally just use a small spoon and a steady hand.
Reliable Steps for Success
Let's get to the fun part. Follow these steps closely, especially the drying phase, as that is where most people stumble.
- Dry the fruit. Pat each of the 450g of strawberries with a paper towel until bone dry to the touch. Note: Any moisture will seize the chocolate.
- Prepare the boiler. Fill a small pot with 2cm of water and bring to a bare simmer.
- Melt the base. Place 170g semi sweet chips and 5ml coconut oil in a glass bowl over the pot.
- Stir gently. Use a spatula to stir until 80% of the chips have melted, then remove from heat.
- Finish melting. Continue stirring off the heat until the mixture is glossy and smooth.
- Dip the berries. Hold a strawberry by the stem and submerge it into the chocolate, swirling once.
- Drain excess. Lift the berry and shake gently until the heavy dripping stops.
- Set on parchment. Place the berry down and slide it 1cm forward to prevent a large puddle.
- Melt the accent. Melt 60g white chocolate wafers in 15 second bursts in the microwave.
- Drizzle and chill. Use a spoon to flick white chocolate over the berries until a striped pattern forms.
Chef's Tip: If the chocolate starts to thicken while you are dipping, place the bowl back over the warm water for 30 seconds. Do not turn the stove back on; the residual heat is plenty.
If you are looking for a more decadent topping for other desserts, you might want to try this Heavenly Dark Chocolate Sauce recipe for dipping fresh fruit at the table instead of setting them in advance.
Avoiding Common Kitchen Disasters
The biggest heartbreak is seeing your chocolate turn into a grainy, matte clump. This usually happens because of "seizing," which is the chocolate's reaction to a single drop of water.
Why Your Chocolate Seized
If your chocolate suddenly turns from a liquid to a thick, gritty paste, water has entered the system. Even steam from the bottom of your double boiler can cause this. Once it happens, you can't really save it for dipping, but you can turn it into a ganache or a brownie stir in.
| Problem | Root Cause | Solution |
|---|---|---|
| Grainy Texture | Overheating the fat | Keep temperature below 46°C; melt slowly off heat. |
| Chocolate Sliding | Cold or damp fruit | Let berries reach room temperature and pat dry thoroughly. |
| White Streaks | Fat bloom (separation) | Stir constantly while cooling to keep fats emulsified. |
Common Mistakes Checklist
- ✓ Never let the bottom of your melting bowl touch the simmering water.
- ✓ Avoid using wooden spoons; they can hold onto hidden moisture and odors.
- ✓ Do not put the berries in the freezer to "speed up" the set; this causes condensation.
- ✓ Ensure the stems are fully dry so no water drips into the bowl while dipping.
- ✓ Use a deep, narrow bowl rather than a wide shallow one for easier submerging.
Wholesome Dietary Swaps and Ideas
This recipe is naturally vegetarian and gluten-free, but we can easily tweak it for other needs. I often make a version for my friends who avoid dairy by using high-quality cacao mass and a bit more maple syrup for sweetness.
- If you want a nutty crunch, roll the wet chocolate in crushed toasted almonds.
- If you want a vegan version, swap the chips for dairy-free dark chocolate and use a coconut based white chocolate.
- If you want a "Reese's" twist, whisk a teaspoon of smooth peanut butter into the melted chocolate.
For a completely different vibe, you might enjoy making a Giant PB Cups recipe if you love that chocolate and nut combination. It's a bit more intensive but uses many of the same melting principles we covered today.
Storage and Zero Waste Methods
These are best eaten within 12 hours. The refrigerator is a double edged sword; it sets the chocolate but can make the berries "weep" sugar syrup. I find that storing them in a single layer on parchment paper in a cool, dry area of the kitchen is often better than the fridge if you're eating them the same day.
If you have leftovers, they will keep in the fridge for up to 2 days, but the chocolate might soften. For zero waste, take any broken berries or leftover chocolate and blend them into a smoothie or chop them up for a morning yogurt bowl.
You can also freeze the leftover chocolate "scraps" to use in your next batch of cookies.
Visual Finishing and Styling Ideas
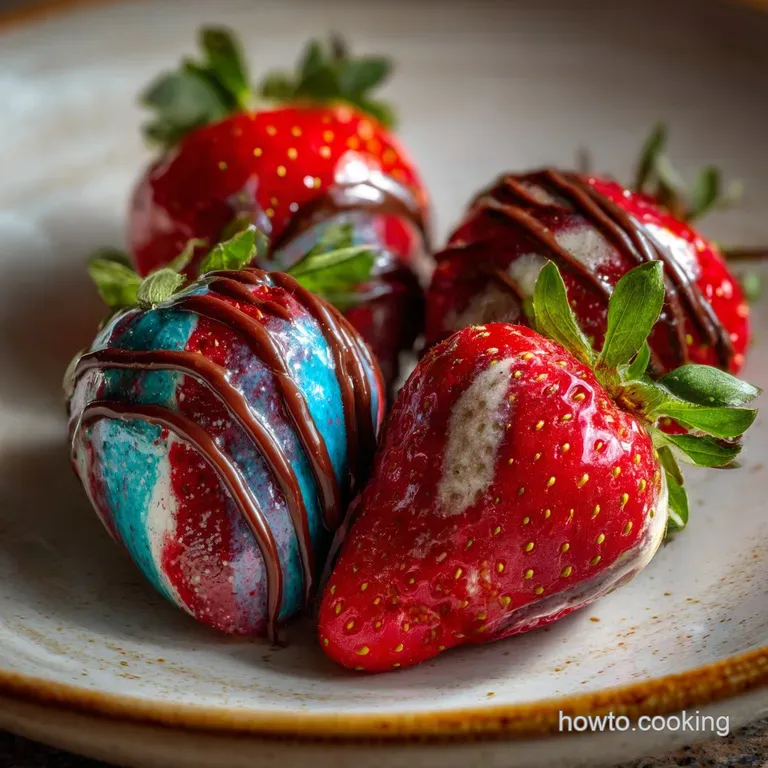
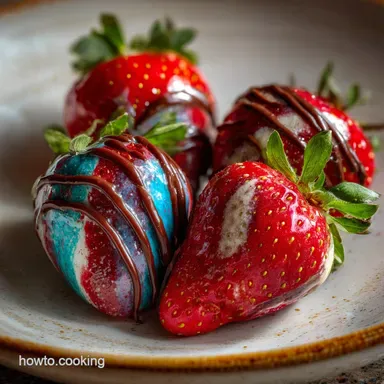
Presentation is half the fun with a Valentines Treat with Chocolate and Strawberries. If you want that high end look, try "double dipping." Dip once in dark chocolate, let it set, then dip halfway at an angle into the white chocolate for a tuxedo effect.
- The Contrast Drizzle: Use a fork to create very thin, fast lines across the berries.
- Metallic Dust: A tiny pinch of edible gold dust or even just a flake of sea salt can make these look incredibly professional.
- The Presentation Box: Place each berry in a mini cupcake liner to keep them from bumping into each other and scuffing the finish.
If you find yourself with extra chocolate and berries, you could even experiment with different dipping techniques like those found in this How to Dip recipe for frozen treats.
Busting Typical Chocolate Myths
One of the most common myths is that you need a thermometer to temper chocolate for dipping. While professionals use them, for a home cook making a small batch of strawberries, the "seeding" method (leaving some chips unmelted to stir in) is more than sufficient.
You are essentially using the stable crystals in the solid chips to "teach" the melted chocolate how to set.
Another myth is that you should wash berries right before dipping. This is a recipe for disaster. Berries are porous and will soak up water. Always wash them at least two hours ahead of time, or better yet, just wipe them with a damp cloth and dry them immediately.
This keeps the skin intact and the chocolate to berry bond strong.

Recipe FAQs
Can I use frozen strawberries for this Valentines treat?
No, stick with fresh. Frozen berries release too much moisture when they thaw, which will cause the chocolate coating to seize or slide off.
How do I prevent the chocolate from seizing?
Ensure absolutely no water or steam touches the chocolate. This means using a clean, dry bowl and preventing the bottom of the bowl from touching the simmering water in your double boiler.
My chocolate looks dull after it sets, what went wrong?
This typically indicates the chocolate wasn't properly tempered or cooled. For a glossy finish, ensure you're gently stirring off-heat until smooth, and try to avoid drastic temperature changes during setting.
How can I achieve a smooth, even chocolate coating on the strawberries?
Dip the strawberry quickly and lift it, shaking gently to remove excess chocolate. Swirl once to coat, then lift and let the excess drip off before placing it on parchment paper.
What's the best way to melt chocolate for dipping without a double boiler?
Melt in a heatproof bowl over very low heat or in the microwave at 50% power in 20-second intervals. Stir frequently between bursts to ensure even melting and prevent scorching.
How long do chocolate covered strawberries last?
They are best enjoyed within 12 hours for optimal texture and appearance. For longer storage, keep them in a single layer in a cool, dry place, or refrigerate for up to 2 days, though the chocolate may soften.
Is it true you must use special couverture chocolate for dipping?
No, this is a common misconception. high-quality chocolate chips with a good fat content, plus a little extra oil, work wonderfully for home dipping and provide a satisfying snap, similar to techniques used in our Ridiculously Rich Chocolate Sauce for Ice Cream.
Valentines Chocolate Strawberries
Ingredients:
Instructions:
Nutrition Facts:
| Calories | 110 kcal |
|---|---|
| Protein | 1.2 g |
| Fat | 6.1 g |
| Carbs | 14.7 g |
| Fiber | 1.2 g |
| Sugar | 12.3 g |
| Sodium | 8 mg |
