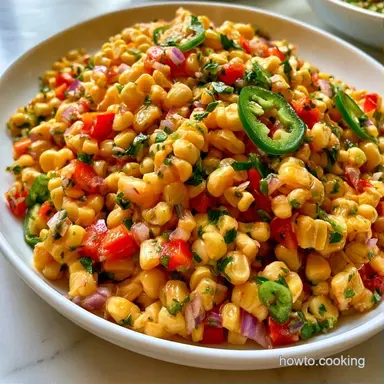
Corn Salsa Recipe for Canning in 30 Minutes
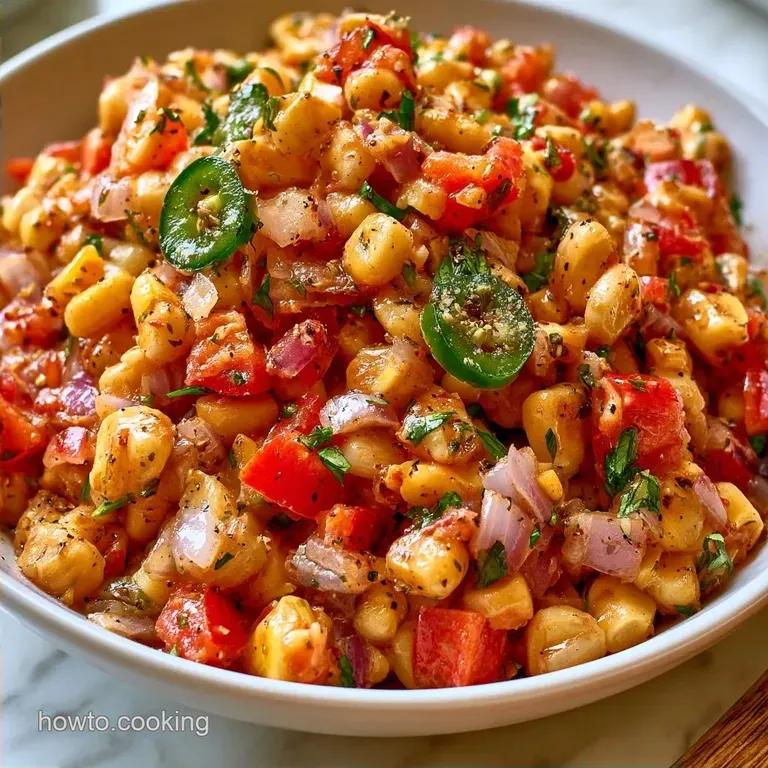
- Time: 20 min active + 25 min processing (45 min total)
- Flavor/Texture Hook: Tangy, crisp, and bright with a distinct corn pop
- Perfect for: Pantry stocking, holiday appetizers, or quick taco nights
The smell of apple cider vinegar hitting a hot pot is one of my favorite kitchen scents. It's sharp, clean, and promises something tangy. But not every batch of canned salsa turns out right.
I once spent a whole afternoon canning corn salsa that ended up tasting like sweet corn soup because I let it boil for thirty minutes. The corn lost its structure, the colors faded, and it was a total disaster. It taught me that with canning, less time on the stove usually means a better crunch in the jar.
This Corn Salsa Recipe for Canning fixes that mushy texture. We're using a fast simmer method that preserves the "pop" of the corn while ensuring the brine is strong enough for safe storage. It's a straightforward way to get garden fresh flavor without spending your whole Saturday in a steam filled kitchen.
The Reason This Works
Quick Simmer: Cooking the corn for exactly 10 minutes prevents the cell walls from collapsing, so it stays crisp.
Acid Ratio: The apple cider vinegar and bottled lime juice lower the pH, which keeps the salsa safe for shelf storage.
Uniform Dicing: Cutting the peppers and onions to the same size ensures the brine penetrates every piece evenly.
| Method | Time | Texture | Best For |
|---|---|---|---|
| Quick Fresh | 20 mins | Soft/Fresh | Immediate eating |
| Canned | 45 mins | Crisp/Tangy | Long term storage |
Quick Recipe Specs
Here are the details. This yields about 4 to 5 pints. Because we're using a water bath, make sure your pot is deep enough to cover the jars by at least an inch of water.
Preparation takes 20 minutes, mostly for chopping. While the actual cooking is only 10 minutes, the total time including the water bath processing is 45 minutes. It's a streamlined process that stays efficient.
The Ingredient Breakdown
I've found that pickling salt is the way to go here. Regular table salt often has anti caking agents that make your canning brine look cloudy.
| Ingredient | What It Does | Best Swap |
|---|---|---|
| Sweet Corn | Provides sweetness and crunch | Frozen corn (thawed) |
| Apple Cider Vinegar | Primary acid for preservation | White distilled vinegar |
| Bottled Lime Juice | Adds a zesty, bright finish | Extra ACV (if no lime) |
| Pickling Salt | Preserves without clouding brine | Kosher salt (use more) |
- 6 cups (850g) fresh sweet corn kernels, cut from cob Why this? Fresh corn has the best natural sugar and snap
- 2 cups (300g) red bell pepper, finely diced Why this? Adds color and a mild sweetness
- 1 cup (150g) red onion, finely diced Why this? Provides a sharp, savory contrast
- 1/2 cup (75g) jalapeño, seeded and minced Why this? Gives a clean, medium heat
- 1 1/2 cups (350ml) apple cider vinegar Why this? Milder than white vinegar, better flavor
- 1/2 cup (100g) granulated sugar Why this? Balances the acidity of the vinegar
- 1 tbsp (18g) pickling salt Why this? Keeps the brine clear
- 1 tsp (5g) salt free garlic powder Why this? Distributes garlic flavor without chunks
- 1/4 cup (60ml) bottled lime juice Why this? Bottled has consistent acidity for safety
- 1/2 cup (15g) fresh cilantro, chopped Why this? Adds a fresh, herbaceous finish
Basic Tools Needed
Minimal equipment is required for this. A large stainless steel pot for the brine and a standard water bath canner are the main essentials.
I strongly suggest using a wide mouth funnel to keep the jar rims clean, as this is the only way to ensure a proper seal. You will also need a plastic spatula or a bubble remover tool to clear out any trapped air.
Step-by-step Instructions
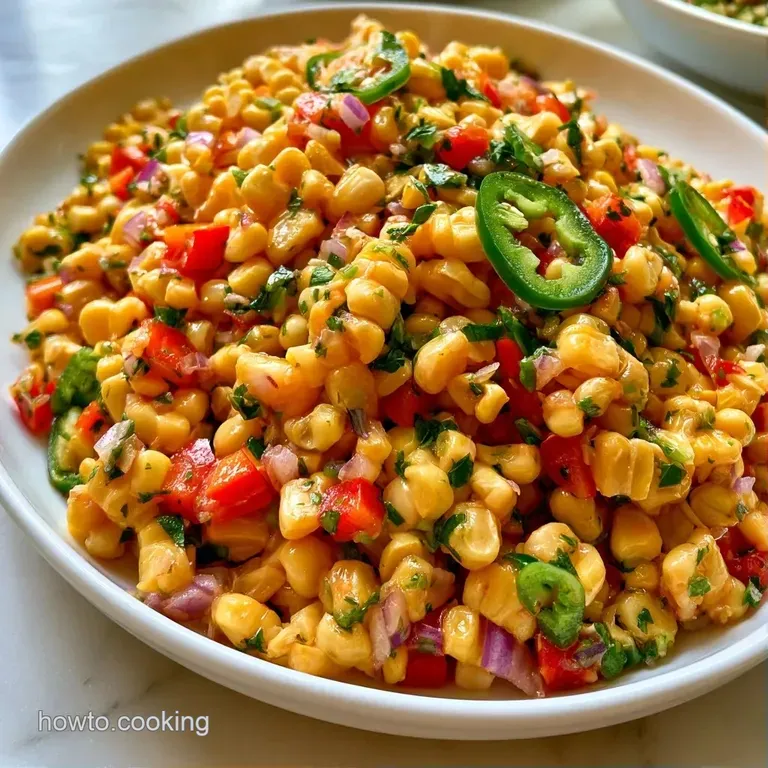
Phase 1: The Prep Work
- Sterilize your pint jars in boiling water. Keep them hot so the glass doesn't crack when the hot salsa hits it.
- Dice the corn, peppers, onion, and jalapeños. Keep the pieces small and uniform so the flavor distributes evenly.
Phase 2: Simmering the Salsa
- Combine apple cider vinegar, sugar, and pickling salt in a large pot. Bring to a boil over medium high heat until the sugar dissolves completely.
- Stir in the corn, red pepper, onion, and jalapeños.
- Reduce heat and simmer for 10 minutes until the vegetables are bright but still firm.
- Remove the pot from heat and stir in the bottled lime juice and fresh cilantro.
Phase 3: The Canning Process
- Ladle the hot salsa into sterilized jars. Leave exactly 1/2 inch (1.3cm) of headspace.
- Run a bubble remover tool around the inside of the jar to release trapped air.
- Wipe the rims clean, center the lids, and screw on the bands until fingertip tight.
- Process the jars in a water bath canner.
Fixing Typical Problems
For Jars That Won't Seal
If a lid feels springy or doesn't "pop" after 24 hours, the seal failed. Don't put it on the shelf. Put it in the fridge and eat it within 3 weeks, or re process it with a new lid.
For Too Much Liquid
Sometimes the vegetables release more moisture than expected. If your jars look like soup, use a slotted spoon to pack the vegetables in first, then pour the brine over the top.
For a Mushy Texture
This usually happens if the simmer goes past 10 minutes. Trust the clock. The corn will continue to soften slightly during the water bath process, so pulling it off the heat early is key.
Flavor Twists and Swaps
To create a Roasted Corn Salsa for Canning, char the corn in a cast iron skillet before it goes into the pot to capture that smoky, summer BBQ essence. For a Sweet Corn Salsa variation, leave out the jalapeño and increase the sugar by two tablespoons.
If you want more heat, a Spicy Corn Salsa for Canning is easy to make by stirring red pepper flakes into the brine. This variety pairs excellently with a homemade salsa made from charred tomatoes.
| Goal | What to change |
|---|---|
| More Heat | Add 1 more minced jalapeño |
| Sweeter | Add 1 tbsp extra sugar |
| Tarter | Increase vinegar by 2 tbsp |
Storage and Zero Waste
The processed jars can sit in a cool, dark pantry for up to a year. Once you open a jar, it goes in the fridge. It'll stay fresh for about 3 weeks there.
To avoid waste, don't toss the corn cobs after cutting the kernels. Throw them in a freezer bag and use them to make a quick vegetable stock. Even the stems of the cilantro can be blended into a pesto or frozen in ice cubes for future soups.
When you're scaling this Corn Salsa Recipe for Canning, remember that spices don't always double perfectly. If you're making a 4x batch, only increase the salt and garlic powder to 3x to avoid over seasoning.
Best Serving Suggestions
This salsa is wonderful with thick corn chips, but it truly excels as a topping. I love adding it to grilled tilapia or using it to add a fresh zing to black bean soup.
For parties, you can use it as a base for a Rotel dip by mixing the canned corn salsa into softened cream cheese. It provides a chunky, fresh consistency that guests adore.
This recipe is highly versatile, making it an excellent choice for a cold side dish. Just drain some of the brine and toss it with diced avocado and lime for a fast Southwestern salad.
Recipe FAQs
Can corn salsa be canned?
Yes, provided you use a water bath canner. This allows for safe pantry storage and pairs well with our fresh tomato sauce for a festive appetizer spread.
What common errors ruin canned salsa?
Incorrect headspace is a frequent mistake. Leave exactly 1/2 inch (1.3cm) of space at the top of each jar to ensure the lids seal properly.
Which ingredients are used in this recipe?
Fresh sweet corn, red bell pepper, and red onion form the base. The mixture is balanced with apple cider vinegar, sugar, pickling salt, garlic powder, bottled lime juice, and cilantro.
Is it true that canning requires expensive industrial gear?
This one's false: A large pot and sterilized pint jars are all you need for a successful water bath process.
How to ensure the corn stays crisp?
Simmer for only 10 minutes. Reducing the heat quickly after boiling prevents the kernels from overcooking while allowing the brine to penetrate.
Canned Corn Salsa Recipe