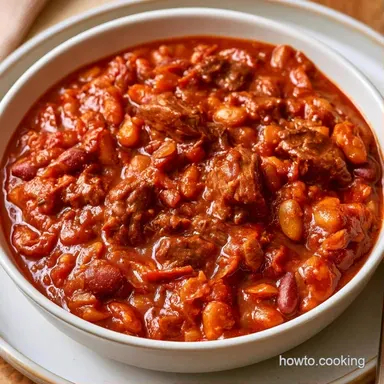
Failure-Proof Canning Chili Con Carne
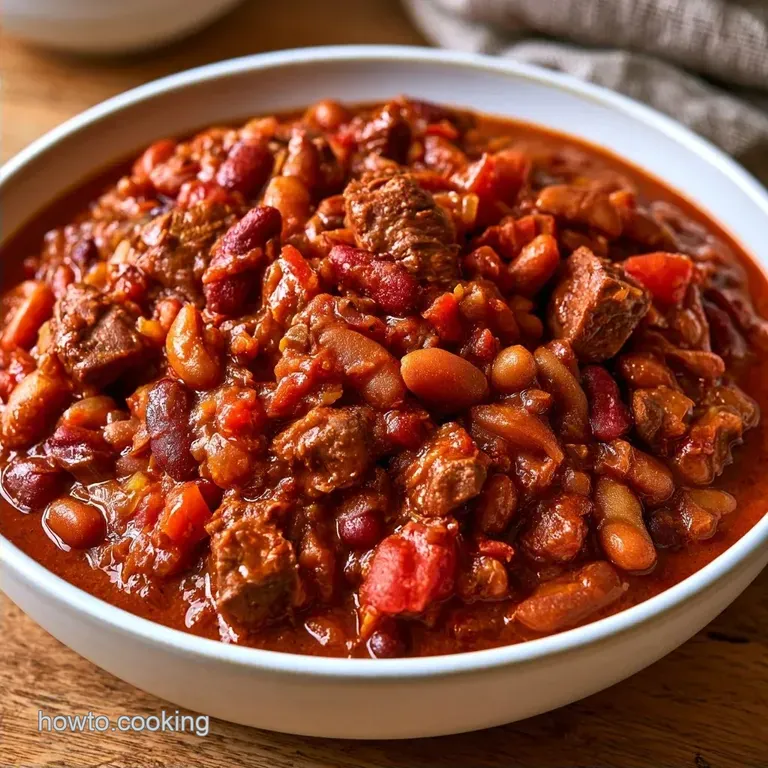
- Time: 20 min active + 12 hours soaking + 1 hours 45 mins cooking
- Flavor/Texture Hook: A deep mahogany hue with beans that maintain a firm bite
- Perfect for: Emergency meal prep and long-term pantry storage
The aroma of toasted cumin and seared beef wafts through the house as this pot begins to simmer. In my early attempts at canning meat stews, I once neglected to drain the beef fat. This created an oily layer atop the jars that interfered with the seals, and I had to discard three jars because the lids never popped.
I've since refined my process. Now, I use lean beef and ensure all excess fat is removed before adding other ingredients. This version of Chili Con Carne requires patience, especially when handling the beans.
Rushing the soaking process or overcooking them too early will result in a thick paste rather than a hearty, chunky stew.
We are aiming for a bold, concentrated flavor that stands up to six months of shelf storage. It is a comforting, family friendly meal that satisfies every craving. Here is how to make it without any guesswork.
Bean and Meat Logic
Partial Pre cook: We simmer beans until they're just barely tender. The pressure canner then finishes the job, which stops them from dissolving.
Fat Removal: Draining the beef fat is a must. Excess oil can seep under the jar lids and cause seal failures during the cooling process.
Acid Balance: The crushed tomatoes provide enough acidity to help the preservation process. This makes the mixture safer for Long term storage in the pantry.
| Method | Time | Texture | Best For |
|---|---|---|---|
| Stovetop | 2 hours | Softer beans | Immediate dinner |
| Pressure Canning | 13+ hours | Firm beans | Long term storage |
Trust me, the extra time spent soaking the beans is what makes this work. If you use canned beans, they often disintegrate under pressure. Using dried beans gives you that structural bite we're after.
Shopping List Basics
First, let's break down the role of each main ingredient in the pot.
| Component | Purpose | Substitute Notes |
|---|---|---|
| Lean Ground Beef | Core protein | Turkey: A leaner, milder alternative |
| Dried Kidney/Pinto/Black Beans | Substantial texture | Canned: Avoid for canning purposes |
| Crushed Tomatoes | Acidity and thickness | Tomato puree: Creates a denser feel |
| Beef Broth | Liquid foundation | Water + bouillon: An acceptable swap |
Now, here are all the ingredients you'll need to gather.
- 2 lbs lean ground beef Why this? Reduces fat to ensure secure jar seals
- 2 cups low sodium beef broth Why this? Keeps salt in check for long term storage
- 28 oz crushed tomatoes
- 15 oz tomato sauce
- 1 cup dried kidney beans Why this? Provides a traditional chili build
- 1 cup dried pinto beans
- 1 cup dried black beans
- 1 large yellow onion
- 3 cloves garlic
- 3 tbsp chili powder
- 1 tbsp ground cumin
- 1 tsp smoked paprika
- 1 tsp salt
- 1/2 tsp black pepper
- 1 tbsp olive oil
If you're missing pinto beans, simply substitute them with extra kidney beans; it won't affect the safety, only the appearance of the mix.
Timing and Yield
This recipe is designed for a full batch. You'll end up with 9 pint sized jars.
- Prep time
- 20 minutes
- Cook time
- 1 hours 45 mins
- Total time
- 13 hours 25 mins (includes overnight soak)
Keep in mind that the total time looks huge because of the beans. The actual hands on work is quite low. I usually start the soak on Sunday night and can the batch on Monday afternoon.
| Goal | What to change |
|---|---|
| More heat | Add diced jalapeños |
| Thicker stew | Reduce beef broth |
| Smokier base | Extra smoked paprika |
For those who want to adjust the size, just be careful with the spices. If you double the beef, only increase the salt and chili powder by 1.5x to avoid overpowering the dish.
The Canning Kit
You can't do this with a regular pot. You need a pressure canner to reach the temperatures required for meat and beans.
- Pressure canner (dial or weighted gauge)
- 9 pint sized canning jars
- New lids and rings
- Large stockpot
- Fine mesh strainer (for draining beef fat)
- Jar lifter and bubble remover tool
If you're new to this, follow the safety procedures to avoid risks like botulism. It's all about getting the temperature right. I personally use a Presto pressure canner, but any rated brand works.
Step by step Flow
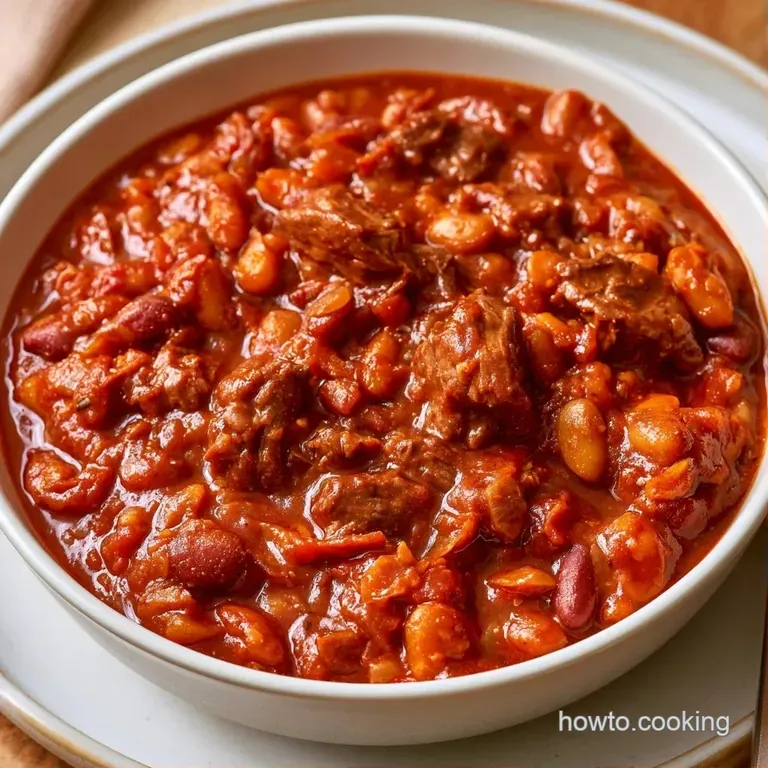
Let's get the Chili Con Carne moving.
- Soak the kidney, pinto, and black beans in water overnight. Note: This hydrates the legumes so they cook evenly
- Drain and rinse the beans, then simmer in fresh water for 30 minutes until tender but firm in the center. Drain and set aside.
- Heat olive oil in a large stockpot over medium high heat. Add ground beef and cook until browned and sizzling, then drain all excess fat.
- Add diced onion and minced garlic to the beef and cook 3–5 minutes until onions are translucent.
- Stir in chili powder, cumin, smoked paprika, salt, and black pepper. Toast for 60 seconds until the aroma hits you.
- Pour in the beef broth, crushed tomatoes, and tomato sauce, then stir in the pre cooked beans.
- Ladle the mixture into 9 pint sized canning jars, leaving 1 inch of headspace.
- Wipe the rims clean, center the lids, and screw the rings on until fingertip tight.
- Process jars in a pressure canner at 10 lbs (dial gauge) or 11 lbs (weighted gauge) for 90 minutes.
Once the timer goes off, let the pressure drop naturally. Don't force it or you'll get "siphoning," where the liquid gets sucked out of the jars.
Fixing Common Issues
Canning is a bit of a science, and errors can occur. A frequent struggle is the failure of the "liquid ring," where the lid fails to seal. This is usually caused by a stray bit of onion or beef fat remaining on the jar's rim. Be sure to wipe the rims clean with a damp paper towel before applying the lid.
Bean texture is another consideration. If you notice the beans are too soft after opening, you likely simmered them too long during step 2. Remember that pressure canning serves as a second, high intensity cooking phase.
Bean Texture Issues
If the beans are mushy, reduce your pre-simmer time to 20 minutes next time.
Seal Failure Problems
A lid that doesn't pop typically indicates incorrect headspace or a dirty rim.
Fat Separation Issues
A layer of oil at the top indicates that the beef wasn't drained enough.
| Problem | Root Cause | Solution |
|---|---|---|
| Mushy Beans | Over simmering before canning | Reduce pre cook time |
| Unsealed Lid | Fat residue on jar rim | Wipe rims with vinegar/water |
| Too Thin | Too much broth used | Simmer longer before jarring |
If a jar fails to seal, simply store it in the refrigerator and consume it within 3 days. Do not store it in the pantry.
Pantry and Fridge Tips
After the lids have sealed and cooled, store this Chili Con Carne in a cool, dark area, like a pantry or cellar. They stay shelf stable for around a year, although the flavor is most vibrant within the first 6 months.
To minimize waste, keep the bean soaking water (provided it wasn't salted). It's rich in starch and works well as a thickener for other soups or stews. For any leftover beef broth, freeze it in ice cube trays for use in future pan sauces.
To serve, simply open the jar and heat it on the stove. I suggest adding a splash of water or additional broth, as the stew tends to thicken slightly during storage.
Best Serving Ideas
This is a heavy meal, so you want sides that cut through the richness. I love serving it over a scoop of white rice or a side of honey glazed cornbread.
If you want something with a bit more kick on the side, a Rotel Dip recipe with tortilla chips is a great appetizer to serve before the main pot.
Don't forget the toppings. A dollop of sour cream, some shredded sharp cheddar, and sliced scallions make a huge difference. A squeeze of fresh lime juice right at the end brightens up the whole dish.
Customizing Your Pot
Feel free to customize this Chili Con Carne to suit your preferences. For a more authentic "Texas style," try Canning Chili Without Beans and simply double the beef. Be sure to drain the fat thoroughly, as adding more meat increases the oil content.
For an even more filling option, see my Hearty Cowboy Chili for a different take on the flavors.
If you prefer a low-sodium version, replace the beef broth with water and select "no salt added" crushed tomatoes. You can always stir in a pinch of salt to the bowl when serving.
| Ingredient | Swap | Result |
|---|---|---|
| Beef | Ground Turkey | Lighter, less rich |
| Kidney Beans | Chickpeas | Nuttier flavor, firmer bite |
| Smoked Paprika | Chipotle Powder | More heat and deep smoke |
Whether you are prepping for winter or need a fast Tuesday dinner, keeping these jars in your pantry is a lifesaver that removes the stress from mealtime. Just remember to follow the safety guidelines from the National Center for Home Preservation. and you'll be all set. Dig into your Chili Con Carne!
High in Sodium
850 mg 850 mg of sodium per serving (37% 37% of daily value)
The American Heart Association recommends a daily sodium limit of no more than 2,300 mg, and an ideal limit of 1,500 mg for most adults to reduce the risk of cardiovascular disease.
Tips to Reduce Sodium
-
Swap the Broth-30%
Replace the low sodium beef broth with water or a homemade unsalted vegetable stock to significantly lower the base sodium level.
-
Omit Added Salt-25%
Completely remove the 1 tsp of salt from the recipe; the natural sodium in the tomatoes and beef is often sufficient.
-
No-Salt Added Tomatoes-20%
Substitute the crushed tomatoes and tomato sauce with 'no salt added' canned versions to avoid hidden preservatives.
-
Enhance with Fresh Flavors
Add fresh cilantro, a squeeze of lime juice, or diced jalapeños at the end to add brightness and depth without adding sodium.
Recipe FAQs
Can you can chili in a water bath?
No, this is dangerous. Chili contains meat and low-acid vegetables, which require the intense heat of a pressure canner to eliminate botulism spores.
Will homemade chili stay safe when canned?
Yes, provided you use a pressure canner. Following strict processing times and pressure settings ensures the food is shelf stable and safe to eat.
Do mason jars work for this recipe?
Yes, mason jars are the standard choice. Just ensure you leave the correct headspace and use new lids to achieve a proper vacuum seal.
Should I can or freeze my chili?
Freeze for optimal quality. While canning allows for long term pantry storage, freezing preserves the texture of the beef and beans more effectively.
How to pressure can chili con carne?
Process jars at 10 lbs (dial gauge) or 11 lbs (weighted gauge) for 90 minutes. Using a certified pressure canner is the only way to reach the temperatures required for this recipe.
Is it true that water bath canning is sufficient?
No, and here's why. Water baths only reach 212°F, which is not nearly hot enough to safely preserve low-acid foods like beef and beans.
Why soak the beans overnight?
Ensure the legumes hydrate for even cooking. This step prevents the kidney, pinto, and black beans from having hard centers after simmering.
Which meat browning technique is best?
Brown the beef in olive oil until it is sizzling and well colored. Pour off any excess fat immediately to stop the oil from separating in the jars. If you liked this searing technique, try it out in our homemade sloppy joes.
Canning Chili Con Carne