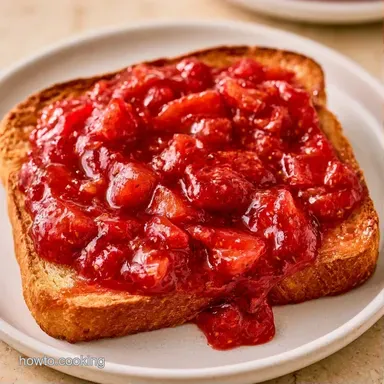
Old Fashioned Strawberry Jam for Canning
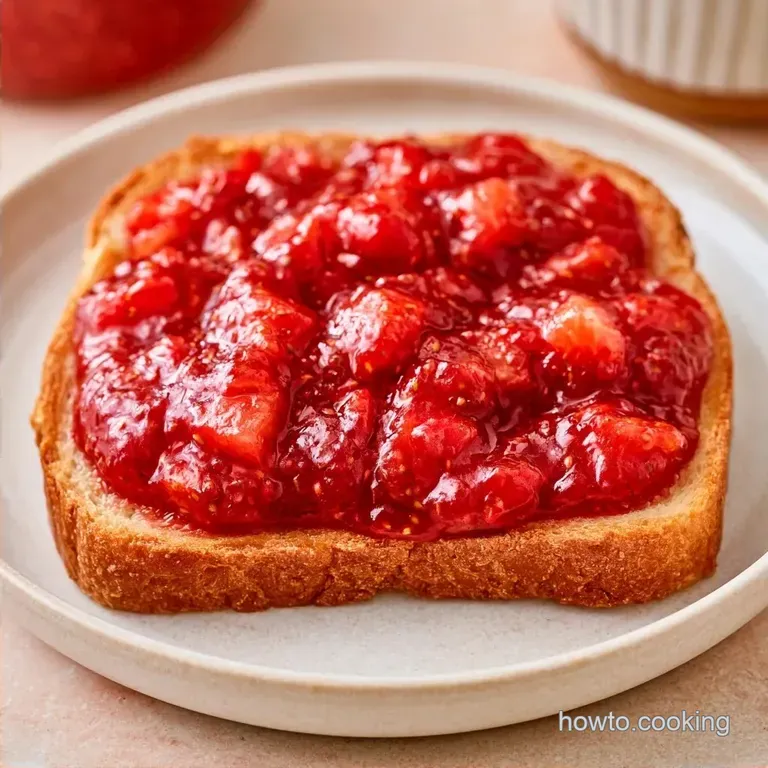
- Time: 30 min active + 24 hours resting
- Flavor/Texture Hook: Bright, glossy, and chunky
- Perfect for: Summer preserves, gift jars, or weekend brunch
The smell of hot strawberries and sugar filling the kitchen is honestly one of my favorite things about summer. There's something about that scent that just feels like sunshine in a pot.
I once spent an entire afternoon stirring a massive pot of berries, only to end up with a runny, bright red syrup that refused to set. It was a total disaster. I realized then that you can't just simmer fruit and hope for the best; you need the right temperature and acid to make the magic happen.
Now, I keep it simple. This version of Strawberry Jam is all about the fruit. We're using a few basic ingredients and a steady heat to get that classic, spreadable consistency. It's a great way to make your own Strawberry Jam for Canning when the berries are at their peak.
What Makes This Work
- Lemon Juice: This adds the acid needed to help the natural pectin in the strawberries bond with the sugar.
- High Heat: A rapid, rolling boil evaporates water quickly, which concentrates the flavor and helps the jam set faster.
- Sugar Ratio: The sugar doesn't just sweeten; it acts as a preservative and helps create the gel structure.
Ingredient Roles and Swaps
| Ingredient | Role | If You Don't Have It |
|---|---|---|
| Fresh Strawberries | Primary flavor and pectin | Raspberries (will be tarter) |
| Lemon Juice | Activates pectin and balances sugar | Lime juice (slightly more bitter) |
| White Sugar | Thickening agent and preservative | Cane sugar (works the same) |
When you're making a batch of Strawberry Jam, the quality of the berries matters most. I prefer using berries that are just barely ripe, as they often have slightly more natural pectin than the over ripe, mushy ones.
The Building Blocks
- 3 lbs fresh strawberries, hulled and crushed Why this? Provides the bulk and natural flavor.
- 1/4 cup fresh lemon juice Why this? Essential for the set and brightness.
- 3 cups granulated white sugar Why this? Creates the necessary gel structure.
The Gear You Need
No professional equipment is required for this process. The most critical tool is a large, heavy bottomed pot, which ensures heat is distributed evenly and prevents the sugar from scorching. For more precision, I suggest using a candy thermometer to remove the guesswork.
Regarding the canning, you will need lids and sterilized jars, plus a deep pot capable of covering the jars with an inch of water. To remove air bubbles before sealing, a plastic knife or a bubble remover tool works well.
Step by step Process
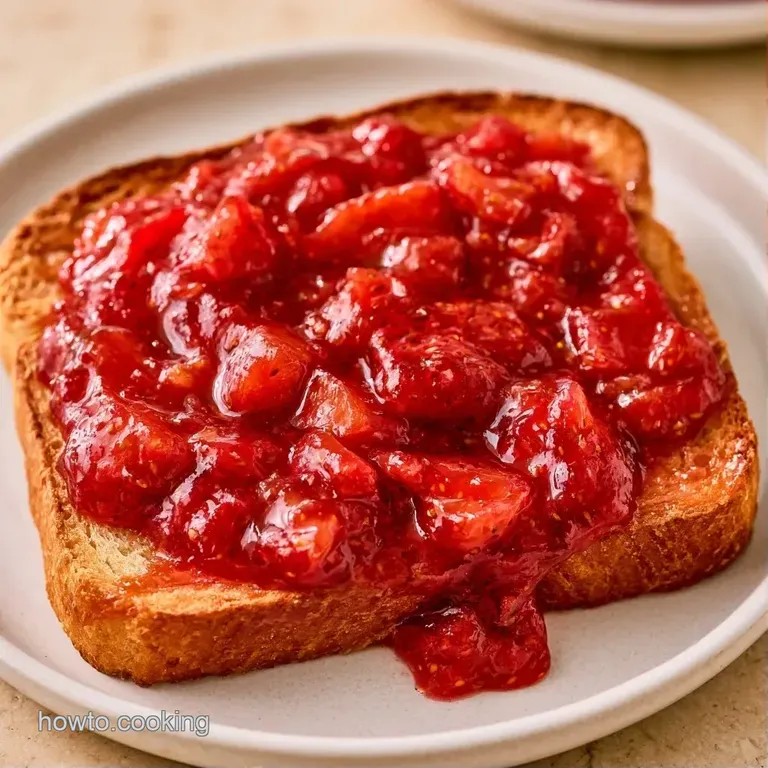
- Remove the green hulls from the strawberries. Use a food mill or potato masher to crush the berries to your preferred consistency, leaving a few chunks for a traditional texture.
- Combine the crushed fruit, lemon juice, and sugar in a large, heavy bottomed pot. Stir over medium heat until the sugar has fully dissolved.
- Turn the heat to high and bring the liquid to a vigorous boil. Stir constantly so the bottom doesn't scorch.
- Use a candy thermometer to monitor the temperature. Continue boiling the Strawberry Jam until it reaches 220°F (104°C).
- Check the set using the plate test: place a small dollop of jam on a frozen plate. If it wrinkles when pushed with your finger, it is finished.
- Carefully ladle the hot jam into sterilized jars, leaving exactly 1/2 inch (1.3cm) of headspace.
- Run a bubble remover tool along the inside of the jars to clear any air pockets and wipe the rims clean.
- Center the lids and rings. Submerge the jars in a boiling water bath, ensuring at least 1 inch of water covers them. Process for 10 minutes.
- Remove the jars and let them sit undisturbed for 24 hours until the vacuum seal is set.
Chef's Note: To make the plate test more reliable, place two small plates in the freezer for 30 minutes before you begin cooking. This provides an immediate result on whether the jam has set.
Handling Jam Issues
If you find that your jam is too runny after the 24 hour resting period, don't toss it. You can simply pour it back into the pot and bring it back up to 220°F. Most of the time, a runny set happens because the boil wasn't quite "rolling" or the thermometer was slightly off.
Another common issue is excessive foam on top. You can skim this off with a spoon during the boil, or add a tiny pat of butter to the pot at the start to keep the bubbles down.
Fixing a Runny Set
This usually happens when the jam is pulled off the heat too early. Re boiling is the only real fix.
Managing Excessive Foam
Air bubbles and fruit proteins create a layer of foam. Skimming it ensures a clearer, more glossy look.
| Problem | Root Cause | Solution |
|---|---|---|
| Jam won't set | Didn't reach 220°F | Re boil until temperature is hit |
| Burnt bottom | Heat too high/not stirring | Stir constantly with a silicone spatula |
| Mold in jar | Poor seal or dirty rim | Wipe rims with vinegar before sealing |
Adjusting the Batch Size
If you're working with a small amount of berries, you can cut the recipe in half. Using a smaller pot prevents the liquid from reducing too rapidly, which helps avoid burning. The jam will likely hit 220°F a few minutes sooner than a full batch.
Be cautious when doubling or tripling the recipe. Stirring 6-9 lbs of fruit is a lot of work, and the pot's center can overheat while the edges remain cool. I suggest splitting the work into two separate batches. For very large batches, decrease the lemon juice by roughly 10% to ensure the flavor stays balanced.
For those interested in different ways to concentrate the fruit, here is a comparison of methods:
| Method | Flavor Profile | Effort |
|---|---|---|
| Stovetop Only | Bright, fresh fruit | Low |
| Oven Prepped | Concentrated, jammy | Medium |
The oven prepped method involves roasting the berries first to eliminate water, which creates a richer flavor but increases the total time.
| Goal | What to change |
|---|---|
| Thicker set | Add 1 tbsp lemon juice |
| More fruit chunks | Mash berries less |
| Less sweetness | Reduce sugar by 1/2 cup |
Saving and Storing Jam
Adhere to proven recipes and USDA guidelines to ensure your food is preserved safely. Once processed and sealed, the jars can be stored in a cool, dark pantry for up to a year.
If you prefer to skip the boiling water bath, store the Strawberry Jam in the refrigerator for about 3 weeks. For a longer term alternative to canning, keep the jam in plastic containers in the freezer for up to 6 months.
Don't discard the strawberry hulls; instead, keep them in a freezer bag to use later for quick berry infused water or simply add them to your compost pile. This is a simple way to prepare jam for canning while making full use of your entire harvest.
Ways to Switch Things
This recipe is easy to customize depending on your preference. Adding a teaspoon of vanilla bean paste lends a dessert like quality, while stirring in a tablespoon of balsamic glaze at the end of the boil offers a more sophisticated flavor.
To try something new, make a batch of Jam for Canning using half strawberries and half raspberries. The raspberries contribute a sharper tang and a higher amount of natural pectin. Any leftover jam is also perfect as a filling for strawberry monkey bread.
Perfect Complements
This topping is perfect for a slice of pound cake, particularly while the cake is still warm. It also tastes wonderful on sourdough toast layered with salted butter.
For a morning meal, combine it with cream cheese on a toasted bagel. For a more indulgent option, stir a spoonful into Greek yogurt with granola and a drizzle of honey. It's a simple way to make your weekday breakfast feel special.
Recipe FAQs
Can strawberry jam be water bath canned?
Yes, it is safe to process in a boiling water bath.
Tip: Ensure jars are covered by at least one inch of water for consistent heating.
Do I need to add commercial pectin for the jam to set?
Actually, no. Boiling the berries with lemon juice and sugar to 220°F activates the fruit's natural pectin.
Tip: Use the plate test to confirm the set before you begin jarring.
How long should I process the pint jars in the water bath?
Submerge the jars in boiling water for 10 minutes.
Tip: Let the jars sit undisturbed for 24 hours to ensure the vacuum seal pops.
How do I make jam using fresh berries?
Crush the berries and boil them with sugar and lemon juice until the mixture reaches 220°F.
Tip: Leave some chunks for a more old-fashioned texture.
What is an easy way to make jam without canning?
Boil the ingredients as directed and transfer the hot jam into clean jars for refrigerator storage.
Tip: This version works beautifully as a topping for fruit pizza.
Is it true that sugar should only be added at the end?
That's a myth. Dissolving the sugar over medium heat first prevents crystallization and ensures a smooth boil.
Tip: Stir constantly on high heat to prevent the bottom from scorching.
Strawberry Jam For Canning