Cherry Bomb Cobbler
- Quick Hook
- Cherry Cobbler Crockpot Recipe: A Slice of Americana
- Main Benefits
- Let's talk Ingredients:
- Ingredients & Equipment
- Prep Steps: Mise en Place - Get Your Ducks in a Row!
- Step-by-Step: Let's Get Cooking!
- Pro Tips: The Secret Sauce
- Recipe Notes: Nailing That Cherry Cobbler Recipe
- Frequently Asked Questions
- 📝 Recipe Card
Alright, love, fancy a cherry cobbler recipe that's so easy, even your nan could nail it? honestly, i was craving something proper comforting the other day.
You know, the kind of dessert that just hugs you from the inside out. and bingo! cherry cobbler crockpot recipe came to mind.
Quick Hook
Ever wondered what sunshine tastes like? This Cherry Cobbler recipe gets pretty close. It's sweet, tart, and utterly scrumptious.
Cherry Cobbler Crockpot Recipe: A Slice of Americana
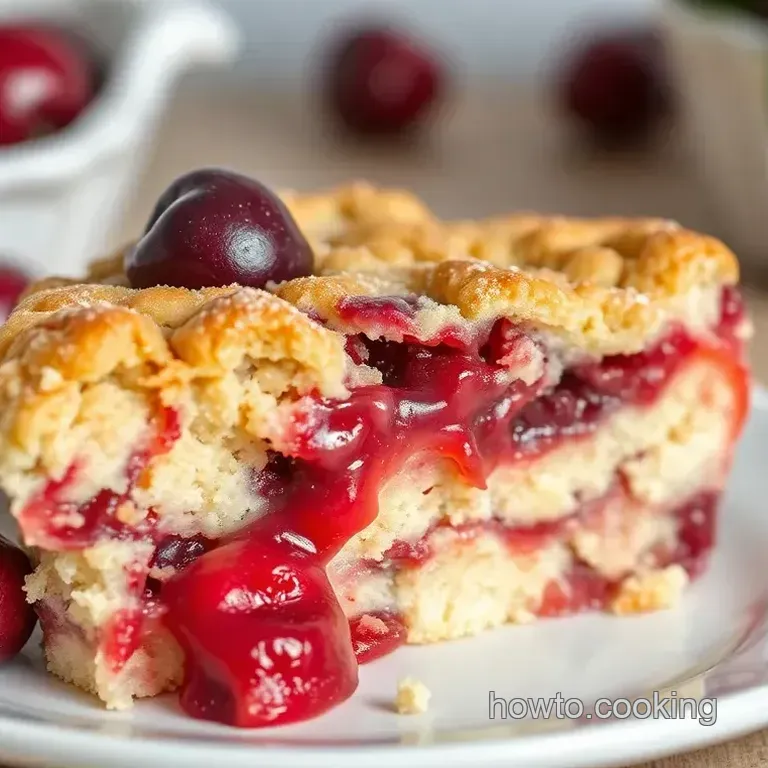
This easy cherry cobbler is basically a hug in a bowl. this beaut comes from the good ol' us of a.
It’s pure comfort food, and it's ready in just over an hour. this recipe will give you around 6-8 servings.
Perfect for a sunday roast afters, eh? we could try even a cherry cobbler fresh cherries option.
Main Benefits
Cherries are packed with antioxidants, so this is practically a health food. okay, maybe not entirely, but it's got fruit in it! serve it up at a summer bbq or any time you need a pick-me-up.
What makes this recipe special is how easy it is. we can even use crockpot berry cobbler cake mixes if we are feeling particularly lazy.
Let's talk Ingredients:
You'll need cherries of course, fresh or frozen, around 6 cups. granulated sugar will sweeten the deal, roughly ¾ cup.
Two tablespoons of cornstarch will thicken the filling. add a dash of lemon juice, a tiny bit of almond extract, and a pinch of salt.
For the cobbler topping, grab some flour, baking powder, and a little more sugar. don't forget that cold butter. and lastly, a splash of whole milk.
Honestly, that is what you need for the cherry cobbler recipe .
Ready to get baking?
Right, let’s talk ingredients and kit for this amazing cherry cobbler recipe . No need for a fancy culinary degree, honest! This is proper home cooking.
Ingredients & Equipment

Main Ingredients - Cherry Goodness!
Okay, here’s what you need. Simple, innit?
-
Cherries:
6 cups (750g)
fresh or frozen, pitted. Frozen's grand if you're making this in December.
- Quality Check: Go for cherries that are firm, plump, and juicy looking. Nobody wants mushy cherries!
- Granulated Sugar: ¾ cup (150g) for the filling.
- Cornstarch: 2 tablespoons (15g) - this helps thicken the yummy sauce.
- Lemon Juice: 1 tablespoon (US: 0.5 fluid ounces) – brightens the whole thing up.
- Almond Extract: ½ teaspoon – a secret weapon for extra flavour!
- Salt: Just a pinch!
- All-Purpose Flour: 1 ½ cups (190g) for the topping.
- Granulated Sugar (topping): ½ cup (100g) , plus 2 tablespoons (1 ounces) for sprinkling.
- Baking Powder: 1 ½ teaspoons - makes the topping rise nicely.
- Salt (topping): ¼ teaspoon .
- Cold Unsalted Butter: 6 tablespoons (85g) , cubed. Absolutely must be cold.
- Whole Milk: ¾ cup (180ml) .
This easy cherry cobbler can be made in a crockpot . We can also make a slow cooker cherry dump cake .
Seasoning Notes - Spice It Up (Or Don’t!)
Fancy giving it a bit of oomph?
- Essential Spice Combo: A tiny pinch of cinnamon or nutmeg in the cherry mix? Chefs kiss.
- Flavor Enhancer: A dash of vanilla extract works a treat if you don't have almond.
- Quick Sub: If you've not got lemon juice, a splash of apple cider vinegar works in a pinch.
Equipment Needed - Keep It Simple
Don’t go thinking you need some Michelin star kit!
- Essential Tool: A 9 inch (23 cm) baking dish or skillet. Ovensafe, mind.
- Essential Tool: A big ol' mixing bowl.
- Essential Tool: A small saucepan for the cherries.
- Essential Tool: A whisk.
- Household Alternative: No pastry blender? Use a fork to cut the butter into the flour. Honestly, works a charm.
My nan used to make something like this as a cherry cobbler crockpot recipe and the memories are just so heartwarming! i bet she would approve of this method too since its easy cherry cobbler and quick to throw together.
Now get baking!
Right then, let's get down to business! this cherry cobbler recipe is proper comfort food. imagine this: a cold, miserable day, and then bam! warm, sweet cherry goodness.
It's like a hug in a bowl, innit? let's make some magic.
Prep Steps: Mise en Place - Get Your Ducks in a Row!
Honestly, nobody wants to be scrambling halfway through. So, listen up:
- Essential mise en place: Get everything measured out. I'm talking cherries (6 cups), sugar (¾ cup for filling, ½ cup for topping), flour (1 ½ cups), the works! Chop that cold butter (6 tablespoons) into little cubes too. Trust me, it helps.
- Time saving organization tips: Grab all your equipment now. 9 inch baking dish? Check! Saucepan? Check! Whisk? Ready!
- Safety reminders: Don't be a numpty. Oven's hot, yeah? Use oven gloves. And watch out for that bubbling cherry filling! It's like molten lava.
Step-by-step: Let's Get Cooking!
Alright, buckle up! Here’s how we make this easy cherry cobbler :
- Cherry time: Pop those cherries, ¾ cup sugar, 2 tablespoons cornstarch, 1 tablespoon lemon juice, ½ teaspoon almond extract, and a pinch of salt into your saucepan. Stir it all and bubble over a medium heat.
- Bubble & Thicken: Keep stirring until it looks like jam. This should take about 10- 15 minutes .
- Topping Time: In your big bowl, whisk 1 ½ cups flour, ½ cup sugar, 1 ½ teaspoons baking powder, and ¼ teaspoon salt together.
- Butter Up: Get that cold, cubed butter (6 tablespoons) in there. Mash it up with a pastry blender or even your fingers until it looks like coarse breadcrumbs.
- Milk It: Gently stir in ¾ cup milk. Don’t overmix! Lumps are fine.
- Cobble it Together: Pour your cherry filling into the baking dish. Spoon the topping all over.
- Sugar Sprinkle: Sprinkle 2 tablespoons sugar over the top. Makes it sparkly and delicious.
- Bake Time: Bang it in a 375° F ( 190° C) oven for 40- 45 minutes , or until golden brown and bubbly.
Pro Tips: The Secret Sauce
Right, listen up 'cause this is where the magic happens:
- Use cold butter! Seriously, cold butter equals flaky topping. Warm butter equals a disaster zone.
- Don't overmix the dough. Overmixing makes it tough as old boots.
- make ahead option: You can prep the filling and the topping a few hours ahead. Just keep the topping in the fridge. Honestly, sometimes a bit of prep is a lifesaver, innit? This Slow Cooker Cherry Dump Cake is also a winner when you have time, which is where you can also try to find a Cherry Cobbler Crockpot Recipe .
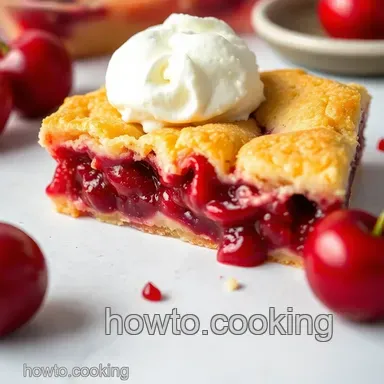
So there you have it! a cherry cobbler recipe that’s simpler than finding a decent cuppa in london. serve it warm with a scoop of vanilla ice cream.
It's like a holiday for your taste buds, i kid you not. why not check another crockpot cobbler , or even a easy cherry cobbler ?
Recipe Notes: Nailing That Cherry Cobbler Recipe
Alright, so you're itching to make this dreamy cherry cobbler recipe ? ace! before you dive in, let’s chat about some insider tips to make it unbelievably good.
Honestly, these little nuggets are game changers.
Serving Suggestions: It's All About Presentation, Mate!
Okay, so you've got your gorgeous cherry cobbler fresh out of the oven. how do you make it look like it came straight from a fancy gastropub? first, let it cool slightly.
Then, a scoop of vanilla ice cream is a must. the contrast of warm cobbler and cold ice cream? oh my gosh, heavenly .
For presentation, dust a tiny bit of icing sugar on top. a sprig of mint adds a pop of colour.
As for drinks, a sweet dessert wine or even just a strong cuppa complements it perfectly. it’s british, so a cup of tea is always a good option.
Storage Tips: Keep the Magic Alive
Right, so you've managed not to devour the entire cherry cobbler in one sitting well done! for refrigeration, pop it in an airtight container and it'll be happy for about 3 days.
Want to freeze it? no worries! just let it cool completely, wrap it well in cling film, then foil. it'll keep for up to 3 months.
When reheating, if from frozen, let it thaw in the fridge overnight. then, bake in a low oven (around 150° c) until warmed through.
Variations: Fancy a Change?
Honestly, one of the best things about this cherry cobbler recipe is how versatile it is! dietary adaptations? no problem.
You can easily make it gluten-free by using a gluten-free flour blend. also, switching out regular milk with almond milk works like a charm for a dairy-free option.
Seasonal ingredient swaps are fun too! in the autumn, try adding a pinch of cinnamon or nutmeg to the cherry filling.
Alternatively, for a crockpot berry cobbler cake mixes delight or maybe even a cherry cobbler with cake mix easy crockpot treat, feel free to mix and match.
You could even create a slow cooker cherry dump cake ! using different berries or fruits is always a win! don't be afraid to experiment! for the cherry cobbler fresh cherries can be swapped for frozen and vice versa.
Nutrition Basics: A Little Treat, Not a Marathon
Right, so let's talk nutrition. obviously, this cherry cobbler recipe isn't exactly a salad. but life's too short to skip dessert, eh? it contains vitamin c from the cherries.
Plus, who doesn't need a bit of a mood boost from something sweet? a little bit of what you fancy does you good!
Fancy a Cherry Cobbler Crockpot Recipe ? Or how about using your Crockpot Cobbler to make an Easy Cherry Cobbler ?. Remember the Slow Cooker Recipes Dessert style?
So, there you have it! all the little secrets to making a truly unforgettable cherry cobbler recipe . now go forth and bake something amazing! i hope you'll find it as easy as if you were using cherry cobbler with cake mix easy crockpot .
You've got this.
Frequently Asked Questions
Can I use frozen cherries for this cherry cobbler recipe?
Absolutely! Frozen cherries work perfectly well in this cherry cobbler recipe and are a great option when fresh cherries aren't in season. Just make sure to thaw and drain them a bit before using to avoid a watery filling. Think of it like using frozen peas - just as good as fresh, especially in a good shepherd's pie!
My cherry cobbler topping is tough, what did I do wrong?
A tough cobbler topping usually means the dough was overmixed. When making the topping, mix the wet and dry ingredients until just combined. Overmixing develops the gluten in the flour, leading to a tougher result. Treat it like making scones - a light hand is key to a tender bake.
How do I store leftover cherry cobbler?
To store leftover cherry cobbler, let it cool completely first. Then, cover it tightly with plastic wrap or transfer it to an airtight container. It will keep in the refrigerator for up to 3-4 days. You can reheat it in the oven or microwave; a little scoop of ice cream on top makes it even better!
Can I add any spices to my cherry cobbler recipe?
Definitely! A pinch of cinnamon, nutmeg, or even a little ground ginger adds a warm, comforting flavor to the cherry filling. You could also experiment with a dash of almond extract in the topping for extra richness.
A little spice can elevate your cherry cobbler recipe to the next level, just like a secret ingredient in a Nigella Lawson recipe.
How can I make this cherry cobbler recipe healthier?
You can make this cherry cobbler recipe healthier by reducing the amount of sugar in both the filling and the topping. Consider using whole wheat flour for the topping to increase the fiber content. You could also add some oats to the topping for extra texture and nutrition.
Remember that a little bit of indulgence is okay in moderation though everything in balance, as they say!
What's the best way to tell if my cherry cobbler is done?
Your cherry cobbler is ready when the topping is golden brown and the cherry filling is bubbling. You can also insert a toothpick into the topping; it should come out clean or with just a few moist crumbs. Keep an eye on it you want that bubbling, jammy goodness without burning the topping!
Cherry Bomb Cobbler