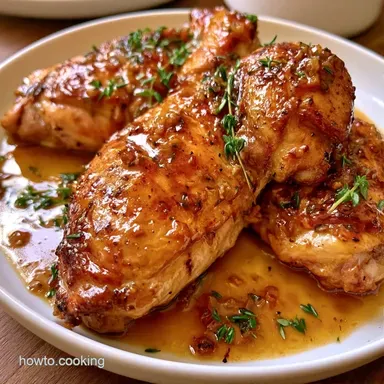
Ginas Perfect Roast Chicken with Gravy and Lemon
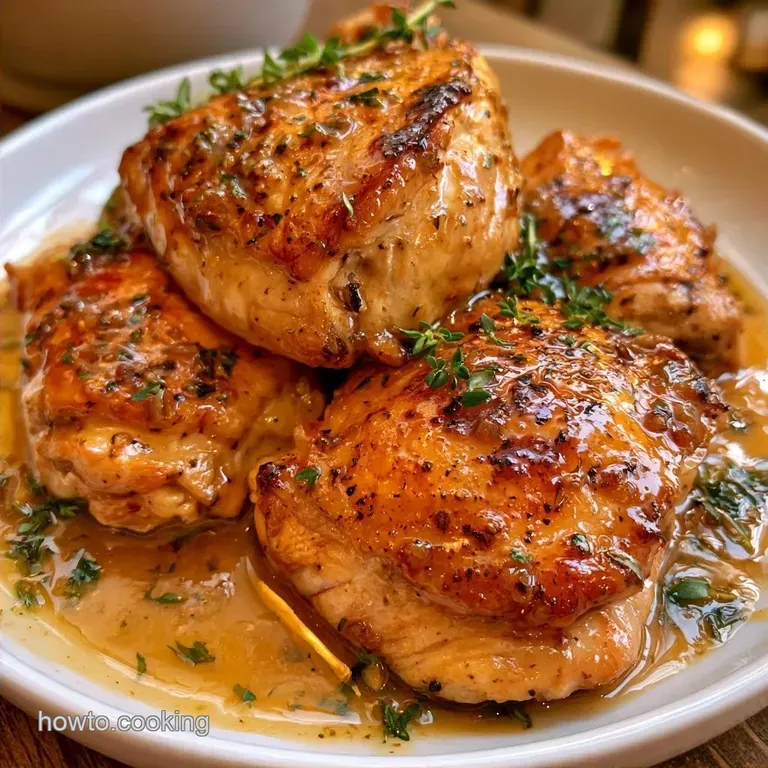
- Time: 15 min active + 120 min roasting
- Flavor/Texture Hook: Mahogany, crackling skin with a rich, savory gravy
- Perfect for: Sunday family dinners or a comforting weekend meal
The aroma of garlic and thyme wafting from a hot oven is, in my view, the most wonderful scent in the world. It permeates the entire home, signaling to everyone that something delicious is happening in the kitchen.
For me, this is the heart of a Sunday afternoon, usually with the kids darting around and a table laid out with eclectic, mismatched napkins.
I used to struggle with birds that emerged from the oven looking pale and tasting bland. I assumed I simply lacked a "natural" knack for roasting, but I eventually realized I was just fighting against moisture. Everything changed once I began treating the skin as a separate component that requires drying and searing.
Ginas Perfect Roast Chicken with Gravy doesn't require fancy equipment. It is simply a matter of heat and patience to create those caramelized bits in the pan that give the gravy a professional, restaurant quality depth. Trust me, once you see that stunning golden color, you'll never return to the low and slow method.
Why the High Heat Works
The way we handle the temperature here is what makes the difference between a soggy bird and a crisp one.
High Start: Starting at 425°F blasts the skin immediately, pushing the fat out and creating a brown crust before the inside overcooks. Serious Eats' testing shows that removing surface moisture is the only way to get this kind of sear.
The Rest: Letting the meat sit for 20 minutes isn't just a suggestion. It allows the juices to move from the center back to the edges, so they don't all run out on the cutting board the second you slice into it.
Veggie Bed: Using carrots and potatoes as a rack keeps the chicken from sitting in its own fat, which would otherwise steam the bottom of the bird and make it rubbery.
| Goal | What to change |
|---|---|
| Extra Crispy Skin | Pat skin twice; add 5 mins to 425°F stage |
| Leaner Meal | Remove skin before eating; use low sodium stock |
| Faster Cook | Spatchcock the bird; roast at 400°F for 45 mins |
The Building Blocks
I prefer relying on a few powerhouse ingredients rather than a long list of spices. Butter and lemon do most of the heavy lifting here.
| Ingredient | What It Does | Best Swap |
|---|---|---|
| Unsalted Butter | Browns the skin and adds richness | Ghee or softened margarine |
| Lemon | Balances the richness with acidity | Lime or orange |
| Garlic | Fills the cavity with fragrance | Shallots or garlic powder |
| Yukon Gold Potatoes | Keeps its structure while staying creamy | Red potatoes or parsnips |
Here is the full list of ingredients for this roast chicken and gravy recipe.
- 1 (4 lb / 1.8 kg) whole chicken, giblets removed
- 4 tbsp (57g) unsalted butter, softened Why this? Ensures the skin browns evenly without scorching.
- 1 lemon, halved
- 1 head of garlic, halved crosswise
- 4 sprigs (4g) fresh thyme Why this? Fresh herbs withstand high temperatures better.
- 1 tsp (6g) kosher salt
- ½ tsp (3g) cracked black pepper
- 1 lb (450g) carrots, chopped into chunks
- 1 lb (450g) Yukon Gold potatoes, cubed Why this? They soak up the chicken drippings ideally.
- 2 tbsp (28g) chicken fat (from pan drippings)
- 2 tbsp (16g) all purpose flour
- 2 cups (480ml) low sodium chicken stock
- ½ tsp (3g) salt
- ¼ tsp (1g) black pepper
If you're shopping on a budget, skip the expensive organic options. Any standard whole bird works great, provided the skin is patted dry.
| Original Ingredient | Substitute | Why It Works |
|---|---|---|
| Fresh Thyme | Dried Thyme (1 tsp) | Comparable taste, though slightly less intense |
| Yukon Gold | Russet Potatoes | Works well, though the texture is slightly grainier |
| Low Sodium Stock | Water + Bouillon | More affordable, but be mindful of the salt |
Recipe Specs
Let's be real about the timing. You can't rush a roast if you want it to be juicy.
- Prep time: 15 minutes
- Cook time: 120 minutes
- Total time: 155 minutes
- Yield: 4 servings
- Oven Temp: 425°F then 350°F
- Target Internal Temp: 165°F (74°C)
Keep in mind that the "Total Time" includes the resting period. If you skip the rest, you're basically throwing away the juice.
Equipment Needed
A minimal set of tools is all you need. You don't need anything fancy to get great results.
- Roasting Pan: Choose one with high sides to contain the drippings.
- Meat Thermometer: This is essential for confirming the meat is fully cooked.
- Paper Towels: A few sheets to ensure the skin is bone dry.
- Whisk: To keep your gravy smooth and lump free.
- Carving Board: A large one to accommodate the bird and the juices.
I prefer a standard stainless steel pan, but cast iron is a great alternative for getting a better sear on the vegetables.
The Cooking Process
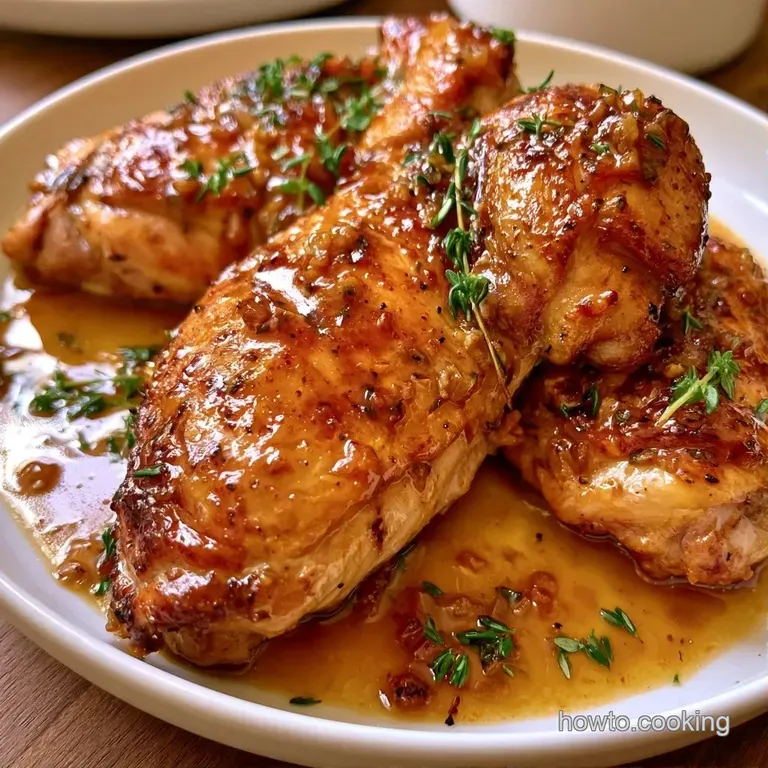
Time to get roasting. Stick to these instructions and resist the urge to keep checking the oven.
Phase 1: Prepping for Maximum Crunch
- Use paper towels to ensure the skin is bone dry. Note: Residual moisture will cause the bird to steam rather than sear.
- Season the skin with salt and pepper, then fill the cavity with lemon halves, the split garlic head, and fresh thyme.
- Massage the softened butter over the whole bird. Note: Ensure it reaches every fold for a uniform brown color.
- Spread chopped carrots and potatoes across the roasting pan to act as a natural rack.
Phase 2: The Roast
- Set oven to 425°F (218°C) and roast for 15 minutes until the skin starts to tighten and sizzle.
- Drop the temperature to 350°F (175°C) and cook for another 1 to 1.5 hours until the thickest part of the thigh hits 165°F (74°C).
- Move the chicken to a carving board to rest for 20 minutes. Note: Though difficult to wait, this step is essential for juicy results.
Phase 3: Crafting the Gravy
- Transfer the pan juices to a jar and skim off 2 tbsp of the fat.
- Set the roasting pan (or a saucepan) over medium heat, add those 2 tbsp of fat, and whisk in flour for 2 minutes until it reaches a golden color and nutty aroma.
- Gradually whisk in the chicken stock, scraping the pan's bottom to incorporate the browned fond.
Your gravy should be glossy and smooth. If it feels too thick, simply whisk in a bit more stock.
Pro Tips & Pitfalls
Even a basic roast can run into trouble. Here are a few ways to troubleshoot common issues.
Pale or Rubbery Skin
This is often caused by a bird that was too moist before roasting or an oven temperature that was too low at the start. If the skin hasn't browned by the end, simply raise the heat to 425°F for the final 10 minutes.
Dry Breast Meat
Because the breast cooks quicker than the legs, waiting for it to reach 165°F usually means the rest of the bird is overcooked. Focus on the thigh instead. While the target safe internal temperature is 165°F, keep in mind that carryover heat will boost the temperature by several degrees during the resting phase.
Lumpy Gravy
Lumps typically occur if you add stock too fast or don't cook the flour long enough. If your gravy looks uneven, simply pass it through a fine mesh strainer or pulse it briefly with a blender.
| Problem | Fix |
|---|---|
| Pale Skin | Bump heat to 425°F for the last 10 mins |
| Dry Meat | Remove at 160°F to allow for carryover cooking |
| Lumpy Gravy | Use a mesh strainer or blend for 10 seconds |
Make-ahead and Leftover Tips
A great advantage of Ginas Perfect Roast Chicken with Gravy is that the remaining portions are nearly as delicious as the original meal.
In the Fridge Keep the sliced meat and gravy in distinct containers. These will stay fresh for roughly 3 to 4 days. In my experience, the breast is ideal for salads, whereas the dark meat works best in sandwiches.
To Freeze Cooked chicken stays good in the freezer for 3 months. To stop freezer burn, wrap the meat securely in aluminum foil before sealing it in a freezer safe bag. I suggest skipping the freezer for the gravy, as the flour may separate and create a grainy consistency after thawing.
Zero Waste Strategy Save the carcass! After finishing the meat, combine the bones, roasted carrots, and lemon pieces in a pot with water and a bay leaf. Let it simmer for several hours to create a flavorful, homemade bone broth that far surpasses store-bought cartons.
Reheating Guidelines To prevent the meat from becoming dry, try to avoid using a microwave. Instead, place the chicken in a dish with a tablespoon of stock or water, cover it with foil, and heat it in the oven at 300°F.
Presentation Tips
A roast chicken is a rustic dish, so you don't need to be too precious about it. I like to serve it family style right on a big wooden platter.
Start by carving the breasts and legs, then arrange them around the roasted potatoes and carrots. Pour the gravy into a warm boat on the side so people can add as much as they want.
I usually serve this alongside some Sourdough Discard Garlic Bread to soak up every bit of sauce. The garlic in the bread mirrors the garlic inside the bird, making the whole plate feel cohesive.
For a more formal look, you can carve the chicken into eighths and serve each person a piece of white and dark meat. Just make sure the platter is warmed so the food doesn't go cold while you're chatting.
Make It Your Own
After mastering Ginas Perfect Roast Chicken with Gravy, feel free to experiment with the seasonings.
For a Zesty Twist
Replace the lemon with an orange and stir a pinch of cinnamon into the butter rub. This creates a sweeter, autumnal profile that is ideal for the colder months.
For an Herb Forward Flavor
Double the amount of thyme and add two sprigs of rosemary. If you need a side dish, my Sausage Herb Stuffing pairs wonderfully with an herb centric bird.
For a dairy-free Version
Substitute the butter with high-quality olive oil or a vegan butter alternative. To keep the gravy naturally dairy-free and gluten-free, use a cornstarch slurry (cornstarch mixed with cold water) instead of a flour roux.
For Low Sodium Needs
Opt for a salt free herb rub and swap the chicken stock for a homemade unsalted version. You can maintain a bold flavor by increasing the amount of garlic and lemon inside the cavity.
This recipe is incredibly adaptable. Whether you are preparing a formal Sunday feast or a simple Tuesday dinner, the method remains the same. Just remember: dry the skin, rely on your thermometer, and let the meat rest. Your home will smell amazing, and your family will be delighted.
High in Sodium
1100 mg 1100 mg of sodium per serving (48% 48% of daily value)
The American Heart Association recommends a daily sodium limit of no more than 2,300 mg for most adults to maintain heart health.
Tips to Reduce Sodium
-
Swap the Stock-30%
Replace the low-sodium chicken stock with homemade unsalted chicken stock or water to significantly lower the base sodium level.
-
Reduce Initial Seasoning-25%
Cut the 1 tsp of kosher salt used for the chicken by half or eliminate it, relying on the natural juices of the bird.
-
Omit Gravy Salt-25%
Remove the final 1/2 tsp of salt from the gravy; use extra cracked black pepper or a squeeze of lemon to maintain flavor.
-
Enhance Aromatics
Increase the amount of fresh thyme, garlic, and lemon to provide a bold flavor profile without adding any extra sodium.
Recipe FAQs
Should I roast at 350 or 400 degrees?
Start at 425°F before dropping to 350°F. This high heat blast sets the skin for a mahogany crunch while the lower temperature ensures the meat stays juicy.
Is it true I must use a metal rack to keep the chicken from sticking?
No, this is a common misconception. Scattering chopped potatoes and carrots in the bottom of the pan creates a natural rack that flavors the vegetables while lifting the bird.
How to make a rich gravy using the pan drippings?
Whisk flour into two tablespoons of skimmed chicken fat. Slowly stir in chicken stock while scraping the browned bits from the pan for a rich finish.
Which side dishes pair best with this roast chicken?
Hearty root vegetables or a sweet bread pairing work best. This dish tastes incredible alongside apple pecan stuffing to balance the savory gravy.
Ginas Perfect Roast Chicken