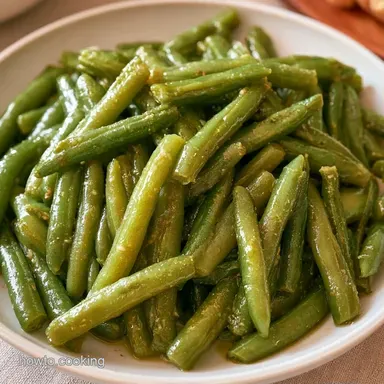
Hot Pack Green Beans: Garden Fresh Color
- Time: 30 min active + 25 min processing
- Flavor/Texture Hook: Crisp snap with a garden fresh color
- Perfect for: Pantry stocking, winter sides, and bulk gardening
That rhythmic clink clink clink of the pressure canner weight is the sound of a successful harvest. I remember my first attempt at canning, where I tried the "raw pack" method because it seemed faster. I waited months, finally opened a jar, and found something that looked like grey, soggy cardboard.
It was a total letdown.
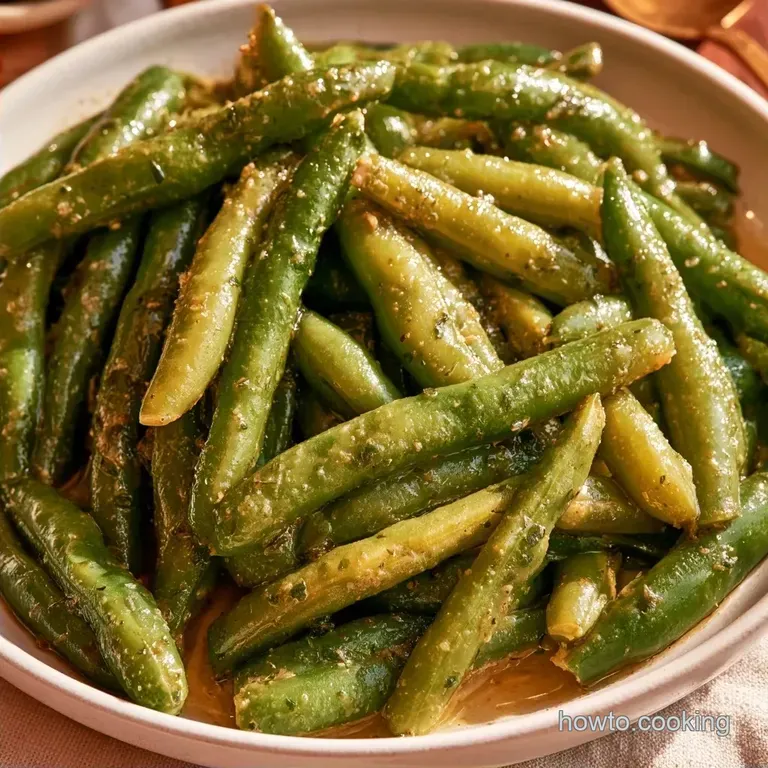
I switched to the hot pack method and the difference was night and day. Now, when I open a jar in January, the beans still have that vivid, emerald glow. They don't taste like "canned food," they taste like my garden in July.
You can expect a simple process here. We'll blanch the beans to lock in the color, pack them tight, and use a pressure canner to make them shelf stable. It takes a bit more effort upfront, but your winter self will thank you.
Hot Pack Green Beans Techniques
Blanching: Pre boiling the beans stops enzyme activity. This keeps the beans from turning brown during storage.
Air Removal: Heat expands the air inside the beans. When we pack them hot, that air escapes, leaving more room for the beans and less chance for spoilage.
| Pack Method | Processing Time | Color Result | Texture |
|---|---|---|---|
| Raw Pack | Longer | Dull/Olive | Softer |
| Hot Pack | Standard | Bright Green | Firm Snap |
Quick Processing Specs
The flow for this batch is straightforward. You spend about 30 minutes prepping and blanching, then 25 minutes under pressure. Total time is 55 minutes.
Keep an eye on your gauge. You need 11 lbs of pressure, but if you live at a higher altitude, you'll need to bump that up. Check a guide to see how your elevation affects your pressure settings.
The Essential Ingredients
For this recipe, you only need three things. The quality of the beans matters most, so pick ones that snap cleanly.
- 3 lbs fresh green beans Why this? Fresh, firm beans hold their shape better during processing.
- 1 tsp sea salt Why this? Enhances flavor without adding metallic notes.
- 4 cups filtered water Why this? Pure water prevents cloudy jars.
If you don't have sea salt, kosher salt works fine. Just use a bit more since the grains are larger. For the water, if your tap water smells like chlorine, a quick filter makes the result cleaner.
Required Canning Gear
You can't skip the pressure canner here. Low acid vegetables like beans can't be safely processed in a water bath canner.
Grab your 6 pint jars and lids. Make sure the rims aren't chipped. You'll also need a colander for draining and a bubble remover tool (a plastic spatula or a chopstick works in a pinch). For the most accurate readings, I recommend a dial gauge canner such as a Presto or All American.
Processing step-by-step
Phase 1: Prepping the Produce
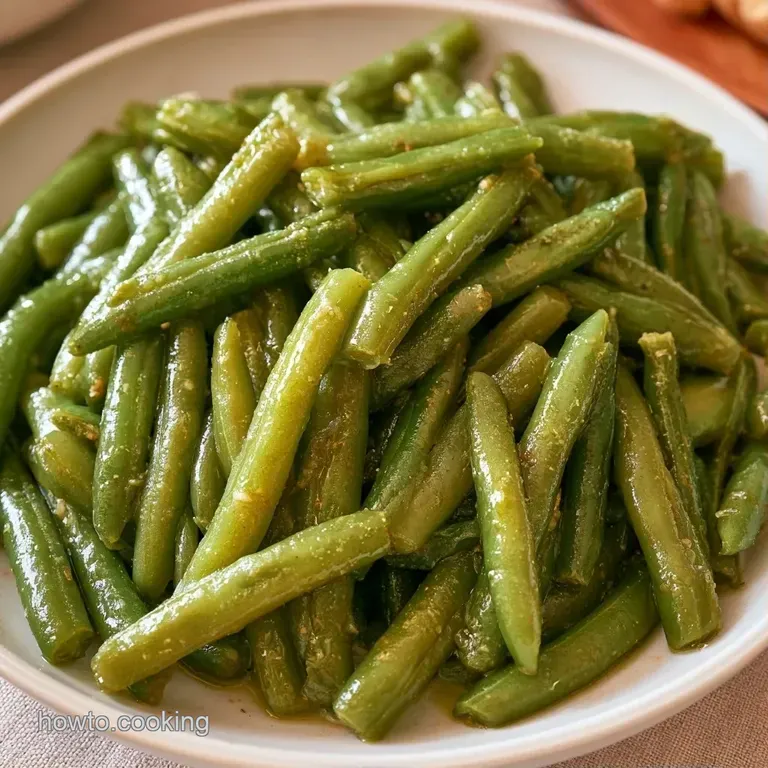
Rinse the green beans well under cold running water. Trim away the stem ends and curly tips. Break the beans into segments 1 to 2 inches long so they fit snugly inside the jars.
Phase 2: The Hot Pack Blanch
Heat a big pot of water until it reaches a rolling boil. Add the trimmed beans and boil for precisely 5 minutes until they turn a vivid, bright green. Immediately drain them using a colander.
Phase 3: Packing and Headspace
While the beans are still steaming, pack them tightly into sterilized pint jars. Maintain a 1 inch gap at the top of each jar. Pour in boiling packing water, keeping that 1 inch space. Use a bubble remover tool to release trapped air until the beans settle.
Phase 4: Pressure Processing
Wipe the jar rims clean with a moist cloth. Attach lids and rings until fingertip tight. Place the jars in the canner and process at 11 lbs of pressure for 25 minutes. Allow the canner to depressurize naturally.
Troubleshooting Common Issues
Fixing Mushy Beans
If your beans come out too soft, you probably over boiled them during the blanch. Stick to that 5 minute window. Also, ensure your pressure gauge is calibrated; too much heat for too long will break down the cell walls.
Preventing Seal Failure
Check your rims for nicks or residue. A single grain of salt or a tiny chip in the glass can prevent a seal. Always wipe the rims with a clean, damp cloth before putting the lid on.
Solving Cloudy Liquid
Cloudy liquid usually comes from hard water or not washing the beans well enough. Use filtered water for the packing liquid. If the beans were sandy, a double rinse in cold water before blanching fixes this.
Best Serving Ideas
I love these beans as a side for a hearty cowboy chili during the winter. Since they're already cooked, you just need to heat them.
Drain the liquid and sauté the beans in a pan with a knob of butter and a pinch of black pepper. They'll sizzle and brown slightly in about 4 minutes. If you want them more traditional, just simmer them in the can liquid with a bit of bacon fat.
Storage and Waste Tips
Store your jars in a cool, dark place like a pantry or basement. They stay good for about a year, though they're best within 12 months. Once you open a jar, keep it in the cooler and eat it within 4 days.
Don't toss the bean ends and curly tails. I throw mine into the compost bin, or if I'm feeling fancy, I simmer them with onion scraps to make a light vegetable stock.
| Original Ingredient | Substitute | Why It Works |
|---|---|---|
| Sea Salt (1 tsp) | Kosher Salt (1.5 tsp) | Similar mineral profile. Note: Use more due to larger grain size |
| Filtered Water | Distilled Water | Removes all impurities. Note: Might taste slightly "flat" |
Customizing Your Beans
Feel free to experiment with these variations. For a more savory profile, place a crushed garlic clove at the base of each jar before filling; it will flavor the liquid while processing.
If you prefer a bit of spice, a single jalapeño slice provides a gentle heat. These beans are also a fantastic side for homemade stuffing during large holiday meals.
For Lower Sodium
Omit the salt from the packing water. Instead, add seasoning when you reheat the beans. This allows you to manage sodium levels without compromising the texture.
For a Different Texture
Toss in a few slivered almonds. While they lose their crunch, they contribute a sophisticated, nutty depth to the beans.
Searing Realities There is a common misconception that searing vegetables "locks in" flavor. In reality, it just adds a toasted note. The core flavor in canned beans results from the blanching and the pressure canning process.
The Water Bath Myth Avoid any old advice suggesting a water bath for canning beans. Because beans are low-acid foods, a pressure canner is essential to prevent botulism. Prioritize safety.
Recipe FAQs
How do I hot pack green beans for canning?
Boil the beans for 5 minutes, pack them into jars, and add boiling water. Process them in a pressure canner at 11 lbs for 25 minutes.
Is it better to hot pack or raw pack?
Hot packing is superior because it removes more air from the jar. This results in more beans per jar and less shrinkage during processing.
Can you safely cold pack green beans for storage?
No, and here's why. Low-acid vegetables require a pressure canner to eliminate the risk of botulism.
How to keep home canned green beans firm?
Boil the beans for exactly 5 minutes before packing. Any longer will cause them to lose their snap during the canning process.
Which ways are best for cooking canned beans?
Sauté them with garlic or simmer them in a light broth. If you enjoyed mastering the pressure canning technique here, see how the same logic applies to our classic cabbage rolls.
Hot Pack Green Beans