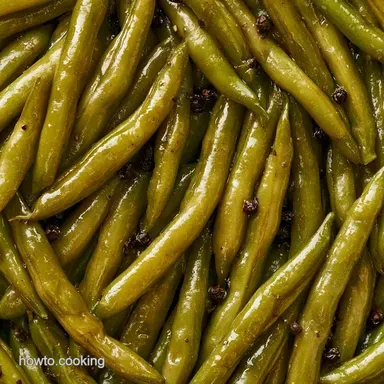
Old Fashioned Canning Seasoned Green Beans
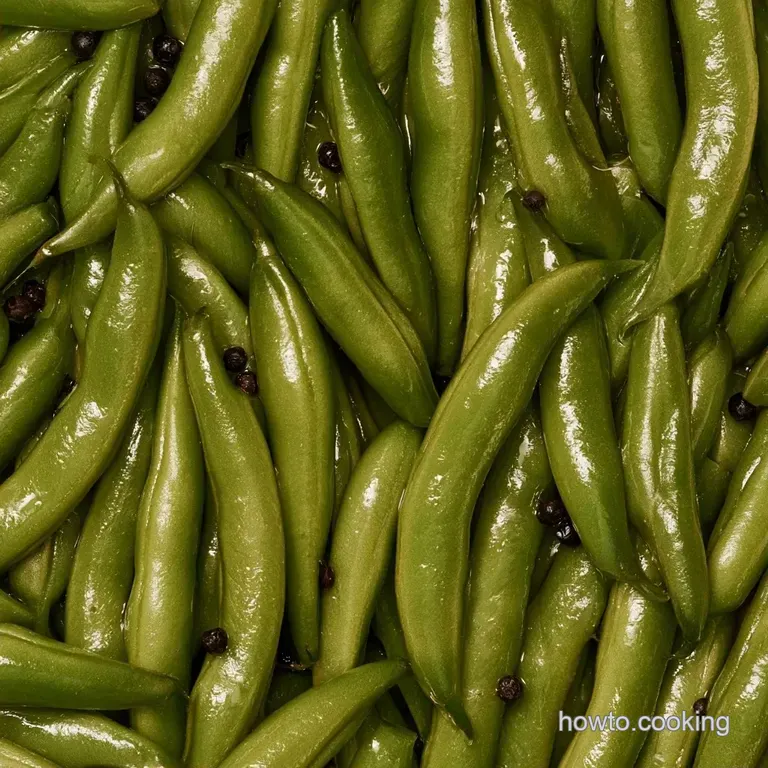
- Time: 30 min active + 25 min processing
- Flavor/Texture Hook: Savory, garlic forward, and snappy
- Perfect for: Pantry stocking and quick garden harvests
The sound of a fresh snap bean cracking in your hand is the only way to know it's actually ready for the jar. Last August, my garden produced so many beans that I felt like I was drowning in green. I tried eating them every night, but eventually, the novelty wore off.
I needed a way to keep that late summer crunch through January without them turning into mushy, bland cans from the store.
The hero here is the raw snap bean. Most people boil them before canning, but raw packing keeps the texture much firmer. When you pack them raw, they cook inside the jar during the pressure cycle, which preserves that bite. If you use overcooked or limp beans, they'll just dissolve into a salty paste.
This process for Canning Seasoned Green Beans is straightforward. We're basically creating a savory brine inside the jar using garlic and red pepper. It takes a bit of effort upfront, but having a shelf full of home preserved sides makes dinner prep so much faster in the winter.
Canning Seasoned Green Beans
Pressure Heat: Since beans lack acid, we need temperatures above boiling to kill botulism spores. Raw Packing: Putting uncooked beans in the jar prevents overcooking, so they stay firm.
| Method | Time | Texture | Best For |
|---|---|---|---|
| Raw Pack | 25 min | Snappy | Long term storage |
| Blanching | 15 min | Softer | Immediate freezing |
| Water Bath | N/A | Unsafe | Only high acid foods |
The difference between these methods is mostly about the final bite. Raw packing is the way to go if you hate mushy vegetables.
Recipe Details
This recipe yields 7 quart jars. It's a steady process that requires a bit of patience during the venting stage, but the result is a pantry staple that tastes fresh.
- Headspace
- Exactly 1 inch (2.5 cm) from the top of the jar.
- Venting
- 10 minutes of steam release before locking the lid.
- Processing
- 25 minutes at full pressure.
Shopping List Breakdown
| Ingredient | What It Does | Best Swap |
|---|---|---|
| Snap Beans | Main bulk | Pole beans (denser) |
| Pickling Salt | Preserves/seasons | Sea salt (no additives) |
| Garlic Powder | Savory base | Onion powder (sweeter) |
| Red Pepper Flakes | Adds heat | Cayenne (more intense) |
You'll need these specific items for the batch: 7 lbs (3.2 kg) fresh snap beans, trimmed and washed Why this? Freshness determines the final snap. 14 cups (3.3 L) water 3 tbsp pickling salt Why this? Prevents cloudy brine. 1 tbsp granulated sugar 1 tsp
Black peppercorns 1 tsp garlic powder 1/2 tsp red pepper flakes
| Original Ingredient | Substitute | Why It Works |
|---|---|---|
| Granulated Sugar | Honey | Similar sweetness. Note: May darken the brine slightly |
| Pickling Salt | Kosher Salt | Similar mineral profile. Note: Use 20% more by volume |
Essential Kitchen Gear
A professional kitchen isn't required, but a pressure canner is mandatory. A standard water bath pot simply doesn't reach the necessary temperature. I use a Presto canner, but any approved brand is suitable.
Make sure you have quart jars with brand new lids and rings. For removing air from the tightly packed beans, a bubble remover tool or a clean plastic spatula is a huge help.
Steps From Prep to Plate
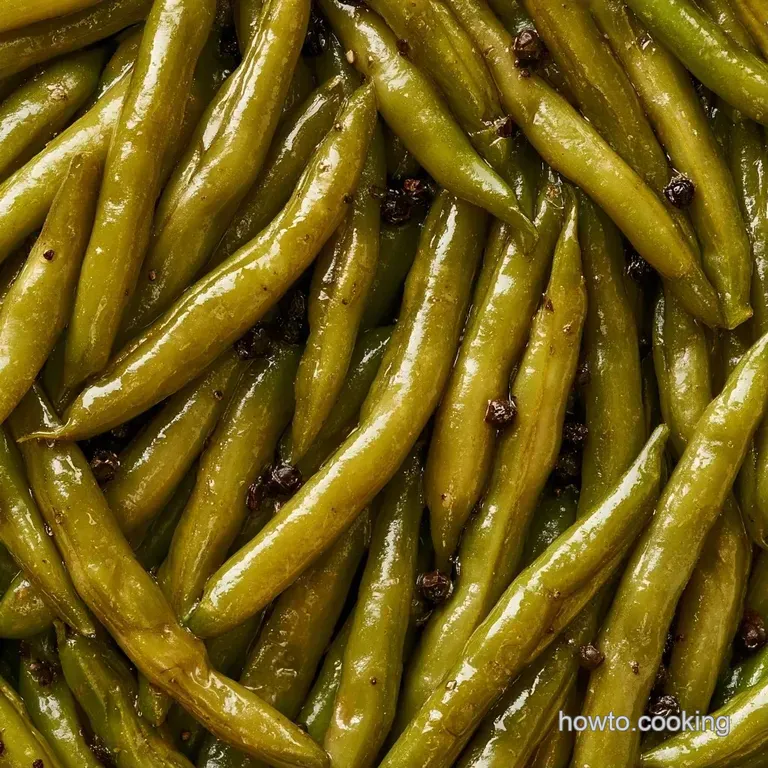
- Wash the green beans thoroughly in cold water. Snap the ends off each bean or cut them into 2 to-3 inch pieces until they are uniform in size. Note: Smaller pieces pack tighter, leaving less room for air.
- Place the peppercorns, garlic powder, and red pepper flakes at the bottom of each sterilized quart jar.
- Pack the raw green beans tightly into the jars, leaving exactly 1 inch of headspace at the top.
- Pour the salt and sugar over the beans.
- Fill each jar with boiling water, maintaining the 1 inch headspace.
- Run a bubble remover tool around the inside of the jar until you see air bubbles rise to the surface.
- Wipe the rims clean and apply the lids and bands until finger tip tight.
- Place jars in the pressure canner with the required amount of water. Vent the canner for 10 minutes before bringing it to full pressure.
- Process for 25 minutes (adjust for altitude), then allow the pressure to drop naturally before removing the jars.
Troubleshooting Your Jars
Fixing Seal Failures
If a lid doesn't pop or feels loose after cooling, it didn't seal. You can either re process the jar immediately or move it to the fridge and eat it within a few days. Check your rims for any stray bits of bean or salt that might have blocked the seal.
Avoiding Floaters
Beans that float usually have too much air trapped in the tissue or the jar. Make sure you're using the bubble remover tool thoroughly. If they still float, it's usually a cosmetic issue, but they might be slightly softer.
Preventing Discoloration
Beans can turn a dull olive green instead of bright emerald. This happens due to the heat of pressure canning. Using the freshest beans possible and ensuring you don't over process them beyond 25 minutes helps keep the color vibrant.
Serving and Presentation
When you're ready to eat these, just dump the contents of the jar into a skillet. I like to sauté them with a bit of butter and a splash of water for 5 minutes.
If you want something a bit more indulgent, these are a great base for a Green Bean Casserole. Just drain the brine and fold them into your mushroom sauce.
Decision Shortcut: Extra heat? → add 1/2 tsp more red pepper flakes. Less salt? → use 2 tbsp pickling salt. Bolder garlic? → double the powder.
Storage and Zero Waste
Keep your jars in a cool, dim area such as a basement or pantry. They will remain safe to eat for about a year, although the flavor is peak within 6-8 months.
Save the brine! This leftover liquid works well as a salty base for vegetable soup or as a chicken brine. As for the bean ends trimmed during preparation, collect them in a freezer bag. When you have a full bag, simmer them with celery and onion scraps to create a quick garden vegetable stock.
Creative Flavor Twists
To customize the flavor, try placing a slice of lemon peel at the bottom of each jar for a zesty, citrusy touch. For a smokier taste, add a pinch of smoked paprika alongside the garlic powder.
For those who want a quick side without the canning effort, my Garlic Butter Green Beans recipe is a faster option for weeknight dinners.
Myth Busting: "Water bath canning works if you use enough vinegar." This is not true for beans. They are too low in acid; you must use a pressure canner to avoid botulism.
"Boiling the beans first helps them stay fresh longer." Actually, raw packing often preserves the texture more effectively in the long run.
Preserving seasoned green beans may seem like a bit of a chore in the moment, but it's a wonderful reward when winter arrives. Once you see those jars lined up on your shelf, you'll be glad you spent the afternoon in the kitchen. Your future self will certainly thank you.
Recipe FAQs
Can you season green beans before canning?
You can place the peppercorns, garlic powder, and red pepper flakes at the bottom of the jars.
Tip: keep the spices beneath the beans to prevent them from floating to the top during processing.
How to keep home canned green beans firm?
Pack the raw beans tightly into the jars to avoid the softness that comes with pre-cooking.
Tip: cut beans into uniform 2-to-3 inch pieces so they fit snugly with minimal air gaps.
Is it true that you can skip venting the pressure canner to save time?
This one's false: You must vent for 10 minutes to ensure a safe and consistent internal temperature.
Tip: only start your 25-minute timer once the canner reaches full pressure.
What are the best ways to cook canned green beans?
Sauté them in a pan or simmer them briefly in a small amount of water.
Tip: If you enjoyed mastering the balance of salt and sugar here, see how we use similar principles in our tomato sauce.
Do these beans stay crisp if packed raw?
They maintain a better texture when processed raw compared to beans that are boiled first.
Tip: use a bubble remover tool to ensure no trapped air pockets soften the beans.
Which mistakes lead to seal failure?
Leaving more than one inch of headspace often prevents a proper vacuum seal from forming.
Tip: wipe the jar rims with a clean damp cloth before applying the lids.
Canning Seasoned Green Beans