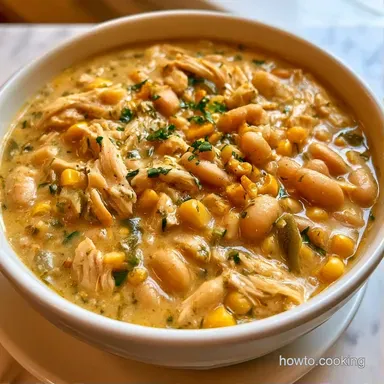
Pantry-Ready White Chicken Chili
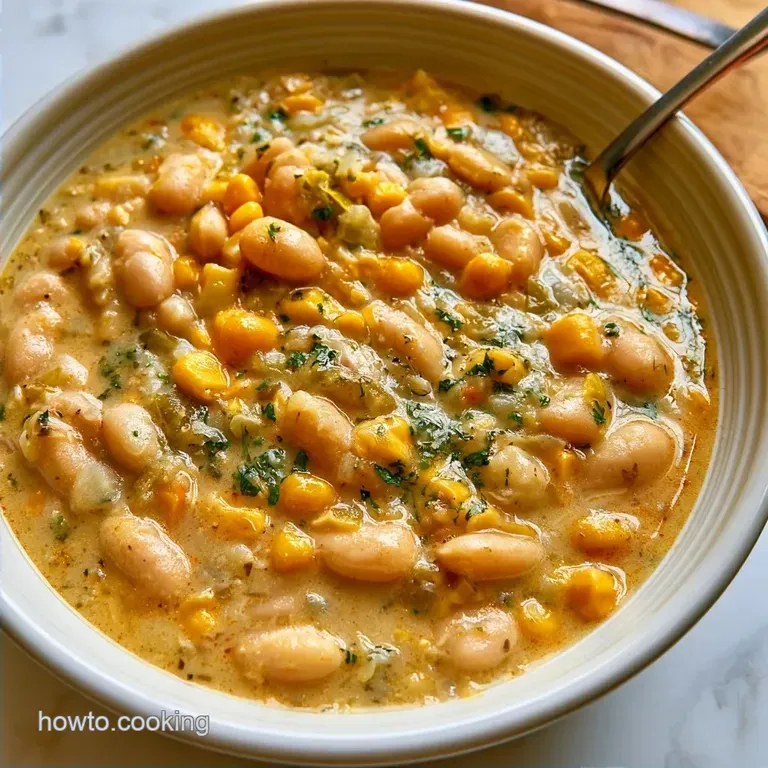
- Time: 20 min active + 3 hours cooking/canning
- Flavor/Texture Hook: Creamy, zesty, and hearty
- Perfect for: Bulk meal prep and cold winter nights
The aroma of toasted cumin paired with tangy green chiles always greets me just as the rain begins to tap against the glass. For me, this recipe is more than a dinner; it's a survival strategy. I recall a chaotic November soccer practice, a restless dog, and three overlapping deadlines.
Having four jars of this chili ready on my shelf felt like a miracle from my former self.
You can always spot a rushed soup, but this version is patient. It brings a sense of coziness and security to the entire home. By using a limited number of tools and a few clever techniques, we achieve a deep, satisfying flavor without spending the whole day scrubbing pots.
The objective is a robust White Chicken Chili that retains its character even after being processed in a canner. The chunks stay substantial, the chicken remains tender, and the broth keeps its body. It is nourishing, filling, and a genuine savior for any hectic household.
Why This Chili Actually Works
The Bean Rub: Kneading soaked beans under water removes the sugars that cause bloating and keeps the skins from bursting.
Thighs Over Breasts: Chicken thighs hold their shape and moisture during the high heat of pressure canning, while breasts often turn into dry strings.
Low Acid Balance: Using a pressure canner at 240°F ensures the low acid ingredients are safe for the shelf.
Gear You Need In The Kitchen
Any home cook can handle this. Your primary tool will be a heavy bottomed stockpot, which ensures even heat distribution to keep the onions from scorching. You will also need sterilized canning jars equipped with new rings and lids.
The pressure canner is the most vital piece of equipment. Because chicken and beans are low-acid foods, a basic water bath canner is inadequate. Adhering to the Ball Blue Book's pressure canning protocols is the only way to guarantee shelf stability.
To finish, a plastic spatula or a dedicated bubble remover helps eliminate air pockets. This prevents the lids from failing or bowing during the cooling phase.
Picking Your Ingredients
I prefer using dried Great Northern beans because they have a natural creaminess. If you're in a rush, canned beans work, but they don't hold up as well during the canning process. For the chicken, stick to boneless, skinless thighs for that rich, succulent texture.
| Component | Purpose | Substitute Notes |
|---|---|---|
| Great Northern Beans | Thickens and adds heartiness | Cannellini beans: Very similar, slightly creamier |
| Chicken Thighs | Provides savory protein | Chicken breast: Leaner but may dry out |
| Green Chiles | Adds tang and mild heat | Jalapeños: Much spicier, remove seeds first |
| Chicken Broth | The flavor base | Vegetable broth: Works well, slightly less depth |
You'll want to be specific with your spices. Mexican oregano is different from the Mediterranean kind, offering a more citrusy, earthy note.
| Original Ingredient | Substitute | Why It Works |
|---|---|---|
| Mexican Oregano (1 tsp) | Italian Oregano (1 tsp) | Similar flavor profile, though less citrusy |
| Olive Oil (2 tbsp) | Avocado Oil (2 tbsp) | High smoke point, neutral flavor |
| Diced Green Chiles (15.8 oz) | Chopped Poblano (1 cup) | Earthy heat. Note: Requires roasting first |
The Quick Recipe Specs
This version is a slow simmered classic. While some people use a crockpot, the stovetop method allows you to brown the meat and aromatics first, which adds a deeper layer of flavor.
| Method | Prep Time | Cook Time | Texture |
|---|---|---|---|
| Fast (Canned Beans) | 10 mins | 45 mins | Thinner, softer beans |
| Classic (Dried Beans) | 20 mins | 180 mins | Hearty, intact beans |
The total time includes the pressure canning cycle. It's a bit of an investment upfront, but having 12 servings ready to go in the pantry is worth every minute.
Step by step Cooking Guide
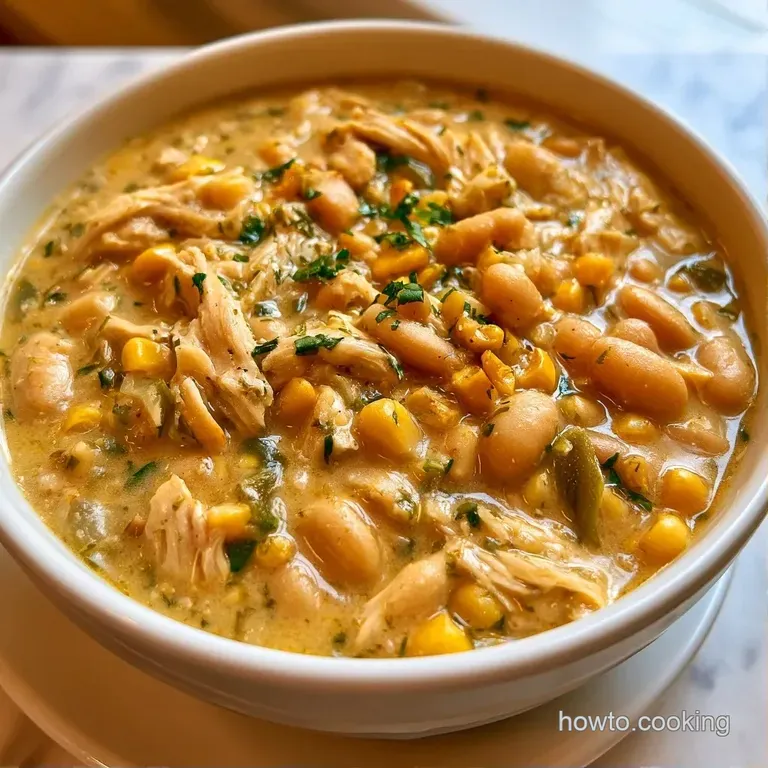
- Drain the beans you soaked overnight. Rinse them under cold running water, kneading gently for a few minutes to wash away excess sugars. Note: This helps with digestion and bean skin stability.
- Warm olive oil in your stockpot over medium heat. Sauté the diced onion until translucent and soft.
- Add the minced garlic and sauté for 60 seconds until it smells fragrant but hasn't browned.
- Toss in the cubed chicken thighs. Brown the edges of the meat until they just start to turn golden.
- Mix in the cumin, oregano, and cayenne pepper. Let the spices toast with the meat for about 2 minutes.
- Pour in the chicken broth, rinsed beans, green chiles, and corn.
- Bring the White Chicken Chili to a simmer. Cook until the beans are tender but still hold their shape.
- Ladle the hot chili into sterilized jars, leaving exactly 1 inch of headspace at the top.
- Use a bubble remover tool to clear any trapped air from the sides of the jar.
- Process the jars in a pressure canner at 240°F (115°C) following your canner's specific altitude guidelines.
Fixing Common Chili Problems
If your chili comes out too thin, don't panic. You can easily thicken it when you reheat the jar. A simple trick is to mash a few of the beans against the side of the pot.
When the lids don't seal, it's usually due to a dirty rim or too much air. Always wipe the rim of the jar with a clean, damp cloth before applying the lid. If a lid feels springy after 24 hours, the seal failed.
Thin Consistency
The broth might look thin before canning. The beans will naturally thicken the liquid as they sit, but mashing some beans during reheating solves this quickly.
Seal Failure
Air bubbles or food particles on the rim prevent a vacuum seal. Check the lids the next morning.
Burnt Garlic
High heat kills garlic quickly, making it bitter. Keep your heat medium and only sauté garlic for a minute.
| Problem | Fix |
|---|---|
| Liquid is too watery | Mash some beans during reheating |
| Jar lid didn't pop | Move to fridge and eat within 4 days |
| Bitter taste | Reduce garlic sauté time |
Storage And Pantry Tips
Since this is a canning recipe, these jars stay safe in a cool, dark pantry for up to 12 months. Just make sure the lids are firmly sealed. If you aren't canning them, keep the White Chicken Chili in glass containers in the fridge for about 4 days.
For those who prefer the freezer, this recipe freezes beautifully for 3 months. Just leave an extra inch of space in your containers to allow for expansion as the liquid freezes.
To reduce waste, save the leftover chicken broth from the canning process or any veggie scraps from the onion and garlic. I usually toss my onion skins and garlic ends into a freezer bag to make a quick stock later.
Twisting The Flavor Profile
Adjusting the spice level of this dish is easy. For a milder taste, omit the cayenne and use a mild green chile. If you want more heat, stirring in a bit of hot sauce after reheating is a great option.
For more bulk cooking inspiration to stock your freezer or pantry, this Sloppy Joes recipe is another fantastic meal prep idea.
| Goal | What to change |
|---|---|
| More Creaminess | Stir in 1/4 cup sour cream after reheating |
| Extra Smoke | Add 1 tsp smoked paprika with the cumin |
| Lower Sodium | Use no salt added broth and less sea salt |
You can also replace the corn with diced celery or carrots if you'd like more vegetables. Just ensure they are chopped small so they are ready at the same time as the beans.
Best Ways To Serve It
This chili is a blank canvas for toppings, so I always set up a "toppings bar" for my family. Fresh cilantro, diced avocado, and a squeeze of lime juice help brighten the hearty chicken and beans.
Adding some Greek yogurt or sour cream provides a velvety texture that offsets the cayenne heat. For a necessary bit of crunch, tortilla strips or crushed corn chips are a must.
If you're looking for a side, homemade sourdough garlic toast is the perfect way to mop up the remaining broth, turning a simple bowl of soup into a full, cozy meal.
Preserving this white chicken chili in jars is a wonderful gift for your future self. There is a deep satisfaction in opening a jar from months ago to have a hot, nutritious dinner on the table in ten minutes. Whether you're preparing for a busy season or just enjoy a stocked pantry, this recipe always delivers.
Just be sure to rely on your pressure canner and give those beans a good rub before adding them to the pot.
High in Sodium
810 mg 810 mg of sodium per serving (35% 35% of daily value)
The American Heart Association recommends a daily sodium limit of 2,300 mg for most adults to maintain heart health.
Tips to Reduce Sodium
-
Upgrade Your Broth-30%
Replace the low-sodium chicken broth with unsalted chicken stock or a combination of water and additional aromatics.
-
Rinse Canned Chiles-20%
Place the diced green chiles in a fine mesh strainer and rinse them thoroughly under cold water to remove excess brine.
-
Add Fresh Acidity-10%
Squeeze in fresh lime juice at the end of cooking; the acidity tricks your palate into needing less salt.
-
Amplify Spice Blend
Increase the amount of cumin, oregano, and cayenne to add bold flavor and heat without adding any sodium.
Recipe FAQs
What are some common mistakes to avoid when making white chicken chili?
Overcooking the beans or scorching the garlic. If the final dish lacks creaminess, stirring in some homemade sour cream adds a rich, velvety finish.
What's the secret to great white chili?
Kneading the soaked beans under cold water. This process removes excess oligosaccharides, which significantly improves both the texture and the digestibility of the Great Northern beans.
Is it true I can use a water bath canner for white chicken chili?
No, this is a common misconception. Low-acid ingredients like chicken and beans must be processed in a pressure canner to prevent botulism.
Do you cook chicken before canning it?
Yes, brown the chicken thighs first. Sautéing the cubed meat in olive oil creates a golden crust that adds depth and flavor to the overall broth.
How to pressure can white chicken chili?
Process jars at 240°F (115°C). Use sterilized glass jars and maintain proper headspace to ensure the chili remains shelf stable.
Can I use Ball jars for this recipe?
Yes, any sterilized glass canning jars work. The essential part is achieving a firm seal, allowing the chili to be stored safely in a cool, dark pantry for up to 12 months.
Pantry Ready White Chicken Chili