One-Pot Rice Cooker Kimchi and Beef Rice with Egg
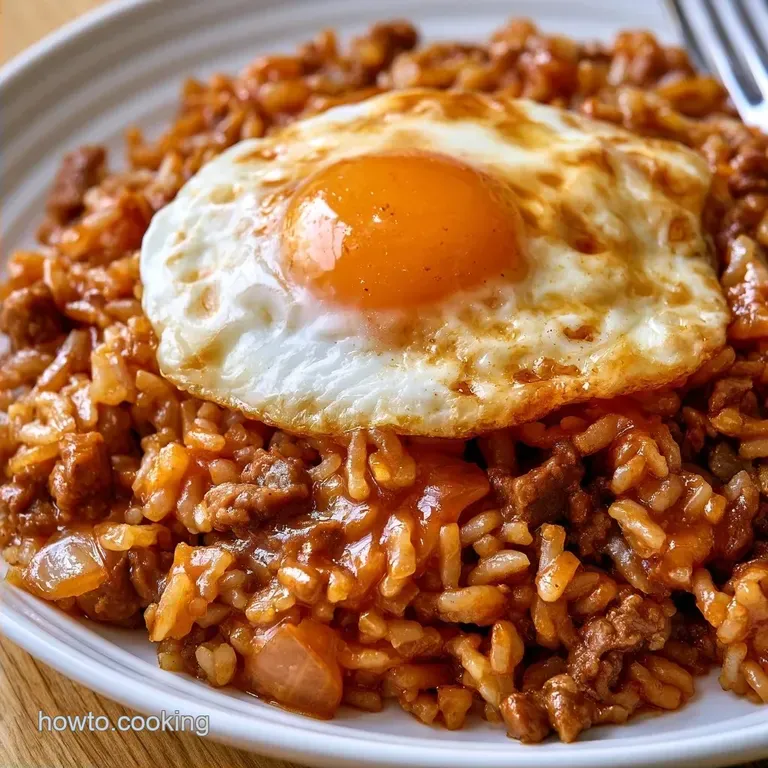
- Duration: 10 min active + 25 min cooking
- Taste Profile: Savory, tangy, and topped with a jammy egg
- Perfect for: Busy weeknights or meal prep
Picture the scent of toasted sesame oil and pungent, fermented kimchi wafting out the moment you open the lid. It's a mouthwatering, savory aroma that builds anticipation before you even take a bite. There is nothing quite like a steaming bowl of spicy rice with a glossy egg yolk running through the center.
I used to spend way too much on these bowls at takeout spots, only to find the beef was tough and the rice lacked flavor. I wanted those deep, funky notes without the chore of scrubbing five different pans. This is the ultimate version of Rice Cooker Kimchi and Beef Rice with Egg.
The result is a meal where the rice acts as a flavor sponge rather than just a base. It's filling, spicy, and requires almost zero effort once the machine starts clicking.
Rice Cooker Kimchi and Beef Rice
Let's talk logistics. This meal is designed for speed, taking about 40 minutes from start to finish. Since the rice cooker does the heavy lifting, you can relax or prep your garnishes while the magic happens.
For the best results, use short grain rice. Its starch content allows it to cling to the sauce without turning into a mushy paste. If you use a different variety, you may need to adjust the water, but for this specific version, stick to the measurements below.
| Goal | What to change |
|---|---|
| More Heat | Add 1 extra tsp Gochujang |
| Less Salt | Reduce soy sauce to 1 tsp |
| Extra Tang | Increase kimchi brine by 2 tbsp |
Why the Flavors Blend
The way this dish comes together isn't about luck, it's about how the ingredients interact under pressure.
- Kimchi Brine: Replacing some water with brine introduces lactic acid that breaks down rice starches. This allows the grain to absorb the spice from the inside, rather than just sitting in a sauce. For more on getting your base right, my [perfect stovetop jasmine rice guide](https://howto.cooking/recipes/perfect stovetop-jasmine rice-guide/) explains how rinsing affects the final texture.
- Layering Technique: Keeping the beef and kimchi on top prevents the rice from becoming gummy. The meat steams and lightly sears, while the rice cooks normally underneath.
| Method | Time | Texture | Best For |
|---|---|---|---|
| Rice Cooker | 40 mins | Fluffy & Integrated | Busy nights |
| Stovetop | 60 mins | Crispy bottom (Nurungji) | Slow weekends |
Ingredients and Swaps
Here is what you need. I recommend using "aged" kimchi the kind that's been in your fridge for a few weeks and tastes quite sour because fresh kimchi doesn't have enough acidity to punch through the beef.
| Component | Purpose | Substitute Notes |
|---|---|---|
| Short grain Rice | Structure and starch | Long grain: Less sticky, needs more water |
| Aged Kimchi | Tang and heat | Sauerkraut + Gochujang: Lacks depth but works |
| Ground Beef | Savory richness | Ground pork: Sweeter, slightly fattier |
| Gochujang | Umami and spice | Sriracha + Miso: Lacks the fermented funk |
The Shopping List: 2 cups (370g) short grain white rice Why this? Essential for the sticky, chewy texture 1.5 cups (350ml) water 0.25 cup (60ml) kimchi brine Why this? Infuses the rice grains with flavor 1 tbsp (15ml) soy sauce 1 tbsp
(15ml) toasted sesame oil 1 lb (450g) lean ground beef 1 cup (150g) aged kimchi, chopped Why this? Provides the fermented acidic punch 3 cloves (15g) garlic, minced 1 tsp (5g) fresh ginger, grated 1 tbsp (15g) Gochujang 4 large eggs 3 stalks (20g) green onions, sliced 1 tbsp (5g) toasted
Sesame seeds 1 tsp (5ml) toasted sesame oil (for drizzling)
Tools for the Job
No specialty equipment is required. A standard rice cooker even a simple on-off model works great. Having a "Sauté" or "Brown" function is a nice plus for the beef, but it's certainly not necessary.
I also recommend a medium non-stick skillet for the eggs, ensuring they slide out easily without breaking the yolks. Finally, use a fine mesh strainer to rinse the rice so that no grains slip down the drain.
Step by step Guide
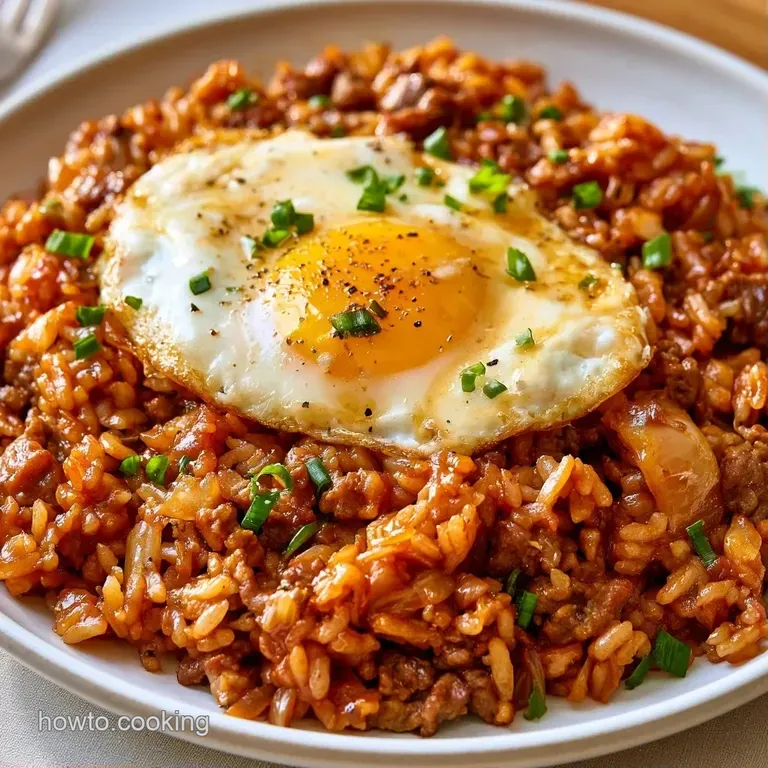
Get started with these instructions to keep your rice light and the beef perfectly distributed.
Phase 1: The Flavor Foundation
If your rice cooker features a sauté mode, heat 1 tbsp of oil and brown the beef until it reaches a deep brown hue. Otherwise, simply combine the raw ground beef, minced garlic, grated ginger, and Gochujang in a bowl and mix well.
Phase 2: The Layering Technique
Rinse the rice in a strainer until the water runs clear, then transfer it to the cooker pot. Stir in the water, soy sauce, sesame oil, and kimchi brine. Spread the chopped kimchi and the beef mixture evenly across the surface.
Note: Avoid stirring the beef into the rice to prevent the grains from becoming gummy.
Phase 3: The Cycle and Steam
Secure the lid and select the 'Standard' or 'White Rice' setting. When the timer finishes, let the pot sit undisturbed for 5 minutes. Allow the steam to settle so the rice fluffs up naturally.
Phase 4: The Jammy Finish
While the rice rests, set a skillet over medium heat. Fry the 4 eggs until the whites are set but the yolks stay liquid.
Phase 5: The Final Fold
Open the lid and gently fold the beef and kimchi into the rice using a paddle. Serve in bowls and top each portion with a fried egg, sliced green onions, and sesame seeds. Finish with a drizzle of the remaining sesame oil.
Why the Flavors Blend
The magic happens during the steaming phase. Because the beef sits on top, the fats drip down into the rice, essentially basting the grains while they cook. This is why the Rice Cooker Kimchi and Beef Rice tastes so cohesive.
The Gochujang acts as a bridge. It's a thick, fermented paste that binds the richness of the beef to the sharpness of the kimchi. Without it, the dish would feel like two separate ingredients rather than one integrated meal.
Fixing Common Issues
Sometimes the texture can go sideways if the water ratios are off. I once added too much brine and ended up with a porridge like consistency. It was still tasty, but not what I wanted.
If your beef didn't brown and looks a bit grey, it's likely because the meat released too much moisture. Using lean beef helps, but the sauté step is the most reliable way to get that savory crust.
Rice feels too mushy
This usually happens if you skip the rinsing process or add extra liquid. Surface starch turns into a glue when heated, which creates that sticky, overcooked feel.
Dish is too spicy
Some kimchi brands are much hotter than others. If the heat is overwhelming, stir in a teaspoon of sugar or honey at the end to balance the spice.
Beef is clumpy
This happens when the beef isn't broken up enough before layering. Use a fork or spatula to crumble the meat into small pieces before it goes into the pot.
| Problem | Root Cause | Solution |
|---|---|---|
| Mushy Rice | Excess starch or water | Rinse rice until clear; follow water ratios |
| Bland Flavor | Fresh kimchi used | Use aged/sour kimchi or add more brine |
| Grey Beef | Lack of searing/crowded pan | Use sauté function or brown in skillet first |
Storage and Zero Waste
While the egg is best enjoyed fresh, this Beef Rice with Egg stores quite well. Keep the beef and rice in a tightly closed container in the refrigerator for 3 days.
To freeze, divide the rice into single serve containers and keep them in the freezer for about four weeks. When reheating, add a splash of water and microwave for 2-3 minutes to replace the moisture lost during the freezing process.
Don't toss your leftover kimchi brine! It serves as a wonderful base for salad dressings. Simply combine it with a touch of honey and extra sesame oil for a fast Korean style vinaigrette. You can also store leftover green onion ends in a small bag in the freezer to add to your next soup.
Changing the Recipe
You can easily tweak this to fit your diet. For a plant based version, swap the beef for minced mushrooms or crumbled firm tofu. Tofu works well if you brown it in the skillet first to get some texture.
If you want a lower carb option, you can use cauliflower rice, but you'll need to drastically reduce the water. Since cauliflower releases its own liquid, 2 tablespoons of water is usually enough.
For those who love beef and want more variety, you might enjoy the richness of hearty shredded beef enchiladas for your next meal. You can also use ground turkey in this recipe, though it's leaner, so I recommend adding an extra teaspoon of sesame oil to keep it moist.
Best Side Dish Pairings
Because the Rice Cooker Kimchi and Beef Rice is so rich and punchy, you need something fresh to cut through the fat. A simple side of steamed bok choy or sautéed spinach with garlic works wonders.
A crisp cucumber salad (Oi Muchim) is the traditional pairing. The cold, crunchy texture of the cucumbers provides a great contrast to the warm, soft rice. If you want something simpler, a few slices of fresh radish or a handful of steamed broccoli will do the trick.
For a drink, a cold barley tea or a light lager complements the fermented notes of the kimchi without overpowering the meal. Keep the sides light so the beef and kimchi remain the stars of the show.
Recipe FAQs
How to prevent the beef from clumping?
Layer the beef and kimchi on top of the rice without stirring. This allows the rice to cook evenly while the beef steams on top.
Can I use brown rice for this recipe?
No, stick to short grain white rice. Brown rice requires significantly more water and a longer cooking cycle, which would overcook the beef.
Is it true that stirring the beef into the rice ensures better flavor?
That's a myth. Stirring the meat in creates a thick layer at the bottom that can scorch or prevent the rice from cooking through.
What other meals can be made in a rice cooker?
Almost any grain based dish works. You can make pilafs, quinoa bowls, or even some stews. If you enjoyed mastering one-pot textures here, see how the same efficiency works in our Instant Pot cube steak method.
Do I have to brown the beef first?
No, raw beef works fine. If your cooker lacks a sauté function, simply mix the raw beef with garlic, ginger, and Gochujang before layering.
Why does my rice come out too wet?
Check your rinsing process. Ensure you rinse the rice until the water runs clear to remove excess starch, and strictly follow the 1.5 cups water measurement.
Rice Cooker Kimchi Beef Rice