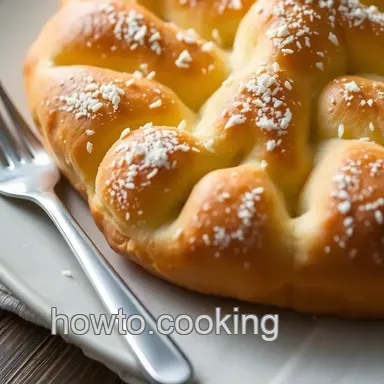
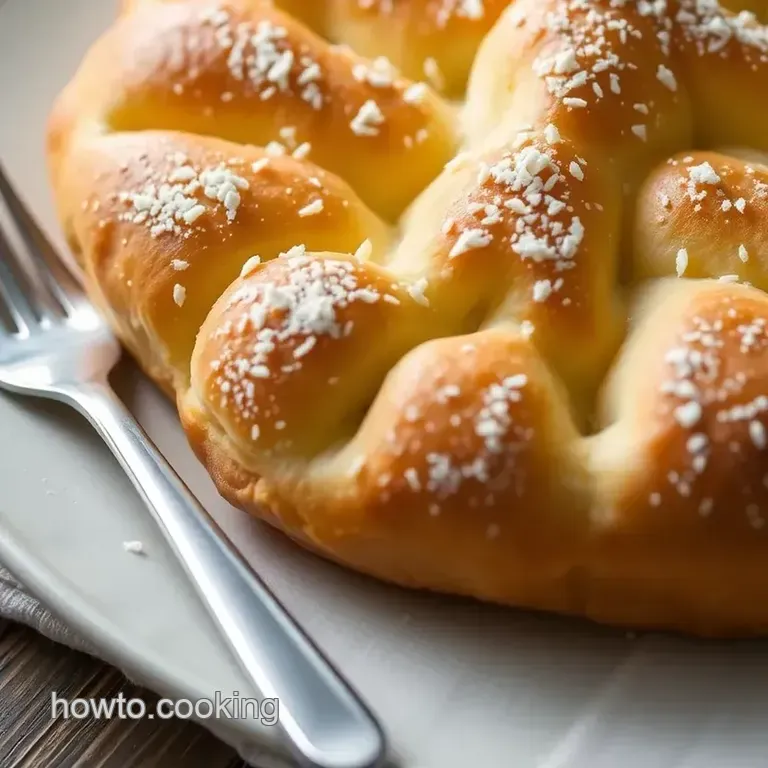
Classic Swiss Gipfeli

- The Ultimate Guide to Classic Swiss Gipfeli
- Your New Favorite Classic Swiss Gipfeli
- Health and Nutrition Highlights
- Recipe at a Glance
- Quality Ingredients Breakdown
- Kitchen Equipment Essentials
- Expert Cooking Method for Classic Swiss Gipfeli
- Essential Preparation Steps & Mise en Place Details
- Professional Cooking Method & Step-by-Step Process
- Expert Techniques & Quality Checks for Flaky Gipfeli
- Success Strategies & Troubleshooting for Your Gipfeli Recipe
- Success Guaranteed Tips for This Gipfeli Recipe
- Perfect Presentation for Your Swiss Gipfeli
- Storage and Make-Ahead Strategies for Fresh Gipfeli
- Creative Variations to Tweak Your Gipfeli Recipe
- Expert FAQ Solutions from My Kitchen Trials
- Complete Nutrition Guide for Your Gipfeli
- 📝 Recipe Card
I’ve always been fascinated by the rich history behind European pastries, and nothing beats the classic Swiss Gipfeli recipe. This buttery, flaky wonder has its roots in Switzerland’s time honored tradition of crafting delicate, layered breads.
I remember my first attempt in my tiny kitchen, and oh boy, what a learning experience it was! This recipe blends an intriguing historical background with genuine craftsmanship and passion.
With like "gipfeli recipe," "Swiss pastries," and "flaky pastry," you’re in for a delightful journey through culinary heritage and modern day baking hacks.
The unique selling points of this recipe lie in its authentic ingredients and tried and-true techniques. I learned through trial and error that keeping the butter cold is key. The result is a mouthwatering texture and taste that feels almost too good to be true.
Plus, every bite echoes a story of tradition, endurance, and culinary innovation an unbeatable combo that makes this classic a fabulous addition to any kitchen.
The Ultimate Guide to Classic Swiss Gipfeli
Let me share with you the ultimate guide to Classic Swiss Gipfeli a recipe that has come a long way from its early days. I discovered its fascinating origin story while traveling in Switzerland, where I indulged in pastries that whispered secrets of age-old techniques.
The cultural significance of this recipe cannot be overstated. It’s a staple in Swiss bakeries, much like a warm hug from your grandma on a cold morning.
The guide is filled with authentic insights into its rich culinary heritage. I love how each step in the process, from preparing the yeast mixture to the delicate lamination, connects you with centuries of baking wisdom. Today, this gipfeli recipe remains popular in modern kitchens, blending tradition with new twists.
Whether you’re a seasoned baker or a kitchen newbie, this classic treats you to a slice of history and taste that’s simply irresistible.
Your New Favorite Classic Swiss Gipfeli
I can say with confidence that this recipe might soon become your new favorite. There’s something magical about the combination of unique flavor mixes and the knack for creating countless delightful layers.
When I first attempted the lamination process, I nearly gave up due to a few timing mishaps but those mistakes taught me valuable lessons about temperature control and patience. Now, I have a foolproof technique that even beginners can follow with my helpful tips.
This gipfeli recipe has been expert tested and refined over time. I’ve collected plenty of time saving tips that helped me overcome real life kitchen challenges like not letting the butter go too soft when you’re in a hurry.
Trust me, these handy hints make the process a breeze and always deliver that perfect golden brown finish. Believe me when I say; there's nothing quite like the satisfaction of pulling freshly baked Swiss Gipfeli from your oven.
Health and Nutrition Highlights
Besides tasting amazing, I love that these treats come with some nutritional perks. Each serving of Classic Swiss Gipfeli provides balanced nutrition, such as essential fats, carbohydrates for energy, and protein to keep you going.
I always share that moderation is key after all, enjoying delicious food is part of a balanced lifestyle. With approximately 270 300 calories per serving, you still get to indulge without entirely derailing your health goals.
Dietary considerations are also part of the fun, so feel free to experiment with ingredients. I’ve often tried substituting whole milk with almond or oat milk to create a dairy-free version, and it works surprisingly well.
Not only do these tweaks cater to various diet plans, but they also add a fresh twist to the traditional recipe. Trust me, this is a win-win for health enthusiasts and pastry lovers alike.
Recipe at a Glance
Here’s a quick breakdown of what to expect: The entire process of making these delectable Gipfeli takes around 2 hours for preparation, plus a 20-minute baking time. The skill level is medium to hard, so don’t worry if you’re not a pro yet the journey is as enjoyable as the final product.
This recipe makes roughly 12 gipfeli and proves incredibly cost efficient, perfect for cozy family breakfasts or brunch gatherings.
I always encourage you to try out my tips to simplify the process, ensuring every step feels straightforward and fun. Making this Swiss Gipfeli recipe at home brings the charm of European baking right into your kitchen. Enjoy each step, laugh at your little mishaps, and savor the success of a beautifully baked treat.
Happy baking, and here’s to many delicious adventures ahead!
Quality Ingredients Breakdown
Premium Core Ingredients
For any good gipfeli recipe, the magic starts with the base ingredients, and let me tell you, nothing beats quality. When you’re making Classic Swiss Gipfeli, you need to measure out 500 g of all-purpose flour, 55 g of granulated sugar, 11 g of salt, 10...
Signature Seasoning Blend
Now, while Classic Swiss Gipfeli is celebrated more for its texture than punchy flavors, adding a subtle seasoning blend can elevate your pastry in unexpected ways. I like to mix a pinch of freshly ground white pepper with a dash of nutmeg for warmth. Sometimes, I...
Smart Substitutions
There are moments, especially when experimenting with my own recipe variations, when I run out of one or two ingredients. Not all substitutes are created equal, though. For instance, you can switch whole milk with almond or oat milk in a pinch, though this might give...
Kitchen Equipment Essentials
Getting the right tools makes a world of difference especially with recipes that involve delicate processes like lamination. You don’t have to splurge on professional equipment; a trusty rolling pin and a sharp bench scraper will do the trick. I often say that the bamboo rolling...
Pro Ingredient Tips
Over the years, I’ve picked up a few pro tips when working through my gipfeli recipe. First off, always check that your ingredients aren’t just fresh but also stored correctly; for example, keeping your butter in its original wrapping or a sealed container prevents it from...
I must admit, making Classic Swiss Gipfeli has taught me the value of every tiny detail, from the pulse of the ingredients in their finest form to the humble kitchen gadgets that simplify our lives. Every time I prepare this recipe, it feels like a cozy...
Expert Cooking Method for Classic Swiss Gipfeli
I've been tweaking my gipfeli recipe for years, and trust me, nailing the technique is half the fun. When I first tried this Swiss classic I made plenty of mistakes like rushing the dough or letting the butter melt too soon. So, take your time with this process, and remember: consistency is key.
I always start by ensuring every ingredient is measured properly and kept at the right temperature.
Essential Preparation Steps & Mise en Place Details
Begin by laying out all your ingredients for the dough and butter block. I usually set my flour, sugar (55 g in total), salt (11 g), active dry yeast (10 g), milk (250 ml chilled whole milk), and butter (40 g softened) in separate bowls. This mise en place helps me stay organized and keeps the process stress free.
One tip I learned the hard way is to always check that your milk is cold; otherwise, your dough might become too relaxed during kneading.
Before mixing, I combine the yeast with some warm milk and a pinch of sugar. Let it sit for about 5 10 minutes until it starts frothing. I then whisk together the flour with the rest of the sugar and salt. I mix in the softened butter and the yeast mixture, and once a rough dough forms, I move to the next stage.
Time management is crucial here: I spend about 8 10 minutes kneading until the dough feels smooth and elastic.
Professional Cooking Method & step-by-step Process
When it comes to shaping your Classic Swiss Gipfeli, precision is important. First, after kneading, shape your dough into a flat disc and wrap it in plastic, letting it rest in the fridge for 30 minutes. Next, roll the cold dough into a 40 x 20...
The folding process is like an art: lay the butter block in the center of the dough, fold the edges in like an envelope, and gently roll it out to about 60 x 20 cm. I do one turn, chill for 30 minutes, then repeat the rolling and folding.
Take care to maintain the butter's integrity it’s the secret behind those flaky layers. Ensure your dough is consistently cold throughout this series of steps, especially if you live in a warm kitchen.
Expert Techniques & Quality Checks for Flaky Gipfeli
Precision is key when you work through lamination. Each fold should be performed gently, without forcing the dough, so as not to break the butter layer. I always use a bench scraper to get clean, straight cuts when slicing the dough into diagonal triangles.
Remember, the base of each triangle should be around 8 cm wide this gives the gipfeli that classic crescent shape I fell in love with.
I rely on small quality checks: try rolling the dough again after the first turn and see if the layers are distinct. Each time you cool your dough, you’re ensuring that the butter remains cold and the dough stays firm. The success indicator is a dough that maintains its shape and shows visible layers when baked.
Yes, even when I fumble, I check the layers by peeking at the dough edges before rolling them tighter.
Success Strategies & Troubleshooting for Your Gipfeli Recipe
Even with practice, things can get tricky. One time, I over rolled the dough, and the butter almost leaked out oops! To avoid that, always keep a close eye on your dough’s temperature; if it softens (above 20°C or 68°F), pop it back in the fridge.
I now use a timer for each step, whether it’s the 5 10 minutes of yeast activation or the 15 20 minutes of baking time once my kipfeli hit the oven preheated to 200°C (400°F).
After shaping your gipfeli into nice crescents, let them proof for about 1 hour. I always gently cover them with a light cloth or plastic, watching as they nearly double in size. A final egg wash made by beating one egg with a tablespoon of water adds the perfect golden finish.
If you ever wonder whether you're doing it right, check if the edges are crisp and the internal layers still visible after baking.
My personal advice? Embrace the little imperfections, learn from your early mishaps, and soon you’ll be serving up perfect, flaky Classic Swiss Gipfeli. Enjoy the process, and happy baking!
Success Guaranteed Tips for This Gipfeli Recipe
I’ve learned over the years that success in making a perfect gipfeli recipe is all about timing and temperature control. One of my top tips is to keep your butter and dough as cold as possible. Trust me, nothing ruins the flaky layers like warm, melty butter!
I often check the dough in between folds and chill it if it feels too soft. This kitchen wisdom saves me every time, and I’m happy to share these expert techniques with you.
Perfect Presentation for Your Swiss Gipfeli
When it comes to presenting your classic Swiss gipfeli, I like to keep things simple but striking. Plating is something I learned the hard way when my first batch looked a bit messy. Now, I use a light dusting of powdered sugar and a few fresh mint leaves on top for garnish.
Serving these warm, crisp pastries with a small ramekin of fruit compote brings a beautiful, vibrant visual appeal that never fails to impress.
Storage and make-ahead Strategies for Fresh Gipfeli
I always make extra gipfeli so I can enjoy them over a few days. The key is to let them cool completely before storing in an airtight container. For best results, I place them in the fridge and reheat individually in a toaster oven; they come out crispy again!
If you're like me and love make-ahead recipes, you can freeze these and warm them later just pop them in the oven for a few minutes.
Creative Variations to Tweak Your Gipfeli Recipe
One of my favorite things about the gipfeli recipe is how easy it is to adapt. I’ve tried adding a thin line of dark chocolate spread along the base before rolling, which creates a delightful twist (I even had a few mishaps before perfecting the technique, oops!).
For a savory spin, you can add finely grated cheese and even some rosemary. Seasonal tweaks like adding almond extract in winter or a hint of lemon zest in summer enrich the flavor and offer a fun regional variation.
Expert FAQ Solutions from My Kitchen Trials
I get a lot of questions about this recipe, and I’ve faced them all in my own kitchen misadventures. One common concern is that the layers aren’t distinct enough; my advice is to always work quickly and keep everything chilled.
Another tip is to use a sharp knife or bench scraper when cutting your dough trust me, a dull tool can really muck up things. If you’re ever in doubt, remember that a little extra cold time is your best friend during lamination.
Complete Nutrition Guide for Your Gipfeli
Knowing what you’re eating is important, and I believe these Swiss gipfeli offer a balanced treat. Each pastry clocks in at about 270 300 kcal with an even mix of carbohydrates and protein; this makes them a satisfying option for breakfast or brunch. Their good portion of...
I hope you find these tips and insights helpful as you try out this gipfeli recipe in your kitchen. Every batch is a little adventure filled with trial, error, and a lot of little happy accidents that make the final result even more rewarding.
Enjoy the process, share your successes (and missteps), and most importantly, have fun making your own version of these classic pastries!
Baked Classic Swiss Gipfeli Delight